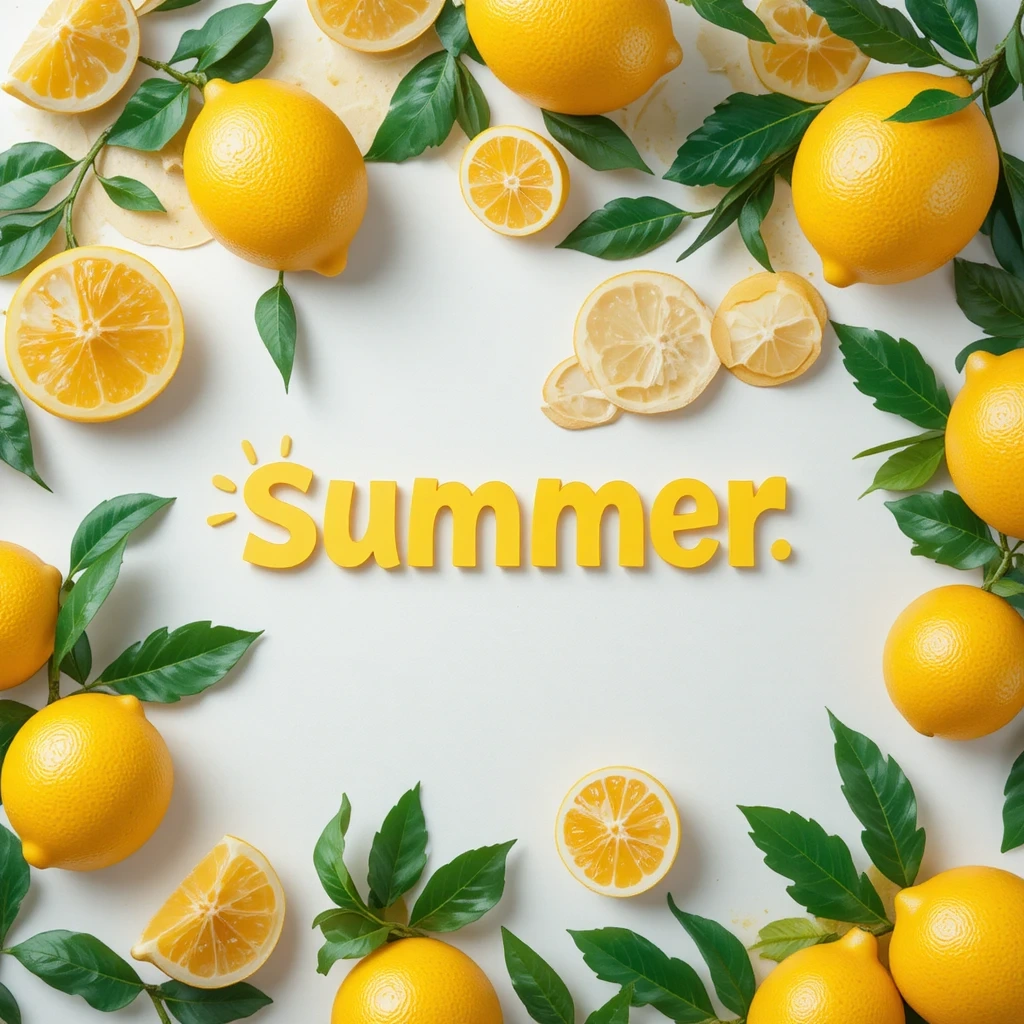
12 Cute Lemonade Stand Poster Ideas for Eye-Catching Signs
Running a lemonade stand is one of the most fun and rewarding activities for kids and families — but without a great sign, even the best lemonade can go unnoticed. A well-designed poster does the heavy lifting: it grabs attention, builds excitement, and tells passersby exactly why they need to stop.
Whether you’re setting up in the front yard or at a neighborhood fair, these lemonade stand poster ideas will help you stand out from the crowd and bring the customers rolling in.
In this article, you’ll find 12 creative, easy-to-make poster concepts — each with materials, steps, and tips to bring them to life.
1. The Classic Bright Yellow Sunburst Poster
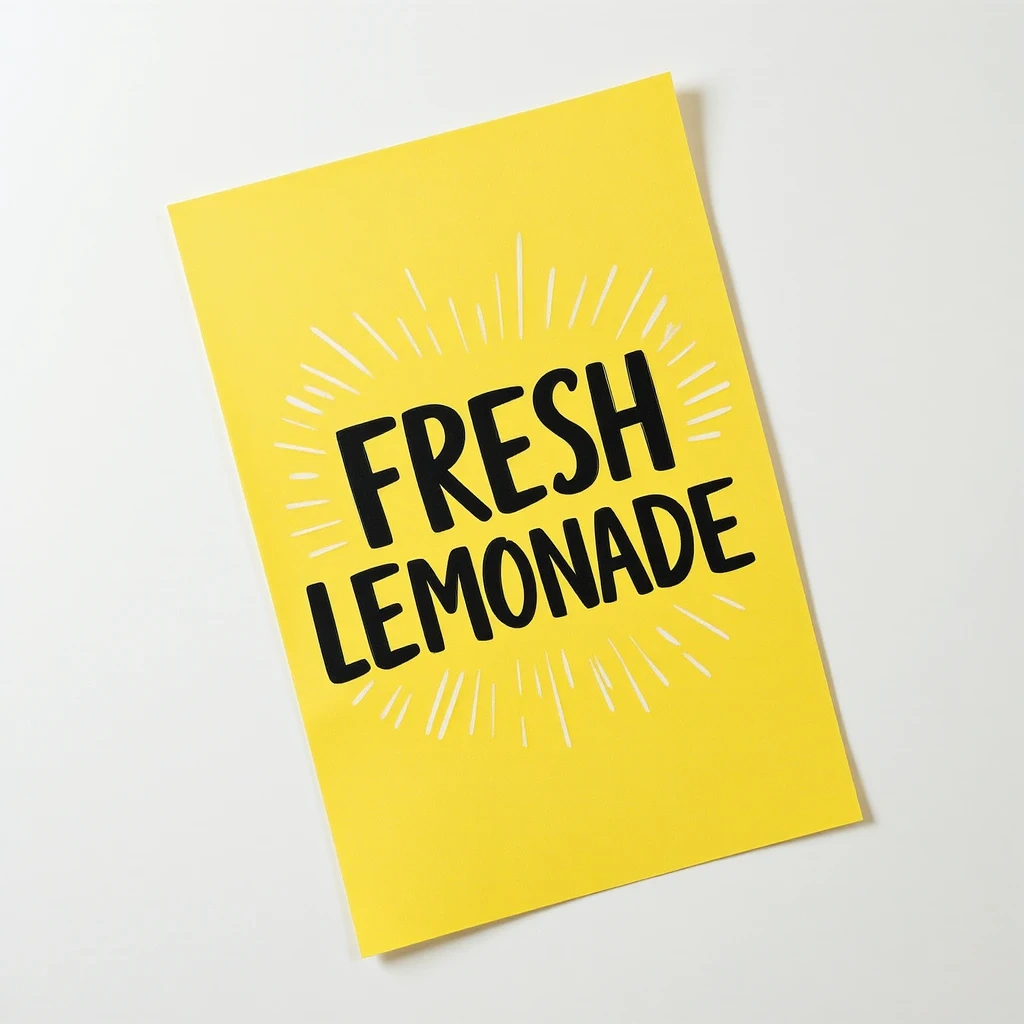
Nothing says “lemonade” like a bold yellow burst of sunshine. This timeless design pairs bright yellow paint or paper with simple black lettering to create a high-contrast sign that’s visible from across the street.
Materials:
- Yellow poster board (large)
- Black thick marker or paint pen
- Ruler and pencil
- Optional: yellow and orange tissue paper for texture
Steps:
- Draw sunburst lines radiating from the center of the board with a pencil.
- Write “FRESH LEMONADE” in large block letters in the center.
- Add your price below in a circle.
- Outline everything in black marker for visibility.
- Optionally, layer tissue paper strips for a 3D effect.
Time & Difficulty: 15 minutes | Easy
Best Use Case: General outdoor lemonade stand, neighborhood sale
Creative Variation: Cut the poster board into a sun shape for extra visual impact.
2. Chalkboard Style Rustic Sign
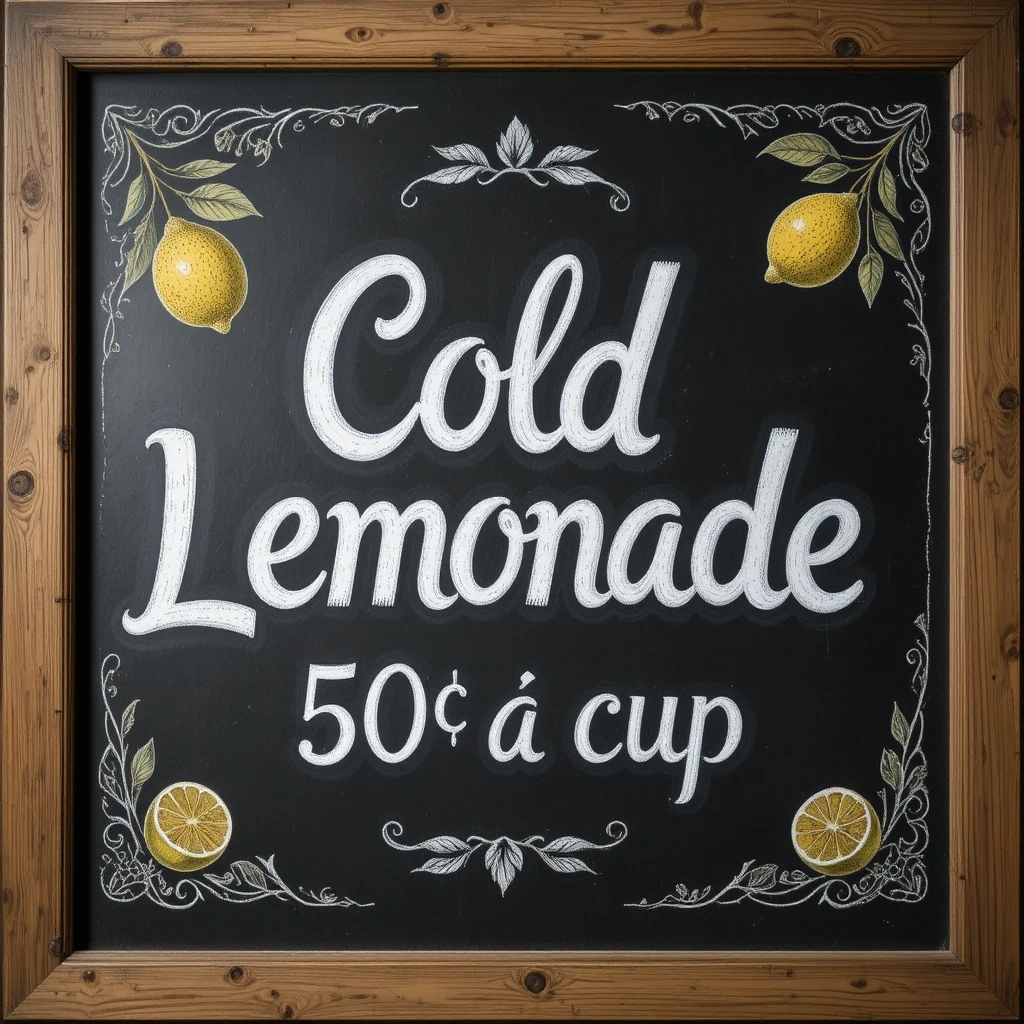
Chalkboard signs feel artsy, charming, and instantly trustworthy. Paint a piece of cardboard or foam board with black chalkboard paint, then use chalk markers to create an elegant, café-style sign.
Materials:
- Black chalkboard paint
- Cardboard or foam board
- Chalk markers (white, yellow, green)
- Paintbrush
Steps:
- Paint your board with two coats of chalkboard paint, letting it dry between coats.
- Sketch your layout lightly with regular chalk first.
- Write your headline, price, and a fun tagline using chalk markers.
- Add decorative lemons or swirls around the edges.
- Let dry fully before displaying.
Time & Difficulty: 25 minutes (plus drying time) | Medium
Best Use Case: Farmers market, community events, front porch setups
Creative Variation: Add a small heart or star rating “⭐⭐⭐⭐⭐ lemonade” for a playful social media vibe.
3. Rainbow Watercolor Splash Poster
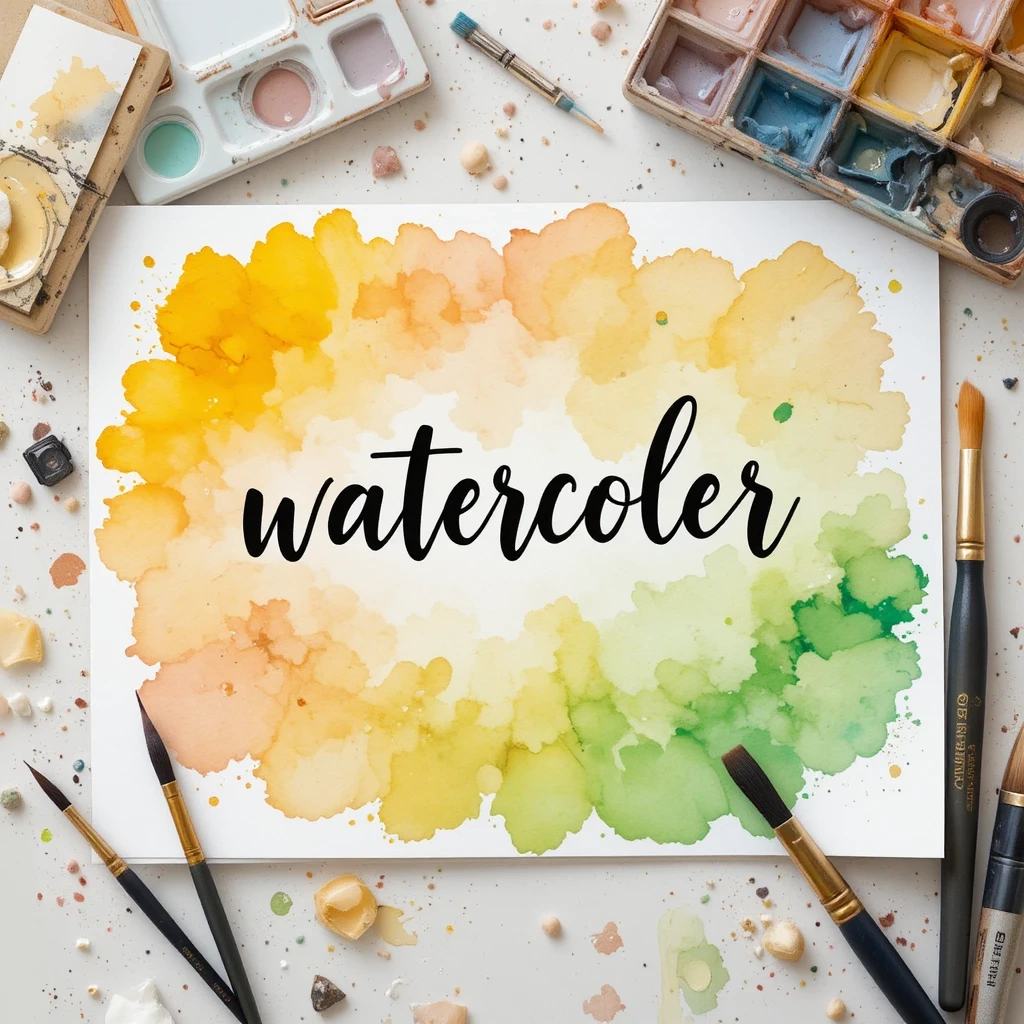
Watercolor creates a dreamy, eye-catching effect that looks impressive but is surprisingly easy to make. Use bleeding watercolor paints on wet paper to create a soft, colorful background, then write your message on top once dry.
Materials:
- Thick watercolor paper or cardstock
- Watercolor paints (yellow, orange, pink, green)
- Wide paintbrush
- Black permanent marker
Steps:
- Wet the paper surface lightly with clean water.
- Drop yellow, orange, and pink watercolor across the wet paper and let it bleed naturally.
- Let it dry completely (20–30 minutes or use a hair dryer).
- Write your lemonade message in bold black permanent marker.
- Add a lemon illustration in the corner.
Time & Difficulty: 30 minutes | Easy
Best Use Case: Birthday party stand, neighborhood fair, Instagram-worthy displays
Creative Variation: Try a cool blue and purple palette to brand your stand as “Lavender Lemonade” or “Blue Raspberry Lemonade.”
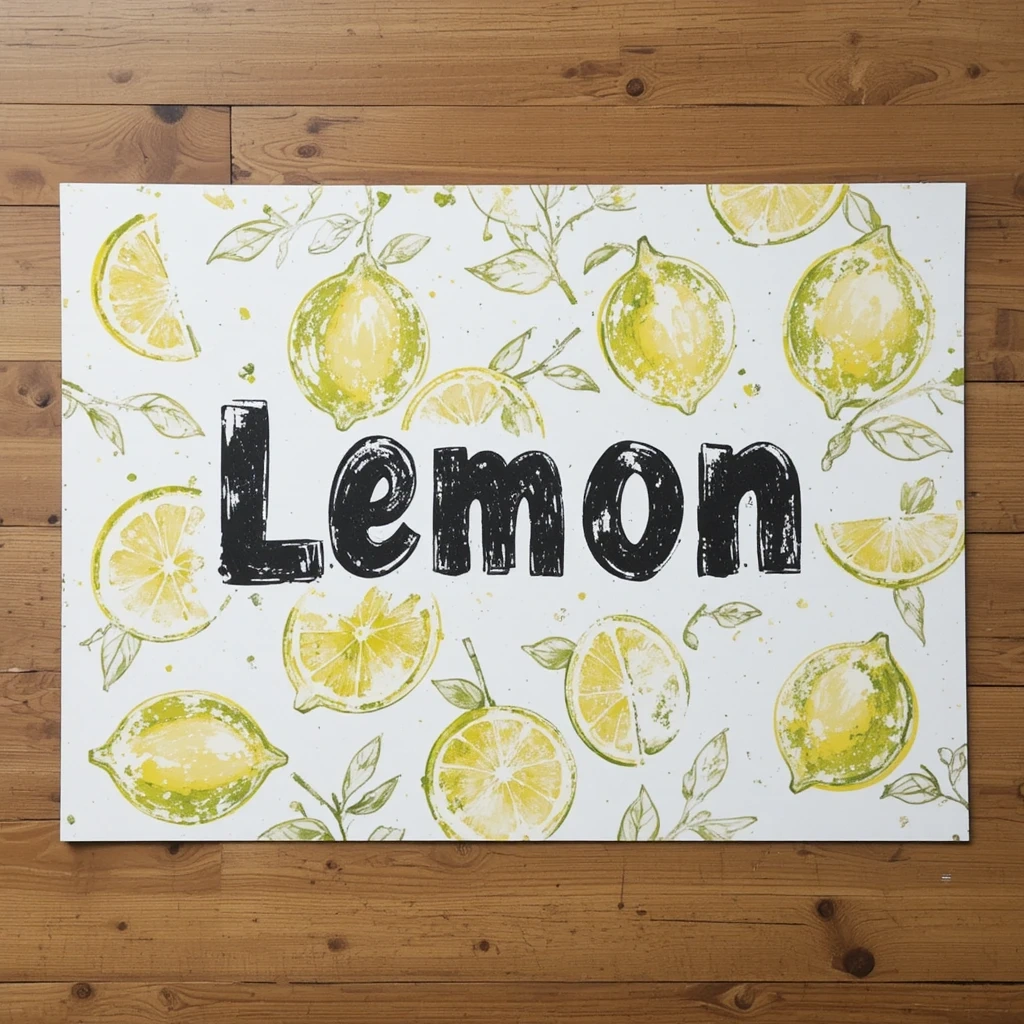
4. Lemon Slice Cutout Poster

Shape matters! Instead of a rectangular sign, cut your poster board into the shape of a giant lemon slice. It’s quirky, eye-catching, and very Instagrammable — people will do double-takes.
Materials:
- Yellow and white poster board
- Scissors or craft knife
- Black and green markers
- Tape or glue stick
Steps:
- Draw a half-circle “lemon slice” shape on yellow board and cut it out.
- Layer a slightly smaller white semicircle on top to represent the lemon flesh.
- Draw lemon segment lines with a black marker.
- Write your text on the white section: “LEMONADE — $1”
- Attach a stick or mount on a box.
Time & Difficulty: 20 minutes | Easy
Best Use Case: Outdoor stands, summer events, kids’ entrepreneurship projects
Creative Variation: Make several smaller lemon cutouts as directional arrows pointing to your stand.
5. Neon Glow Poster for Evening Sales
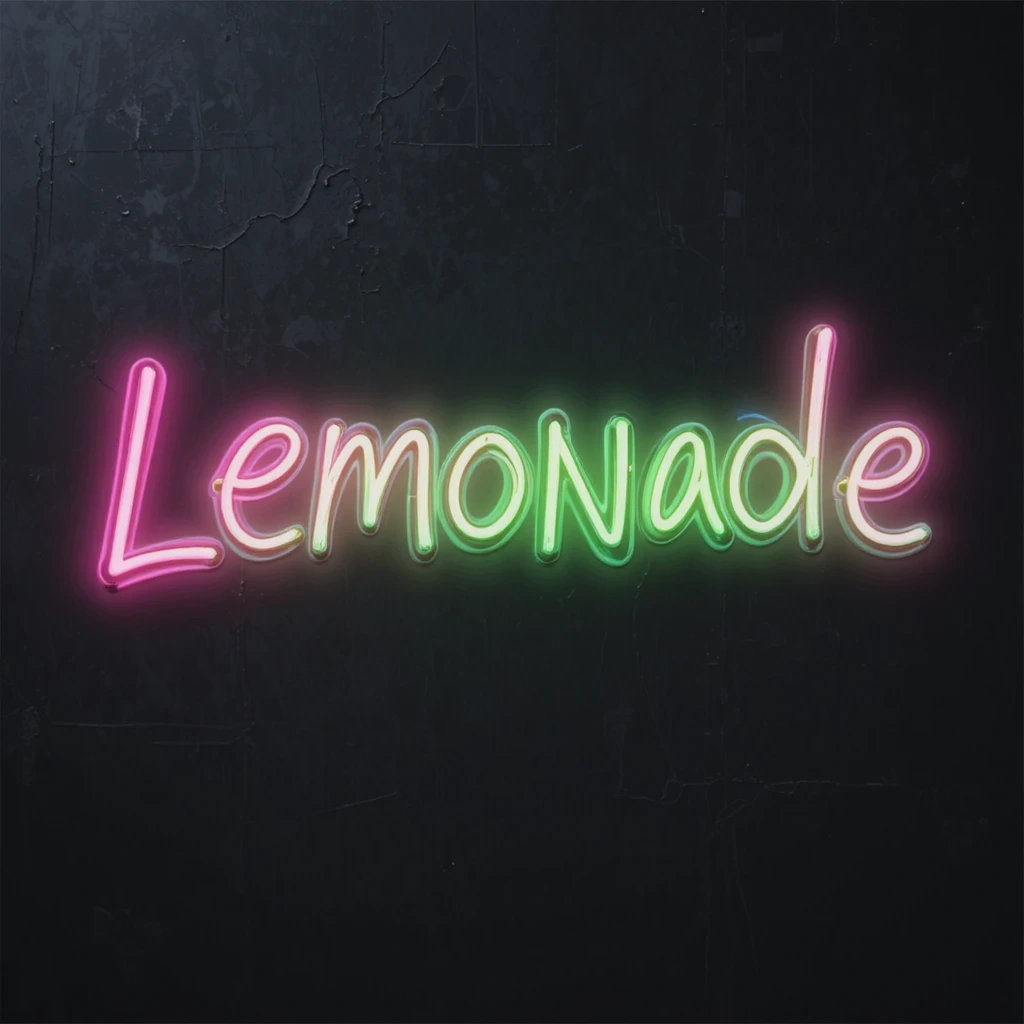
Want to sell lemonade into the evening? Neon colors on dark paper pop like a glowing sign without any electricity. Hot pink, electric green, and bright orange on black cardboard creates a high-energy, modern look.
Materials:
- Black poster board
- Neon markers or neon paint pens (pink, green, yellow, orange)
- Stencil letters (optional)
Steps:
- Plan your layout with a light pencil sketch.
- Write headline text in large neon letters.
- Add decorative elements — stars, arrows, lightning bolts.
- Use a ruler for clean borders or go freestyle.
- Pair with a small battery-powered LED strip for nighttime glow.
Time & Difficulty: 15 minutes | Easy
Best Use Case: Evening community events, carnivals, summer block parties
Creative Variation: Write “OPEN LATE 🍋” to signal extended hours — it builds curiosity and foot traffic.
6. Hand-Stamped Fruit Print Poster
Use actual lemons as stamps to print a gorgeous patterned background, then add your text on top. This technique is messy in the best way and gives your poster a truly one-of-a-kind texture.
Materials:
- White or cream poster board
- 1–2 lemons, halved
- Yellow and green paint (poster or acrylic)
- Plate for paint
- Black marker for text
Steps:
- Pour yellow paint onto a plate.
- Press a halved lemon into the paint and stamp repeatedly across the board.
- Alternate with green paint for leaves if desired.
- Allow to dry for 15–20 minutes.
- Write your message in bold black marker over the stamped pattern.
Time & Difficulty: 25 minutes | Easy
Best Use Case: Kids’ stand, craft fairs, photo backdrop
Creative Variation: Stamp the lemons in pink paint to promote pink lemonade as your specialty.
7. Mason Jar Illustration Poster
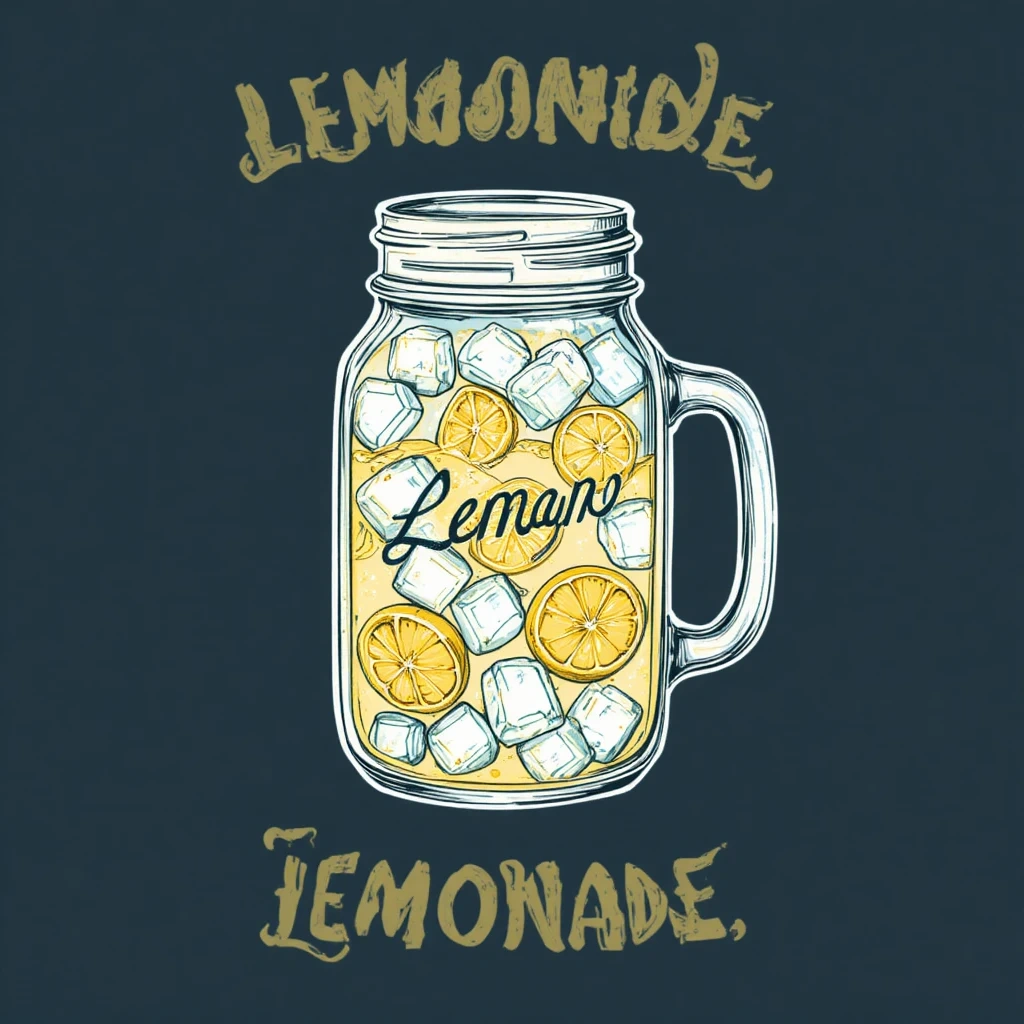
Mason jars scream “fresh, homemade, and delicious.” Draw or trace a large mason jar filled with lemonade, ice cubes, and a lemon slice on your poster, then surround it with your pricing and tagline.
Materials:
- White poster board
- Colored pencils or markers (blue, yellow, teal)
- Black outline marker
- Pencil for sketching
Steps:
- Lightly sketch a large mason jar in pencil — tall rectangle, rounded bottom, lid ring on top.
- Fill it in with blue/teal “water” color and add a yellow lemon slice and ice cube shapes.
- Outline everything in black marker.
- Add text above and below the jar: “HOMEMADE LEMONADE” and price.
- Decorate borders with small stars or dots.
Time & Difficulty: 25 minutes | Medium
Best Use Case: Farmers market, neighborhood fair, summer parties
Creative Variation: Add a banner ribbon across the jar that says “EST. [Year]” for a vintage feel.
8. Photo Collage Banner Poster
Print or cut out photos of lemons, your stand setup, or happy customers (with permission), and arrange them in a collage format with bold text overlays. This works great if you have access to a printer.
Materials:
- Printed photos or magazine cutouts
- Large poster board or foam board
- Glue stick
- Markers or printed text labels
Steps:
- Print 6–10 small lemon/summer-themed photos.
- Arrange them in a grid or scattered layout on the board.
- Glue all photos down.
- Write or print your headline and price and attach it prominently.
- Add a bold border in marker to tie it together.
Time & Difficulty: 20 minutes | Easy
Best Use Case: Recurring stands, school events, charity fundraisers
Creative Variation: Include a QR code that links to your social media or a fun lemonade recipe card.
9. Motivational Quote Poster
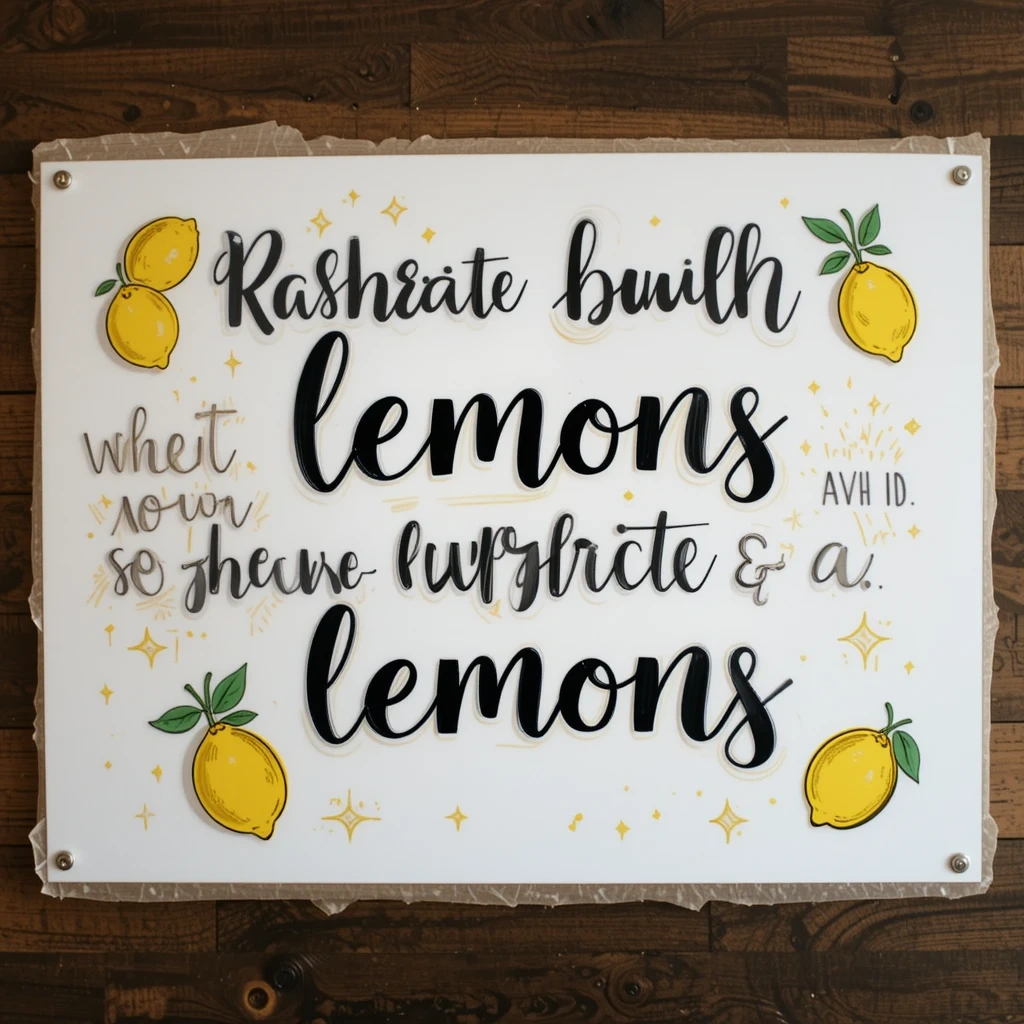
Pair your lemonade message with a famous quote — the classic “When life gives you lemons…” is a crowd pleaser. Combine inspiring typography with simple lemon illustrations for a poster that’s both funny and memorable.
Materials:
- Poster board (any color)
- Thick markers in 2–3 colors
- Ruler
- Optional: washi tape for borders
Steps:
- Write the quote in large letters across the top half of the board.
- Below, write “…We made LEMONADE! 🍋 — $1 per cup.”
- Draw simple lemon shapes in the corners.
- Add a colorful washi tape border for a polished finish.
- Laminate or cover in clear tape for weather protection.
Time & Difficulty: 15 minutes | Easy
Best Use Case: Charity stands, motivational kids’ events, social media content
Creative Variation: Change the quote seasonally — use “Stay Cool” in summer, “Stay Sweet” in fall.
10. Newspaper Headline Style Poster
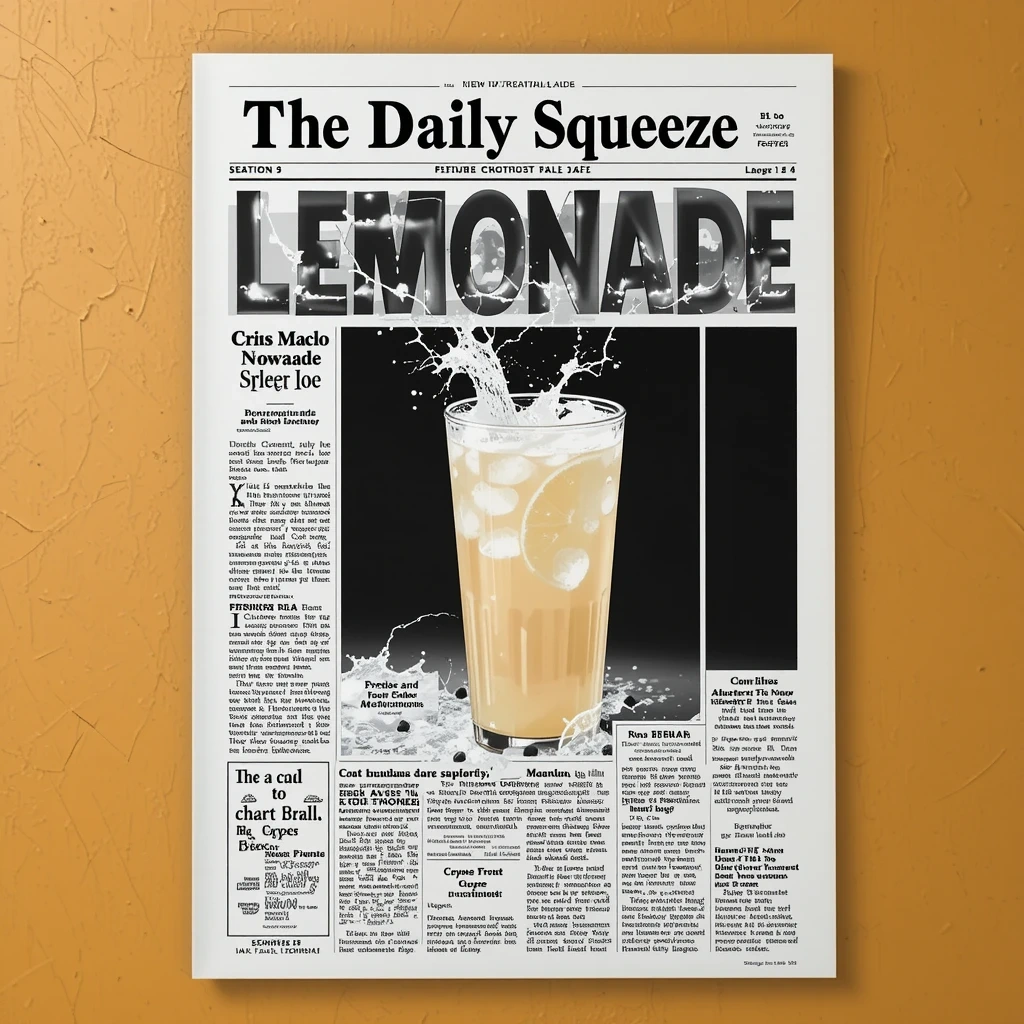
Make your lemonade stand look like breaking news! Mimic the layout of a newspaper front page — bold headline, columns, fake “article” subtext — to create a witty, attention-grabbing sign that makes people laugh and stop.
Materials:
- White or cream poster board
- Black markers in various thicknesses
- Ruler
Steps:
- At the top, write a fake newspaper name: “The Daily Squeeze” or “Lemon Times.”
- Write a headline: “LOCAL KID DISCOVERS WORLD’S BEST LEMONADE — ONLY $1!”
- Add two “columns” of nonsense lemonade “article” text in small handwriting.
- Include a boxed “Special Edition” badge.
- Keep everything in black and white for authenticity.
Time & Difficulty: 20 minutes | Medium
Best Use Case: Neighborhood events, school fundraisers, social media-worthy setups
Creative Variation: Print it on actual newsprint paper from a craft store for the full effect.
11. Patriotic or Holiday-Themed Poster
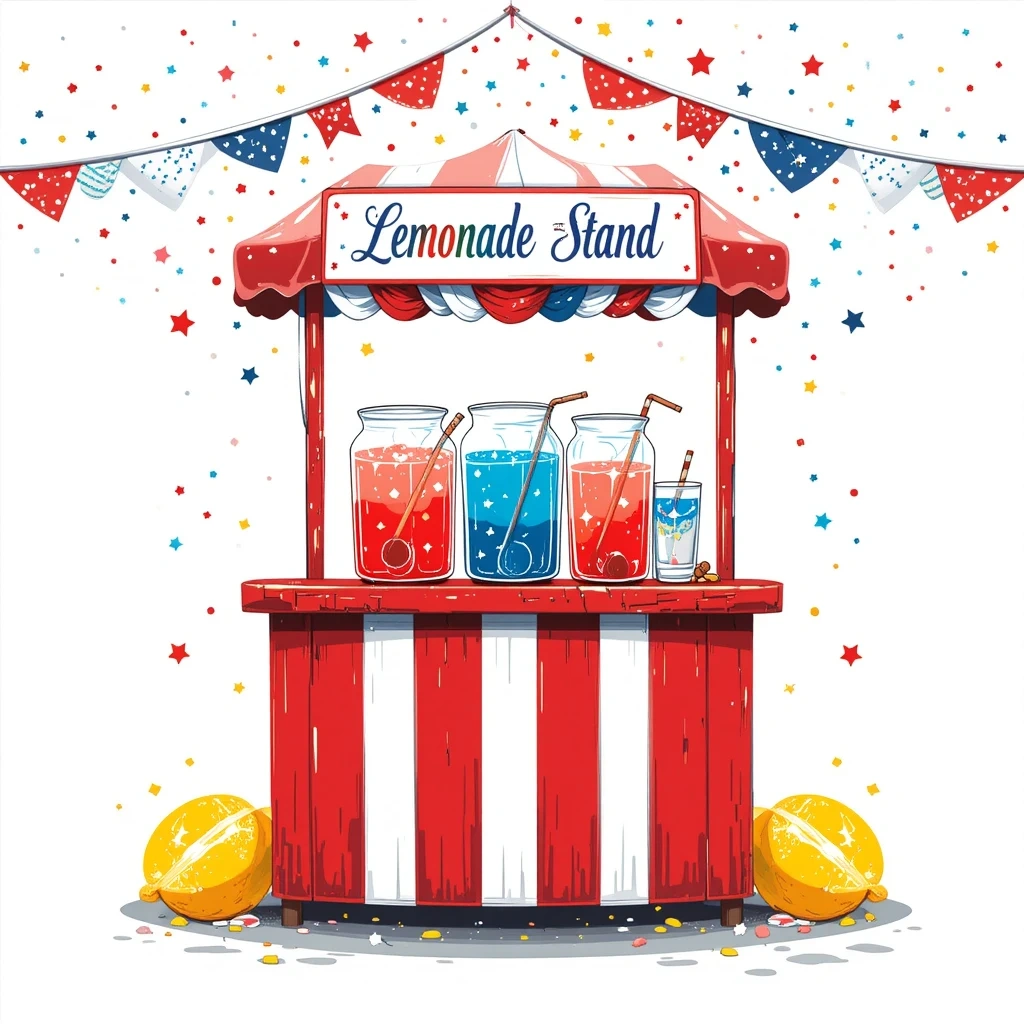
Tie your lemonade stand into a nearby holiday or event for instant relevance. Fourth of July, Labor Day, or a local festival gives you a built-in theme to work with — red, white, and blue for summer patriotic events work especially well.
Materials:
- Red, white, and blue poster board or paint
- Stars stencil or star-shaped stickers
- Marker or paint pens
Steps:
- Paint or use pre-colored board in your holiday palette.
- Add patriotic elements: stars, stripes, or seasonal decorations.
- Write your message in a bold, festive font.
- Include a holiday-specific tagline like “Cool off this 4th of July!”
- Add an American flag clip art if printing is available.
Time & Difficulty: 20 minutes | Easy
Best Use Case: Holiday events, national holidays, community parades
Creative Variation: Adapt the concept for other holidays — orange and black for Halloween “Spooky Sips,” or red and green for a holiday hot cocoa crossover.
12. Interactive “Spin the Wheel” Price Board
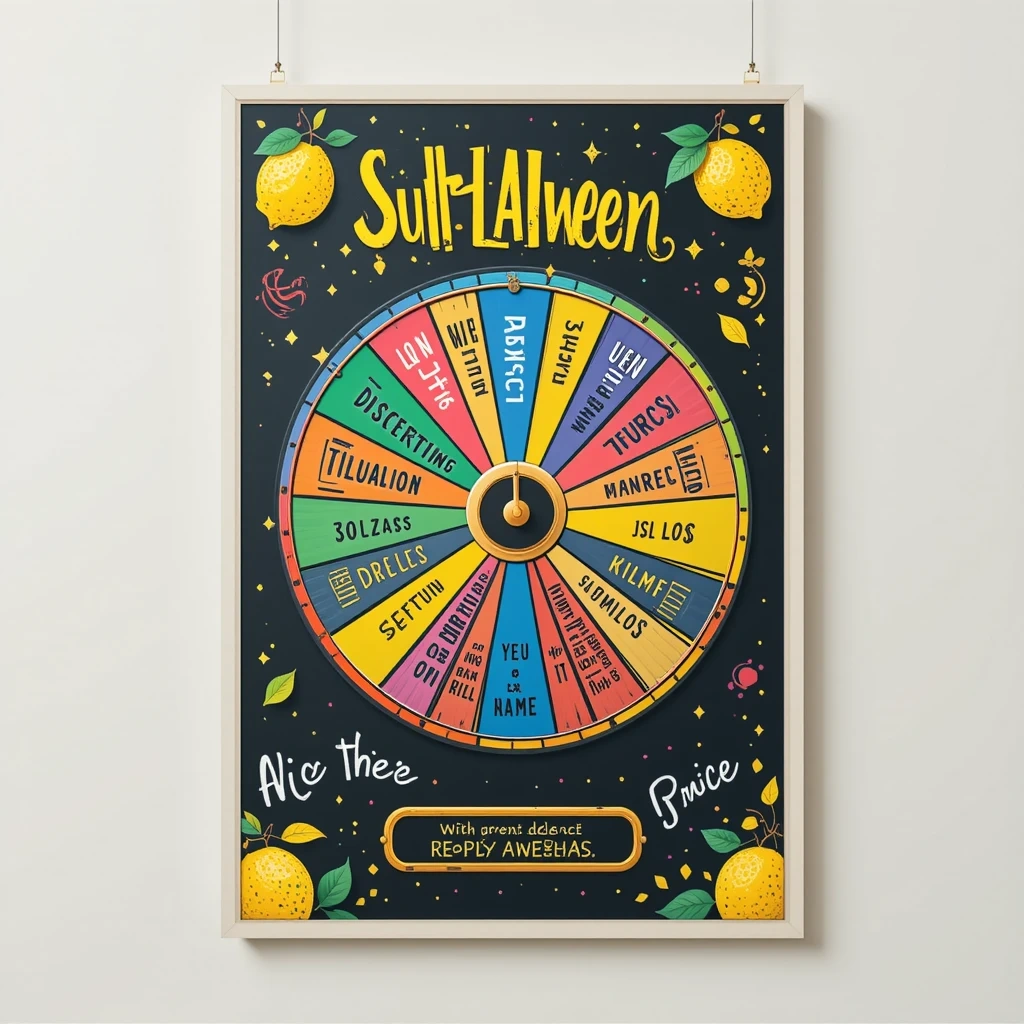
Turn your poster into a game! Create a spinning wheel or scratch-off style card display that adds an element of fun to your pricing. Customers spin or scratch to discover their price — it builds buzz and keeps people coming back.
Materials:
- Large foam board
- Spinner (from a board game, or make one with a brass fastener)
- Markers and paint
- Sticky note squares (for scratch-off sections)
Steps:
- Draw a price wheel on the board with sections like “50¢,” “$1,” “Free Cup,” or “Buy 2 Get 1.”
- Attach a spinner in the center with a brass fastener.
- Write “SPIN TO DISCOVER YOUR PRICE! 🍋” in large letters above.
- Decorate the board with lemon illustrations.
- Keep pricing fair — most sections should be standard price.
Time & Difficulty: 30 minutes | Medium
Best Use Case: Birthday parties, high-traffic events, charity fundraisers
Creative Variation: Replace the spinner with a jar of folded paper slips customers draw from — just as fun, even simpler to make.
Budget-Friendly Ideas Guide
Making a standout lemonade poster doesn’t have to cost a thing. Here’s how to do it on a shoestring budget:
- Use what you have: Cardboard boxes, cereal boxes, or old folders make great free poster bases.
- Repurpose markers and crayons: You don’t need expensive paint — thick Sharpies or crayon outlines work beautifully.
- Natural materials: Use actual lemon halves to stamp patterns (Idea #6) — free and functional.
- Free printables: Search for free lemon clipart and print at home to cut and paste onto your board.
- Lamination hack: Press clear packing tape over your finished poster to weatherproof it for free.
Common Mistakes to Avoid
1. Writing too small The most common sign mistake is using letters that are impossible to read from even a few feet away. Always write your main message in letters at least 3–4 inches tall. Your price and tagline should be clearly visible from the sidewalk or across the street.
2. Overcrowding the poster Less is more when it comes to signage. A cluttered poster with too much text, too many colors, or competing elements confuses the eye. Stick to one clear headline, one price, and simple decorative elements. Leave breathing room on the poster.
3. Not weatherproofing your sign Paper signs wilt and blur the moment humidity or light rain hits them. Always protect your finished poster with clear packing tape, a plastic page protector, or a coat of Mod Podge before displaying outside.
Tips for Best Results
- Use a ruler for straight lines — even hand-lettered signs look more professional with even alignment.
- Stick to 2–3 colors max — too many colors dilute the visual impact; yellow, white, and black is a proven winner.
- Test readability from 10 feet away — walk across the yard and see if your sign is clear from a distance.
- Add your price prominently — customers are more likely to stop when the price is obvious upfront.
- Laminate or tape-seal if rain is possible — this is especially important for morning setups with afternoon storms.
- Put your best design element at eye level — the most important part of your message should be at standing adult eye height, not at the bottom of the board.
FAQs
Q: What size poster board works best for a lemonade stand? A: A 22″ x 28″ poster board is the most popular choice — large enough to be seen from a distance but easy to carry and mount. For standing signs, use foam board for added stiffness.
Q: What markers are best for outdoor signs? A: Oil-based paint pens and permanent markers like Sharpies hold up best outdoors. Avoid water-based markers unless you seal the poster with tape or Mod Podge, as they bleed when wet.
Q: How do I mount my lemonade poster so it doesn’t fall? A: Tape the poster to a cardboard box, prop it on an easel, or use zip ties to attach it to a table edge. For free-standing displays, insert the poster into a foam board backing weighted with tape.
Q: Can kids make these posters on their own? A: Absolutely! Most of these ideas are designed for children ages 6 and up. For younger kids, ideas #1, #5, and #9 are the most straightforward. Older kids can tackle the chalkboard or newspaper styles with minimal adult help.
Q: How do I make my lemonade stand poster weather-resistant? A: The easiest DIY method is to layer strips of clear packing tape over the entire poster surface. You can also use Mod Podge (a craft sealer), laminate pouches, or clear acrylic spray for a more professional finish.
Q: Is it better to handwrite the poster or print it? A: Handwritten posters have more charm and personality — they feel authentic and kid-made, which customers love. If you want a very polished look or need multiple copies, printing works great. A mix of both (printed background + handwritten accents) is a winning combo.
Conclusion
Your lemonade stand deserves a poster as bright and inviting as the drink inside the cup. Whether you go classic yellow, bold neon, rustic chalkboard, or wildly creative with a spin wheel, the most important thing is to have fun making it.
A poster that reflects your personality and creativity is far more powerful than a generic sign — and it’s a memory you’ll keep long after the last cup is poured. Now grab your markers, pick your favorite idea, and make something amazing. The neighborhood is waiting!