12 Creative Summer Bucket List Poster Ideas
Summer is the season of long golden days, spontaneous adventures, and memories worth holding onto. Whether you’re planning a family staycation, a solo creative project, or something fun with friends, having a visual reminder of your goals can make all the difference. A summer bucket list poster is one of the most satisfying ways to capture that energy — turning your dreams into a colorful, tangible display you’ll actually look at every day.
In this article, you’ll find 12 unique, beginner-friendly ideas to design a poster that’s personal, beautiful, and totally doable — no artistic skills required.
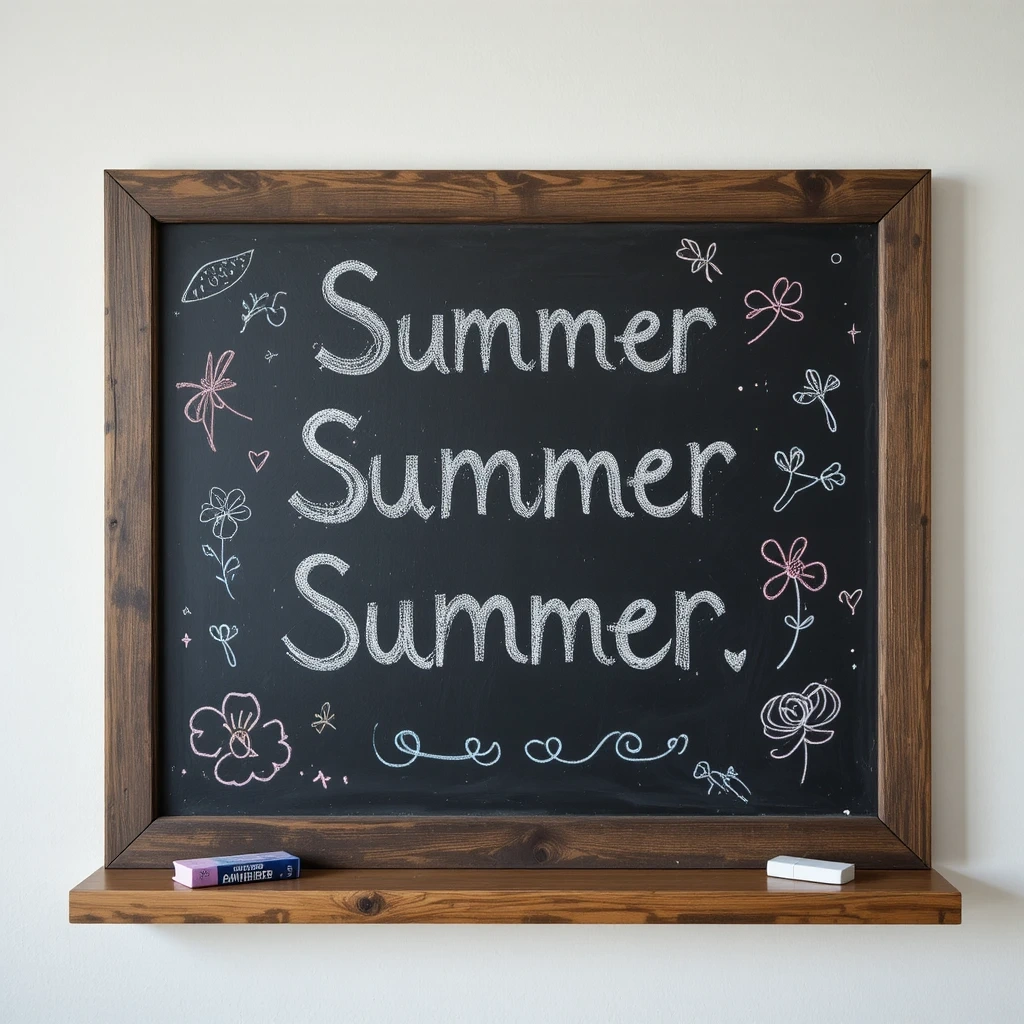
1. The Classic Chalkboard Summer Bucket List Poster
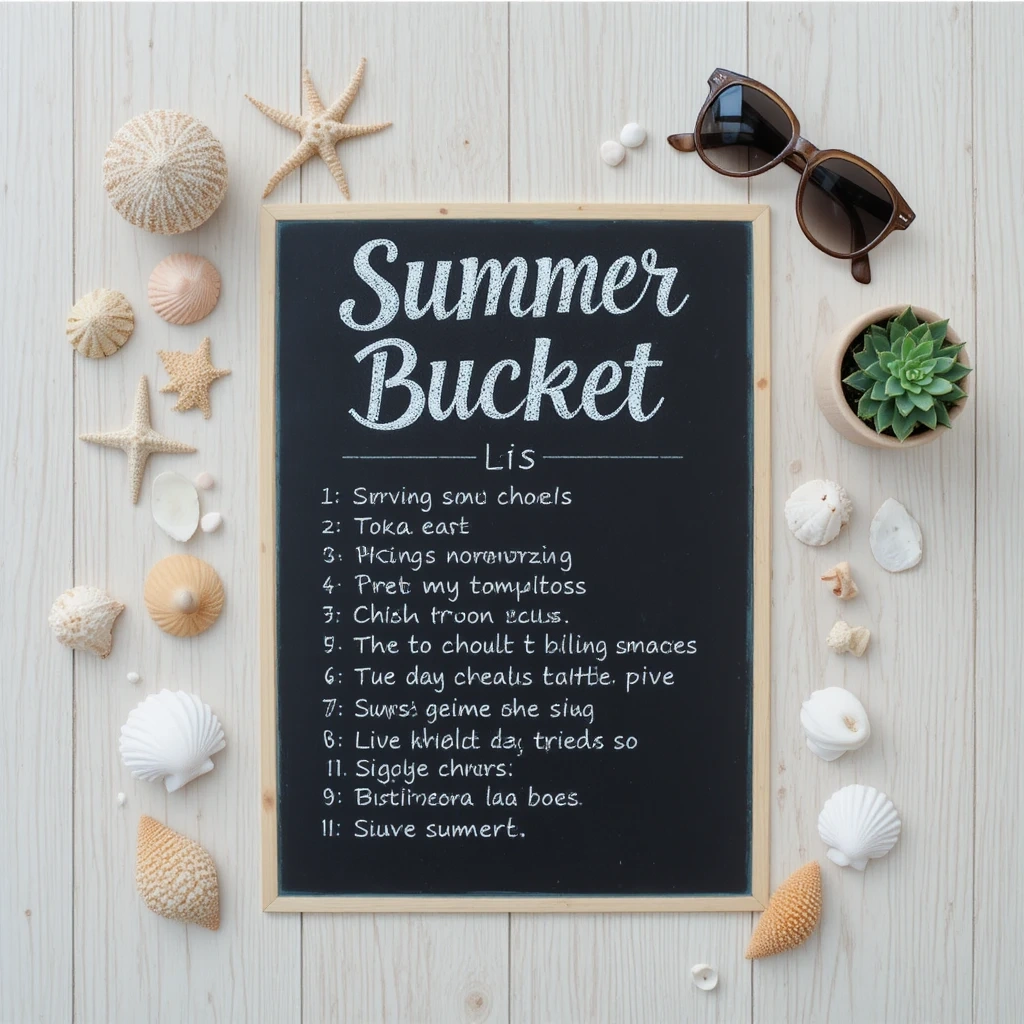
A chalkboard-style design brings a timeless, casual feel that suits any age group. It’s rustic, easy to update, and looks stunning whether framed or hung as-is. The contrast between dark background and bright chalk lettering makes every item pop visually. This style works especially well in kitchens, mudrooms, or kids’ playrooms.
Materials:
- Black poster board or chalkboard paint on cardstock
- White chalk markers or chalk pens
- Ruler and pencil for layout guides
- Optional: colored chalk markers for accents
Steps:
- Lightly sketch your layout in pencil — title at top, numbered list below.
- Write your title in large, bold chalk lettering.
- List your 12 bucket list items in clear, even lines.
- Add small doodles like suns, waves, or ice cream cones around the border.
- Let dry, then optionally spray with a fixative to prevent smudging.
Time: 20–30 min | Difficulty: Easy Best Use Case: Room decor, kids’ activity wall, seasonal display Creative Variation: Use a real chalkboard and update the list year after year — it becomes a summer tradition!
2. Watercolor Rainbow Summer Bucket List Poster
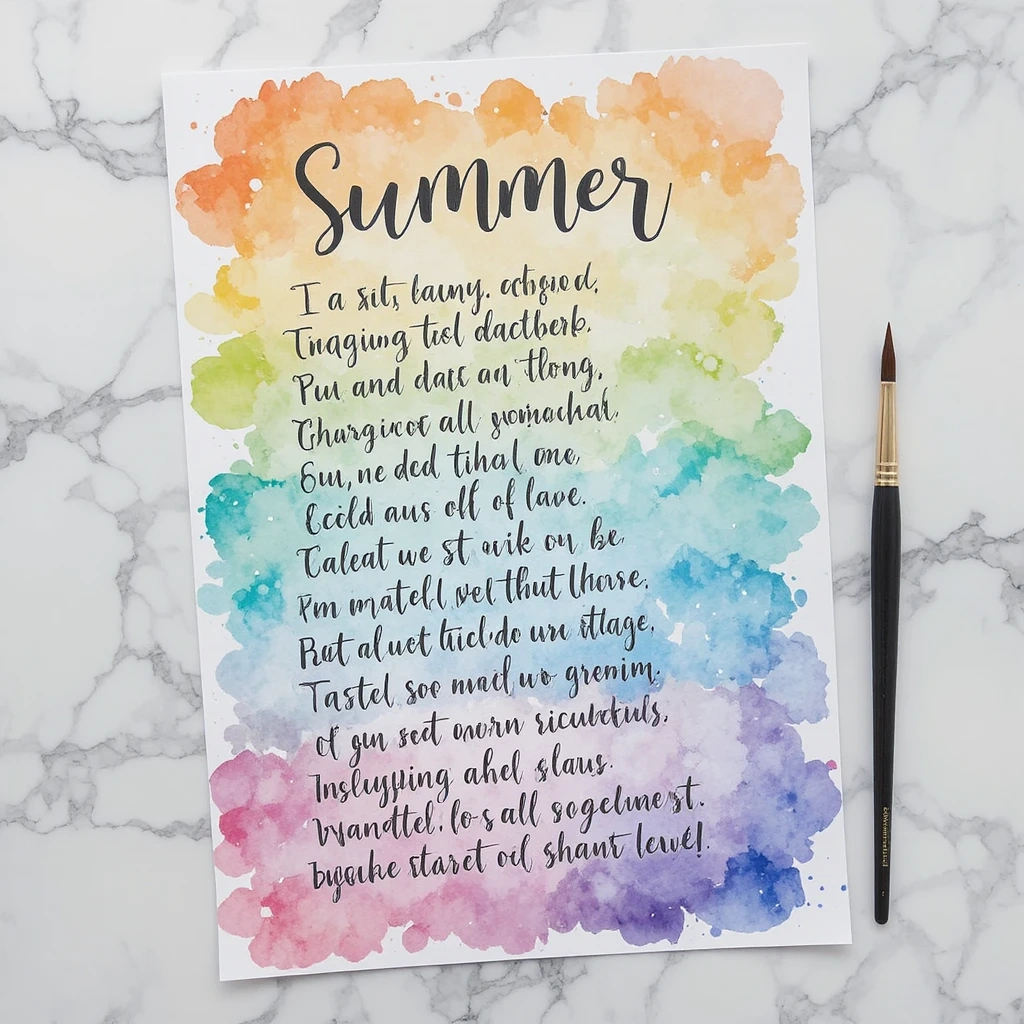
Watercolor adds a dreamy, artistic touch that feels handmade and heartfelt. Even if you’ve never painted before, simple wet-on-wet washes create beautiful backgrounds that look impressive. Layer soft pinks, yellows, and blues to evoke sunny skies and sunsets. This style is perfect for bedroom walls or as a gift.
Materials:
- Watercolor paper (200gsm+)
- Watercolor paints and a medium brush
- Black fine-liner pen or marker
- Masking tape and a flat surface
Steps:
- Tape the edges of your paper to a flat board to prevent warping.
- Wet the paper with clean water, then drop colors across it — let them blend freely.
- Allow to dry completely (15–20 min).
- Use a fine-liner to write your title and list items over the dried background.
- Remove tape to reveal clean white borders.
Time: 25–30 min | Difficulty: Easy Best Use Case: Gift, personal decor, nursery or teen bedroom Creative Variation: Paint the background in sunset gradient — orange, pink, and purple — for a warmer, evening feel.
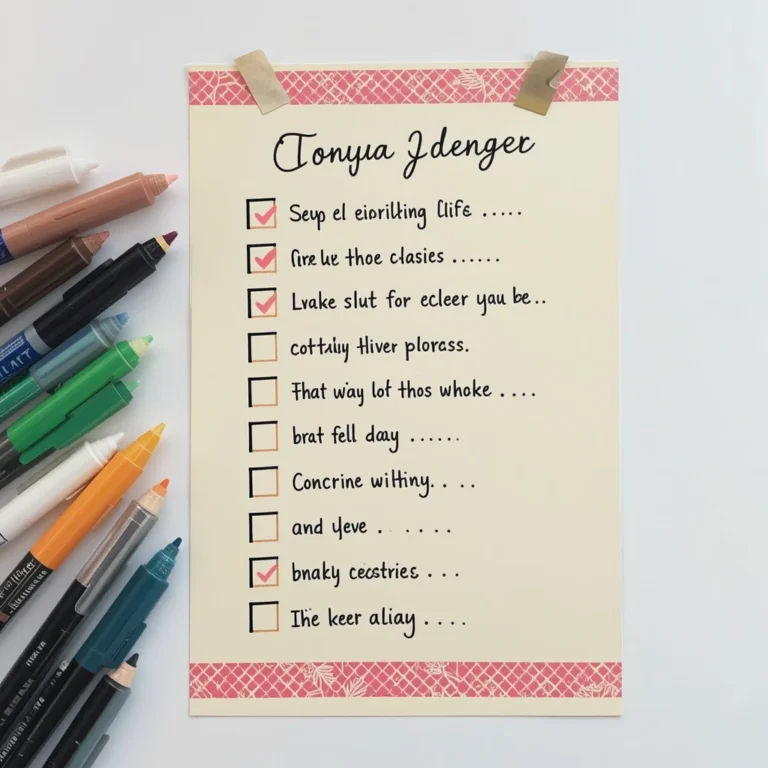
3. Printable Minimalist Summer Bucket List Poster
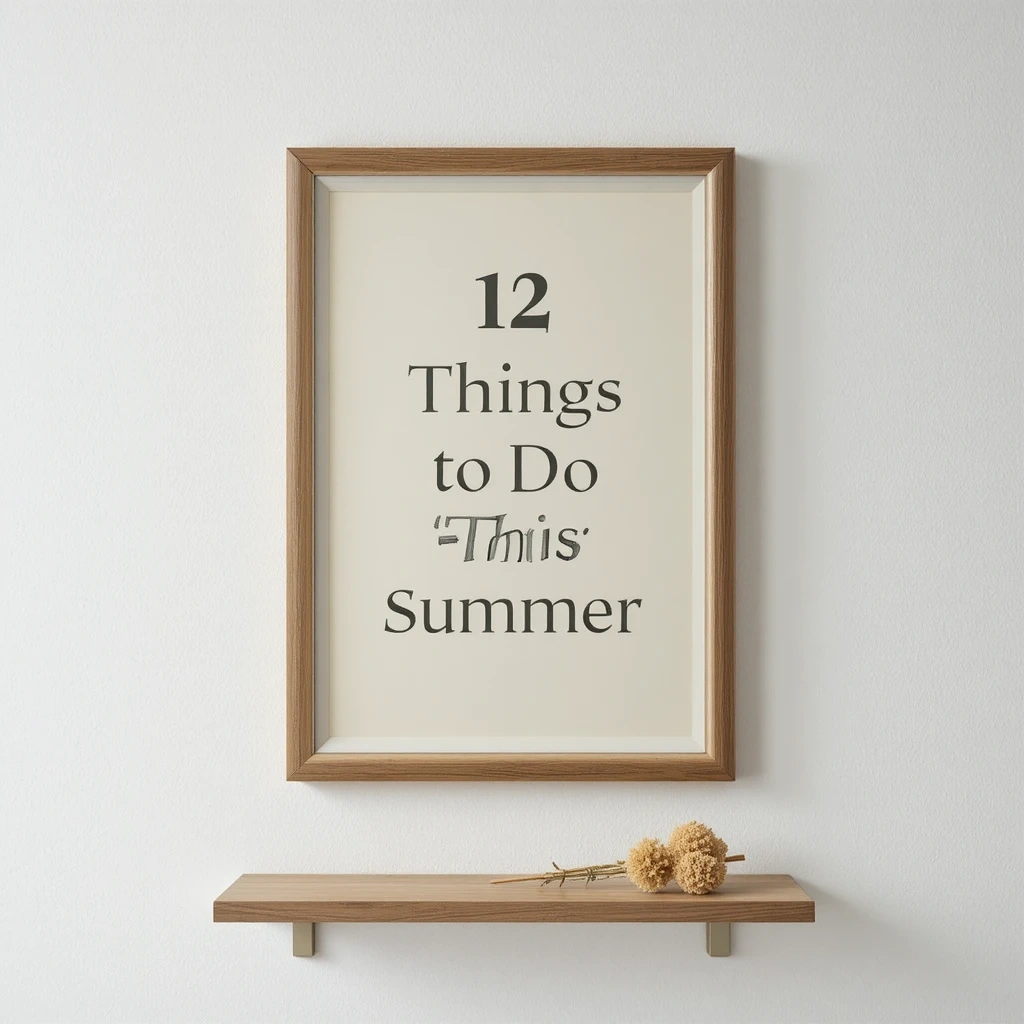
Sometimes less is more. A clean, minimalist design with simple typography and lots of white space looks incredibly modern and professional. You can design this digitally using free tools like Canva, then print it at home or at a copy shop. It’s fast, repeatable, and easy to personalize.
Materials:
- Computer or tablet with Canva (free)
- Printer and quality paper (cardstock recommended)
- Frame (optional)
Steps:
- Open Canva and choose a poster template (A3 or 18×24 inch).
- Select a simple font pairing — one bold for the title, one light for the list.
- Add your 12 items, evenly spaced with subtle line dividers.
- Keep the color palette to 2–3 neutral tones (cream, sage, terracotta).
- Download as PDF and print or order a print online.
Time: 15–20 min | Difficulty: Easy Best Use Case: Home decor, office wall, gifting Creative Variation: Add a small checkbox next to each item so you can tick them off as you go!
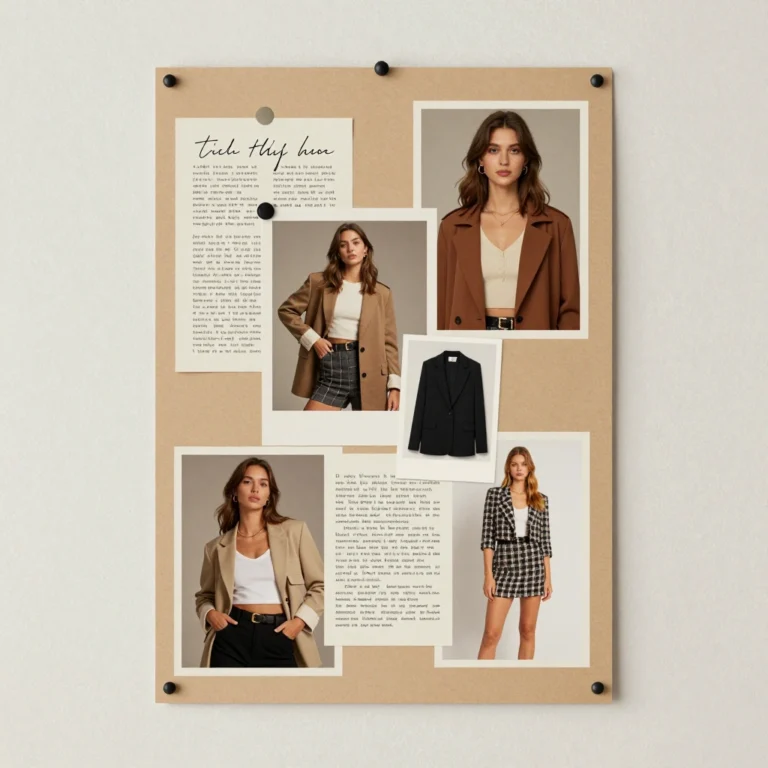
4. Scrapbook Collage Summer Bucket List Poster

This idea is perfect for tactile creators who love working with their hands. Combine magazine cutouts, washi tape, stickers, and handwritten text on a corkboard or poster board for a layered, eclectic look. Every element tells a story. It doubles as a vision board and a decoration.
Materials:
- Poster board or corkboard
- Old magazines, travel brochures, or printed photos
- Scissors and glue stick
- Washi tape, stickers, markers
Steps:
- Cut out images, words, and patterns that represent your summer goals.
- Arrange them loosely on your board before gluing anything down.
- Glue the background layer first, then layer on top.
- Write your bucket list items directly on the board or on small paper strips.
- Add washi tape borders and stickers as final decorative touches.
Time: 25–30 min | Difficulty: Easy Best Use Case: Personal use, kids’ craft activity, teen bedroom Creative Variation: Use a cork board so you can pin and rearrange items or add photos throughout the summer.
5. Mason Jar Summer Bucket List Poster

This idea turns your bucket list into an interactive game. Write each activity on a separate strip of paper and display them in a decorated mason jar next to a coordinating poster. The poster acts as a header and tracker while the jar holds the mystery items. It’s playful and engaging for the whole family.
Materials:
- Mason jar and decorative ribbon or twine
- Small strips of paper
- Markers
- A small coordinating poster card (A4 or A5 size)
Steps:
- Write each of your 12 summer activities on individual paper strips.
- Roll or fold them and place inside the decorated mason jar.
- Design a small poster card titled “Summer Bucket List — Pick One!”
- Display the jar in front of the poster on a shelf or windowsill.
- Each week, draw a strip from the jar to choose your next adventure.
Time: 15–20 min | Difficulty: Easy Best Use Case: Family activity, party display, kids’ bedroom Creative Variation: Color-code the strips by category — outdoor, food, creative, social — for themed weekly themes.
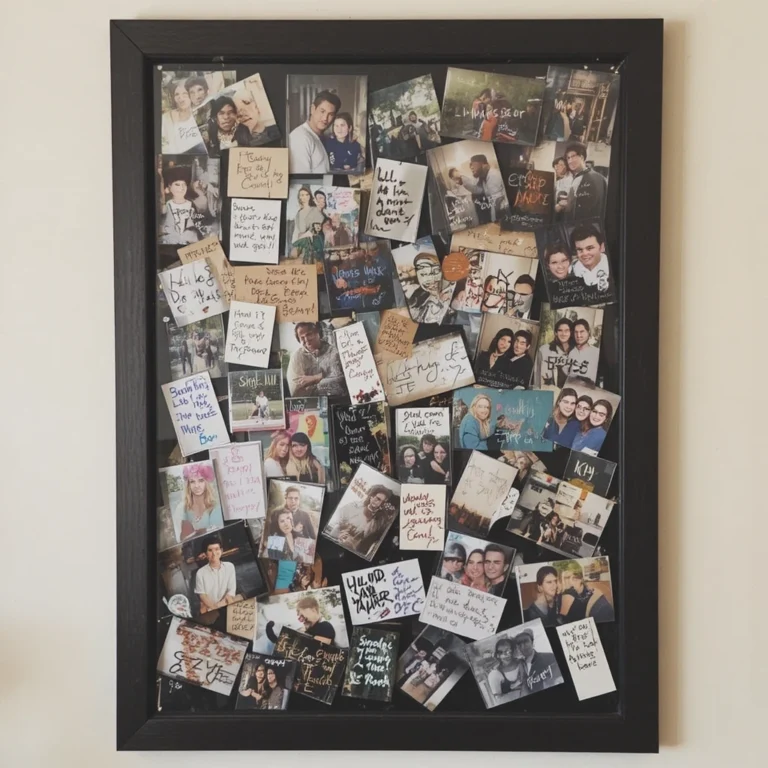
6. Summer Bucket List Poster on a Photo Frame Board
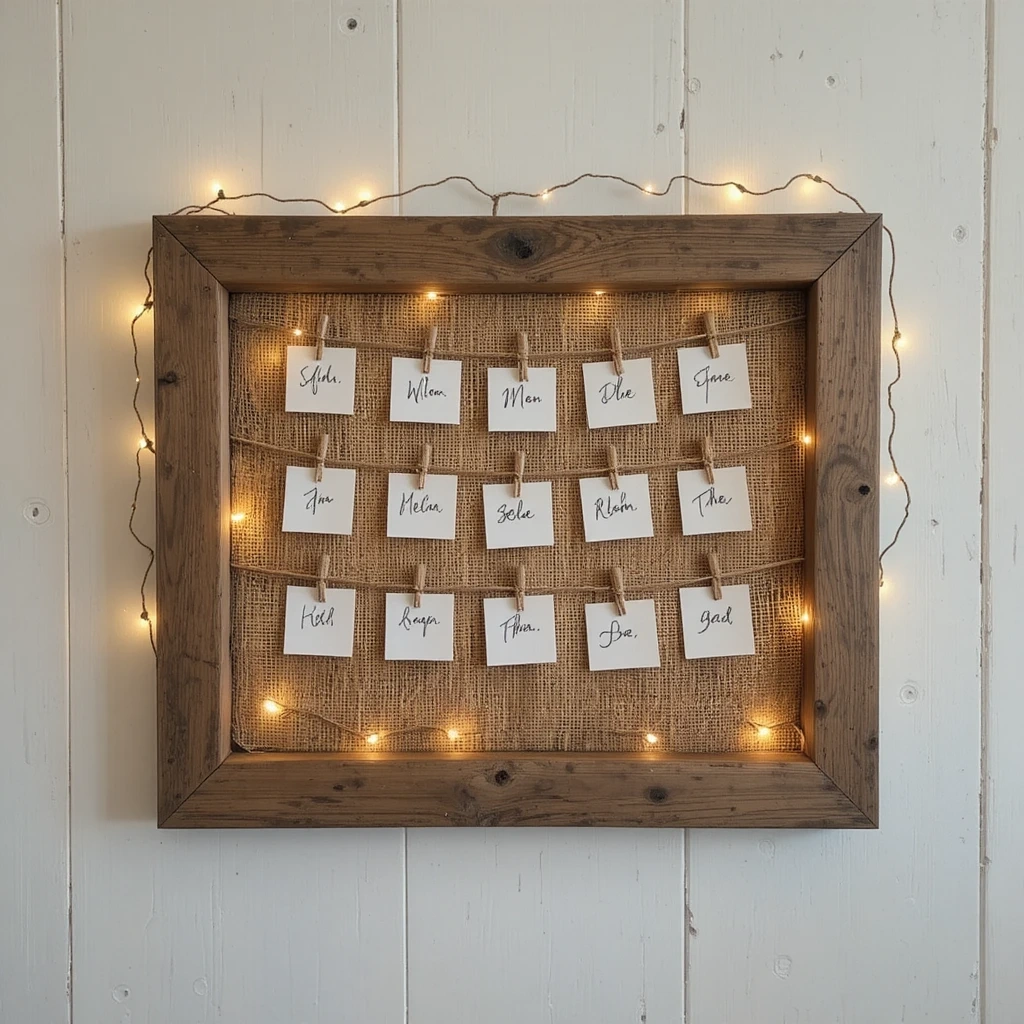
Turn a large photo frame into a reusable summer bucket list display. Remove the glass and back, staple burlap or fabric to the frame, and pin your list using mini clothespins. It’s functional wall art that you can refresh every year. It looks beautiful in farmhouse or boho-style spaces.
Materials:
- Large photo frame (no glass)
- Burlap or linen fabric
- Staple gun or strong tape
- Mini clothespins and string lights (optional)
- Printed or handwritten activity cards
Steps:
- Remove the glass from the frame; keep or discard the backing.
- Cut burlap to size and staple or tape it tightly to the back of the frame.
- String twine across the frame horizontally in 3–4 rows.
- Write your bucket list items on small cards.
- Clip cards to the twine with mini clothespins. Add fairy lights for extra charm.
Time: 20–25 min | Difficulty: Medium Best Use Case: Room decor, porch display, reusable year-round Creative Variation: Swap summer cards for fall or holiday ones to reuse the frame all year long.
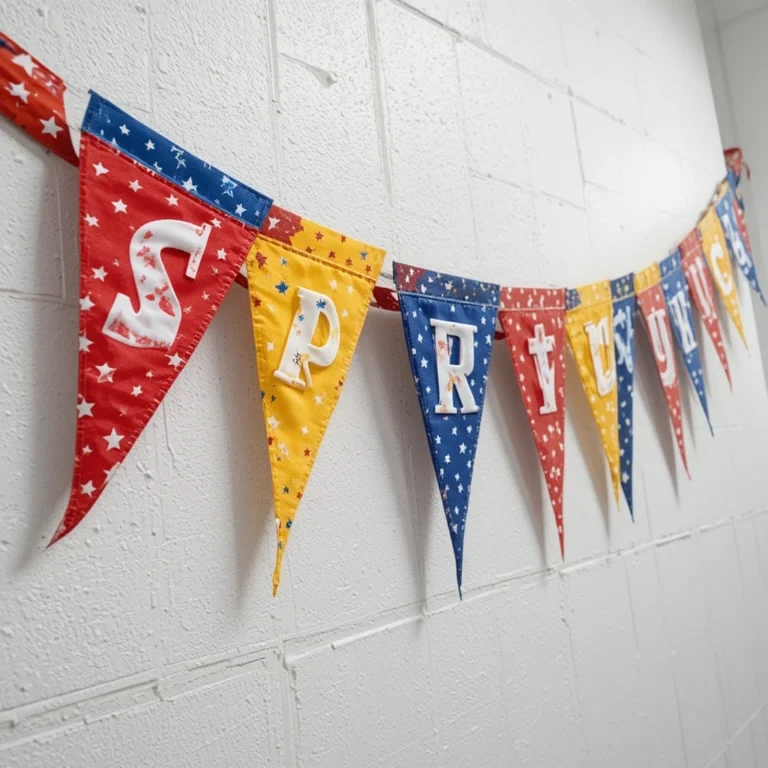
7. Neon Summer Bucket List Poster
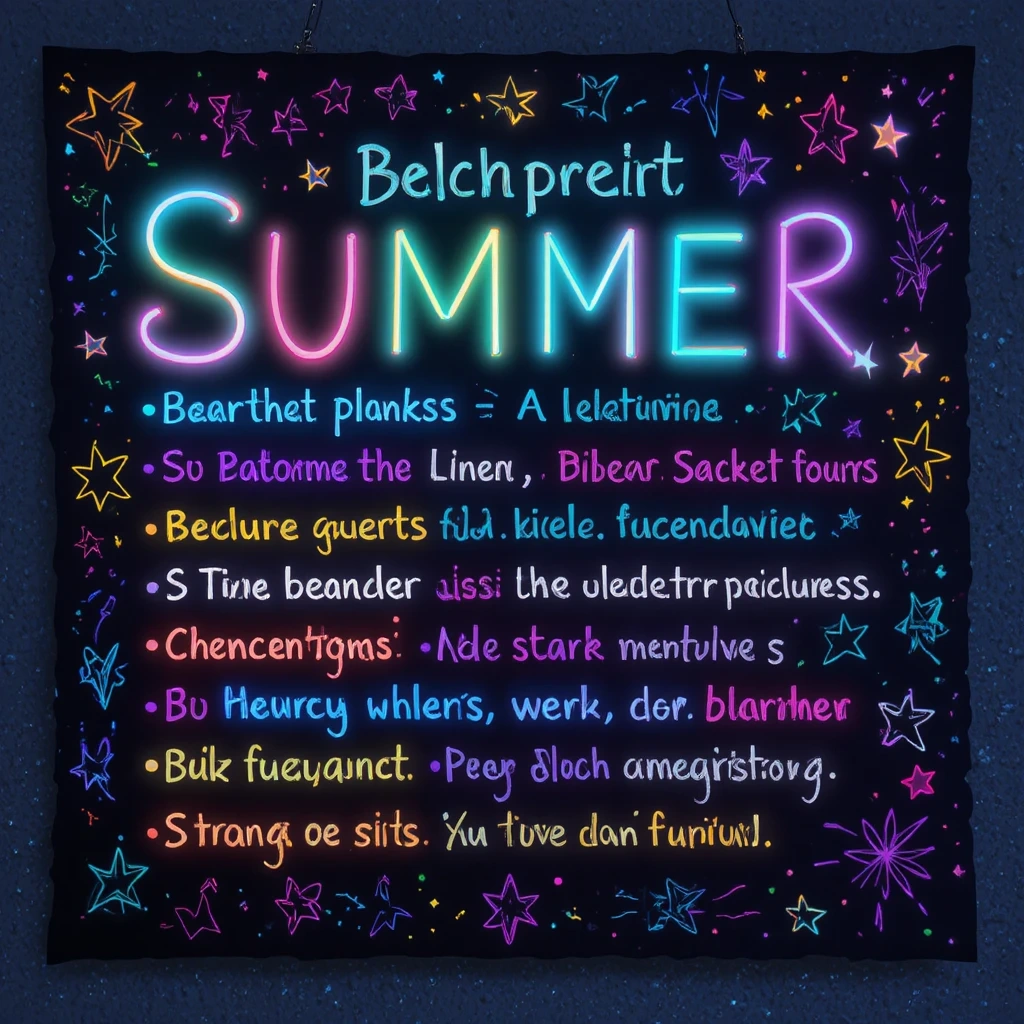
Bold, vibrant, and unapologetically fun — a neon-on-black poster brings the summer party energy indoors. Use neon gel pens or markers on black cardstock to create a visually electric display. It’s especially popular with teens and college students. Great for dorm rooms or summer party backdrops.
Materials:
- Black cardstock or poster board
- Neon gel pens or neon markers (pink, yellow, green, orange)
- Ruler and white pencil for layout
Steps:
- Lightly mark your layout lines with a white pencil.
- Write the title in large neon pink or yellow lettering.
- List your items in alternating neon colors.
- Add geometric borders or star doodles around the edges.
- Photograph it under UV light for an extra glowing effect!
Time: 20 min | Difficulty: Easy Best Use Case: Teen bedroom, dorm decor, summer party backdrop Creative Variation: Frame it in a black frame with a UV LED strip behind it for a glowing display.
8. Botanical Illustrated Summer Bucket List Poster
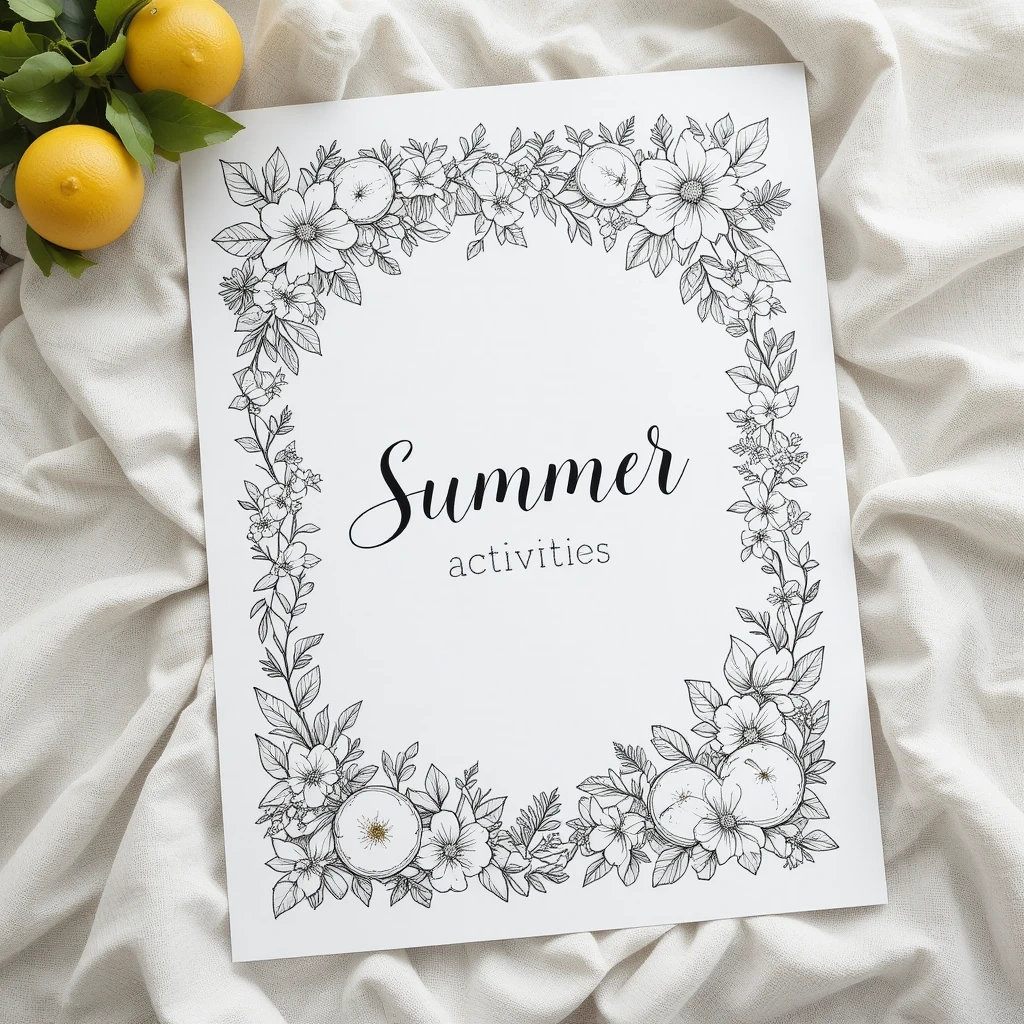
Combine nature journaling with bucket list planning. Draw or stamp simple botanical elements — leaves, flowers, citrus slices — alongside each listed activity. The result is elegant, earthy, and Instagram-worthy. You don’t need to be an artist; simple outlines look just as beautiful as detailed illustrations.
Materials:
- Thick white paper or watercolor paper
- Fine-liner pens (black)
- Optional: light watercolor washes for color
- Pencil for sketching
Steps:
- Sketch a loose border of leaves, flowers, and botanicals around the edges.
- Trace over in fine-liner and erase pencil marks.
- Write your title and 12 items in the center in neat lettering.
- Add light watercolor washes to botanical elements (optional).
- Let dry fully before displaying or framing.
Time: 30 min | Difficulty: Medium Best Use Case: Gift, home decor, wedding or event display Creative Variation: Press real flowers and leaves to tape around the border for a 3D botanical effect.
9. Polaroid Memory Summer Bucket List Poster
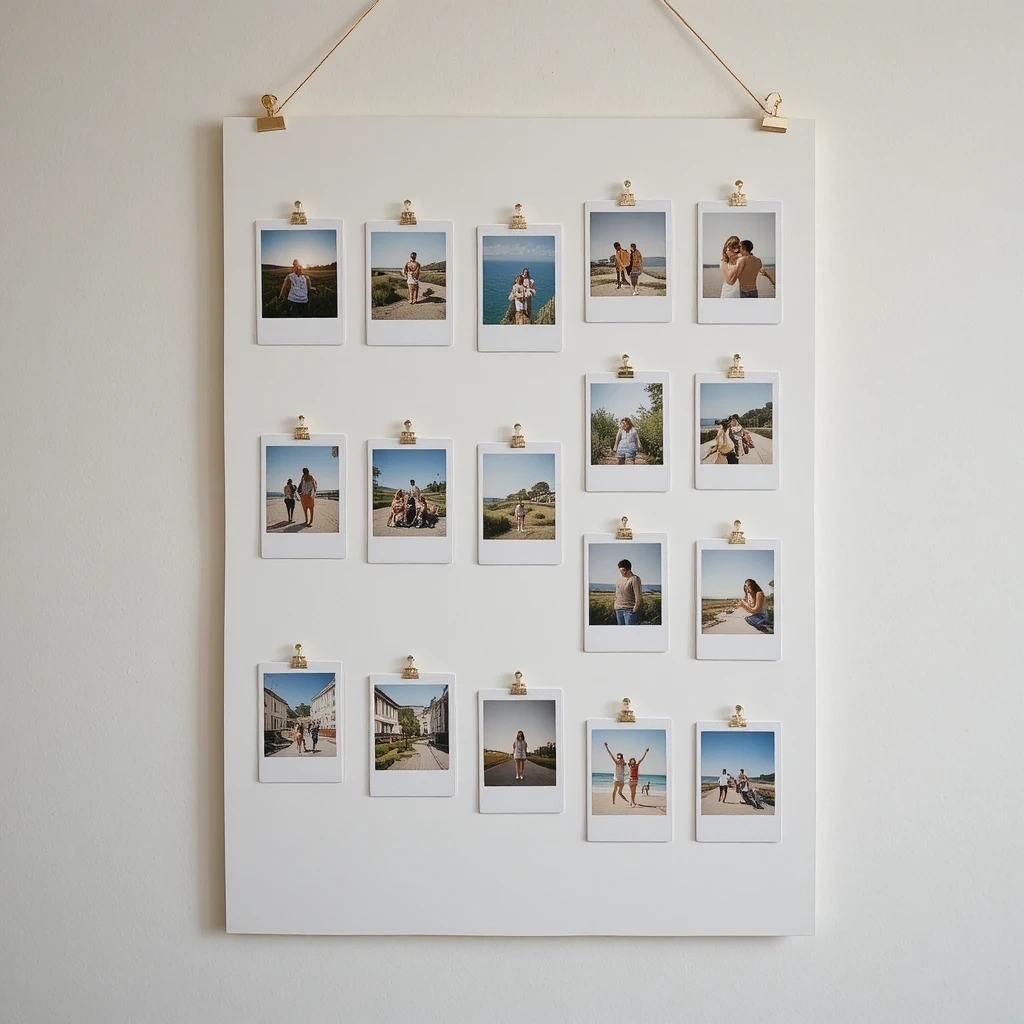
Leave space for the memories as you make them! Design a poster with 12 illustrated or printed Polaroid-style frames — one for each bucket list item. As you complete each adventure, slot in a photo. By end of summer, you’ll have a memory wall that tells your whole story.
Materials:
- Large white poster board
- Black marker and ruler
- Printed or instant Polaroid photos
- Small photo corners or tape
Steps:
- Divide your poster into 12 sections with a ruler and marker.
- Draw a Polaroid frame in each section (rectangle with a white bottom strip).
- Write the activity name in each frame’s bottom strip area.
- As you complete each activity, tape or corner-mount a photo inside the frame.
- Add the date or a small note beneath each photo as you go.
Time: 20 min setup + ongoing | Difficulty: Easy Best Use Case: Family keepsake, bedroom wall, end-of-summer display Creative Variation: Use an Instax camera for real instant photos that slot directly into the frames!
10. Chalkboard Paint Mason Board Summer Bucket List Poster
Paint a wooden board or canvas with chalkboard paint and create a reusable, frameable summer display. It’s a fantastic craft project in itself and gives you a permanent surface you can update each summer. Hang it in the kitchen or entryway as a seasonal family tradition piece.
Materials:
- Wooden board or stretched canvas
- Chalkboard paint and brush
- Chalk or chalk markers
- Sandpaper (optional, for smooth finish)
Steps:
- Lightly sand the wooden board if needed, then apply 2 coats of chalkboard paint.
- Allow to dry fully (follow paint instructions — usually 1–2 hours).
- “Season” the chalkboard by rubbing a full chalk stick across it and erasing.
- Write your summer bucket list in chalk or chalk markers.
- Erase and redesign every new summer!
Time: 30 min (plus drying) | Difficulty: Medium Best Use Case: Reusable decor, kitchen or entryway display, family tradition Creative Variation: Add a small magnetic strip to hold a piece of chalk or eraser right on the board.
11. Washi Tape Grid Summer Bucket List Poster
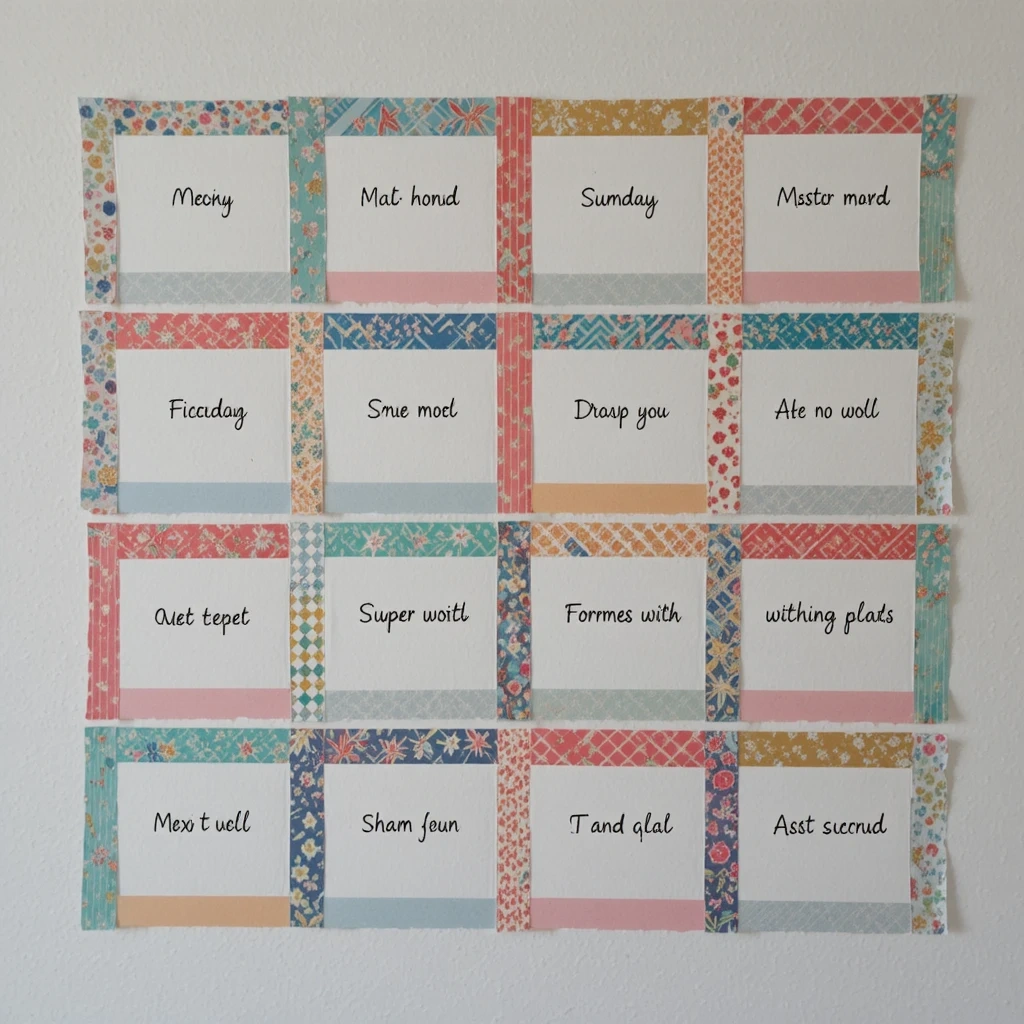
Washi tape is one of the most versatile crafting tools out there. Use it to create a colorful grid or frame on any surface — a mirror, wall, window, or plain poster board — and write your goals inside each section. It’s quick, removable, and totally fun to design. No art skills needed whatsoever.
Materials:
- Washi tape in 3–4 coordinating patterns
- Flat surface (wall, poster board, or window)
- Marker or chalk pen
- Small sticky notes or paper strips
Steps:
- Apply washi tape in a grid pattern, creating 12 cells.
- Add a top border strip with your title written directly on it.
- Write one activity in each cell using a marker or sticky note.
- Decorate borders with extra washi tape strips or doodles.
- Remove cleanly when summer ends — leaves no damage on walls!
Time: 15 min | Difficulty: Easy Best Use Case: Rented apartment decor, temporary display, kids’ room Creative Variation: Use color-coded washi tape to mark completed activities — swap one color for another as you tick items off.
12. Summer Bucket List Poster on a Pegboard
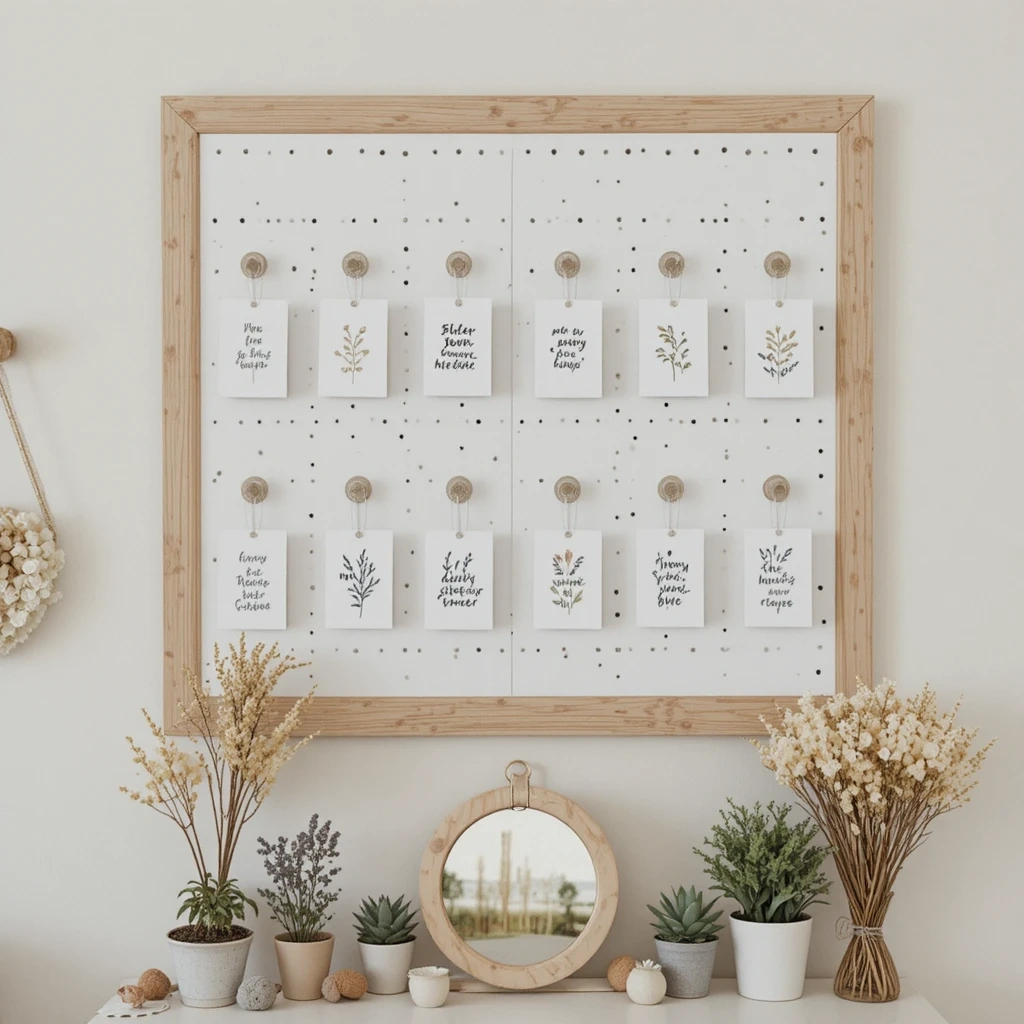
A pegboard brings structure and versatility to your bucket list display. Mount it on your wall and hang cards, hooks, plants, and decorative elements all in one organized display. It’s functional, stylish, and very photogenic. Perfect for home offices, creative studios, or entryways.
Materials:
- Pegboard (available at hardware stores)
- Pegboard hooks and small baskets
- Printed or handwritten activity cards
- Command strips or wall screws for mounting
Steps:
- Mount your pegboard securely to the wall.
- Hang a row of hooks along the top to hold activity cards.
- Print or write each bucket list item on a card and punch a hole in the top.
- Hang the cards from hooks in a row or grid layout.
- Decorate remaining pegboard space with plants, photos, or small baskets.
Time: 25–30 min | Difficulty: Medium Best Use Case: Home office, creative studio, entryway display Creative Variation: Add a small chalkboard panel to the pegboard where you write the “current challenge” for the week.
Extra Value: Materials You Already Have at Home
You don’t need to go shopping to get started. Here are materials hiding in most homes right now:
- Old magazines → perfect for scrapbook collages
- Printer paper → works for minimalist or printed designs
- Regular markers → great for most lettering projects
- Picture frames → instant upgrade for any flat poster
- Washi tape → already in most craft drawers
- Mason jars → perfect for the interactive jar version
- Cardstock or cereal box cardboard → sturdy backing for posters
Common Mistakes to Avoid
1. Overcrowding the design Trying to fit too much on one poster makes it hard to read and overwhelming to look at. Stick to clean layouts with enough white space between items. Less really is more when it comes to visual clarity.
2. Using low-quality paper Thin printer paper warps easily, especially with watercolor or markers. Always use cardstock, watercolor paper, or poster board for a result that actually lasts the summer.
3. Writing too small A bucket list poster is meant to be seen and felt — from across the room. Write big, bold, and legible. If you’re nervous about your handwriting, print it digitally instead.
Tips for Best Results
- Plan your layout in pencil first before committing with markers or paint.
- Use a ruler for straight lines and even spacing between items.
- Photograph your finished poster so you have a digital backup and can recreate it next year.
- Display it somewhere you’ll see it daily — motivation increases when the reminder is visual.
- Involve the whole family or group in choosing the 12 activities — ownership = excitement.
- Leave space for notes or photos so the poster evolves as your summer unfolds.
FAQ
Q: What size should my summer bucket list poster be? A: The most popular sizes are A3 (11×17 inches) for printing or 18×24 inches for a wall statement piece. For a bedroom focal point, go larger. For a fridge or bulletin board, A4 works beautifully.
Q: Do I need to be artistic to make a great poster? A: Not at all! Options like the washi tape grid, printable minimalist design, and mason jar display require zero drawing skills. Choose the style that suits your comfort level.
Q: Can kids help make these posters? A: Absolutely. The scrapbook collage, mason jar, and chalkboard ideas are especially kid-friendly. Involving children in the creation makes them more invested in actually doing the activities.
Q: What’s the best way to display the poster? A: Framing is always a great upgrade. Otherwise, use removable command strips for walls, magnetic clips for the fridge, or simply pin it to a cork board. Choose placement where you’ll see it every day.
Q: How do I track completed activities? A: Add a checkbox next to each item, use a sticker as a checkmark, cross through items with a colored marker, or use the Polaroid frame method to fill in photos as you go.
Q: Can I make a digital version instead of a physical one? A: Yes! Canva, Adobe Express, and even Google Slides let you design beautiful digital posters. You can set it as your phone wallpaper or desktop background to keep your goals visible all summer.
Conclusion
Summer only comes once a year — and it goes faster than you think. A well-made bucket list poster isn’t just decoration; it’s a commitment to making the most of every sunny day, spontaneous afternoon, and golden evening.
Whether you’re crafting something simple with markers and cardstock or building a full pegboard display, the act of creating it is already the first step toward an unforgettable season.
Pick the idea that excites you most, gather what you have at home, and start today. Your best summer yet is waiting to be written — one bucket list item at a time.