12 Unique Teacher Appreciation Poster Ideas That Show Gratitude
Teachers pour their hearts into shaping young minds every single day, and finding the perfect way to say “thank you” can feel surprisingly overwhelming when words just don’t seem like enough. A handmade or thoughtfully designed poster is one of the most heartfelt, lasting tributes you can give — it’s personal, creative, and something a teacher can actually display and treasure for years.
Whether you’re a parent organizing a class gift, a student wanting to show gratitude, or a school coordinator planning an appreciation event, this guide has everything you need to create something beautiful.
Inside, you’ll find twelve fresh, easy-to-execute teacher appreciation poster ideas, each with step-by-step instructions, materials lists, time estimates, and creative twists to make your project truly one of a kind. A great teacher appreciation poster doesn’t require professional design skills — just a little creativity and genuine love for the person you’re honoring.
1. Sunflower Quote Garden Poster
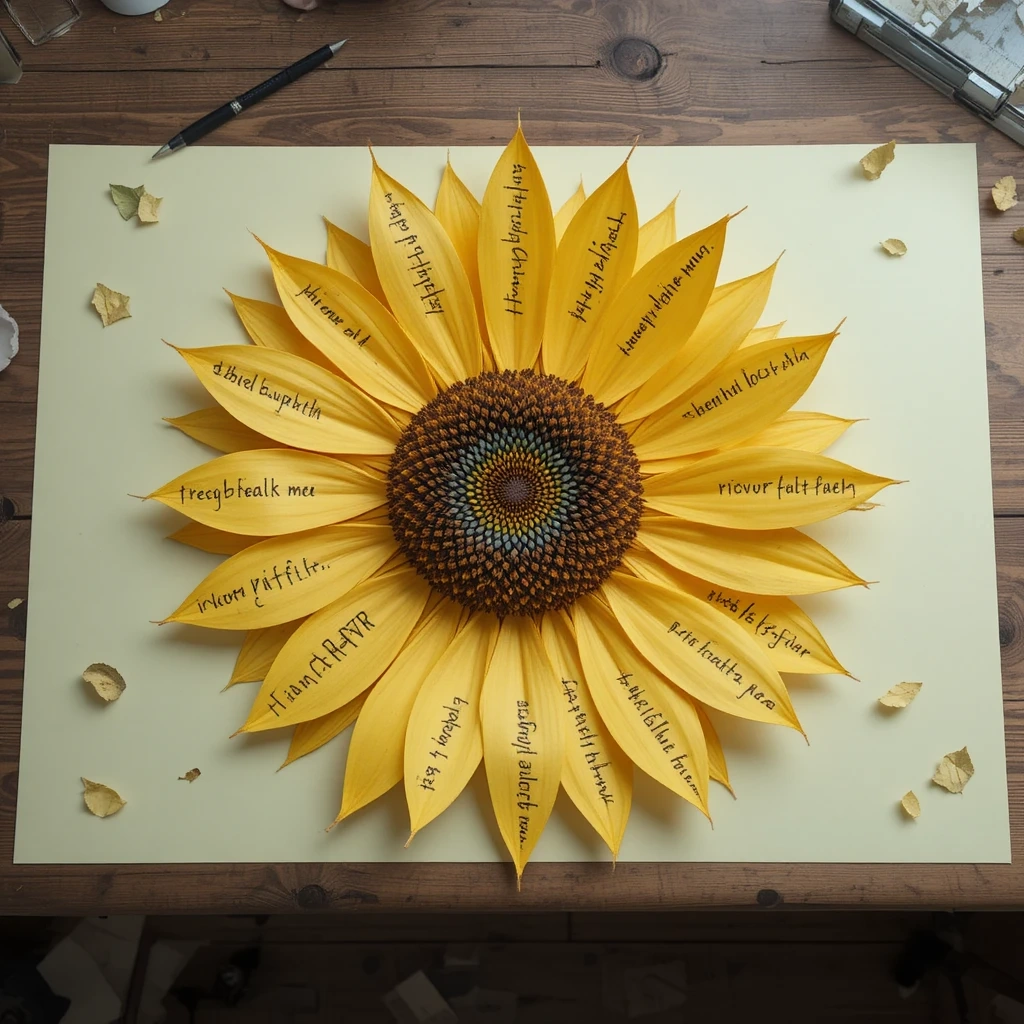
This cheerful, nature-inspired design turns a blank poster board into a blooming tribute. Each sunflower petal contains a word that describes the teacher — “kind,” “patient,” “inspiring” — radiating out from a center circle with the teacher’s name. It’s warm, colorful, and impossible not to smile at.
Materials:
- Yellow and green cardstock or construction paper
- Large white or cream poster board
- Markers (black, brown, green)
- Scissors and glue stick
- Ruler or pencil for layout
Steps:
- Cut 12–16 petal shapes from yellow cardstock.
- Write one descriptive word on each petal in bold marker.
- Glue petals around a brown circle in the center of your poster board.
- Add a green stem and leaves cut from cardstock below the flower.
- Write the teacher’s name inside the brown center circle.
- Add “Thank You, [Name]!” in large letters at the top.
Time: 20–30 minutes | Difficulty: Easy
Best Use Case: End-of-year gift, Teacher Appreciation Week display
Creative Variation: Have each student in the class write on their own petal and sign it — turning one flower into a whole class collaborative artwork.
2. Fingerprint Tree of Gratitude
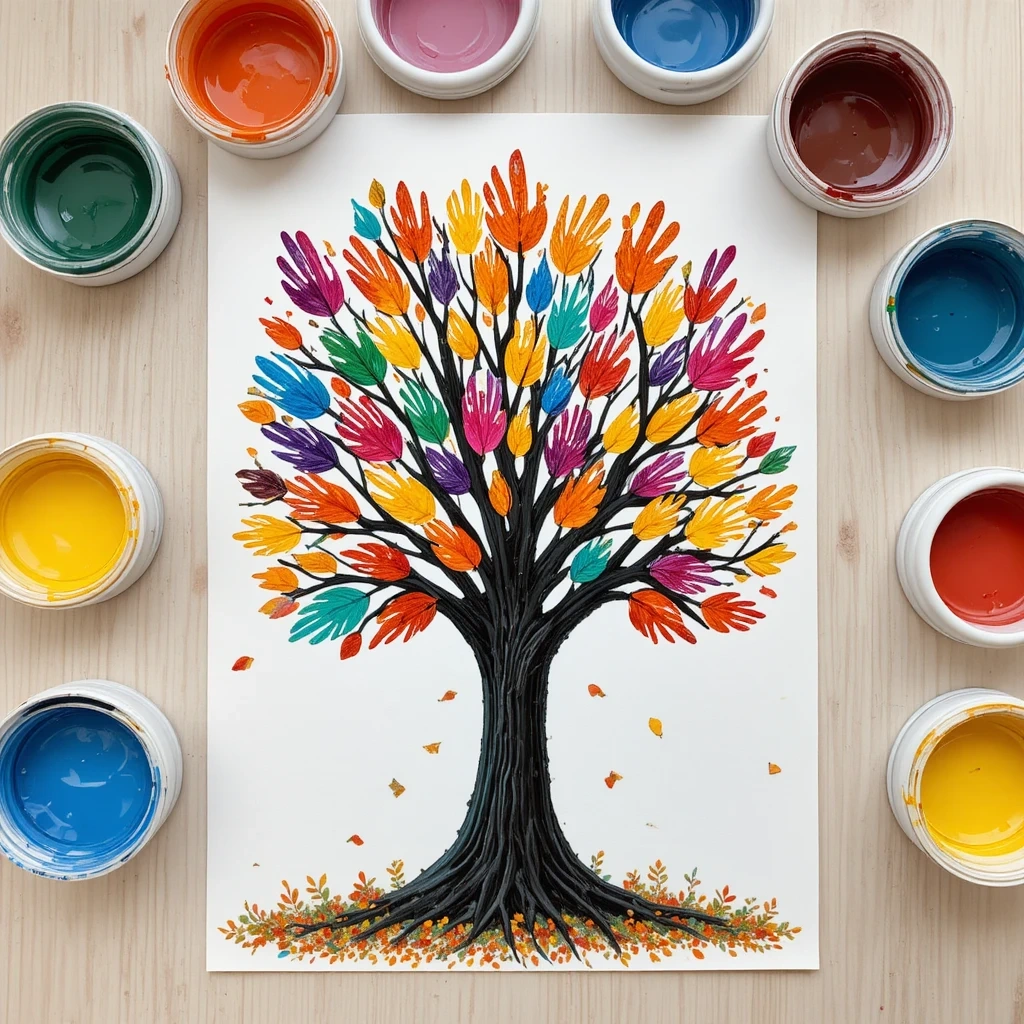
This interactive, tactile poster transforms every student’s fingerprint into a leaf on a gratitude tree. The result is a living, colorful artwork that represents an entire classroom’s love for their teacher — no two are ever alike.
Materials:
- Brown and tan cardstock or paint for the tree trunk
- Large white poster board
- Washable finger paint in fall colors (red, orange, yellow, green)
- Black fine-tip marker
- Wet wipes for cleanup
Steps:
- Draw or paint a bare tree trunk and branches on the poster board.
- Have each student press a painted finger onto the branches to create leaf prints.
- Once dry, use the black marker to write each student’s name beside their print.
- Add a title at the top: “We’re So Lucky to Have You, [Teacher’s Name]!”
- Let the teacher sign their own thumbprint as the trunk base.
Time: 20–25 minutes | Difficulty: Easy
Best Use Case: Classroom activity, group gift, room decoration
Creative Variation: Use heart-shaped sponge stamps instead of fingerprints for a Valentine’s Day or end-of-year version.
3. “Reasons We Love Our Teacher” Accordion Fold Poster
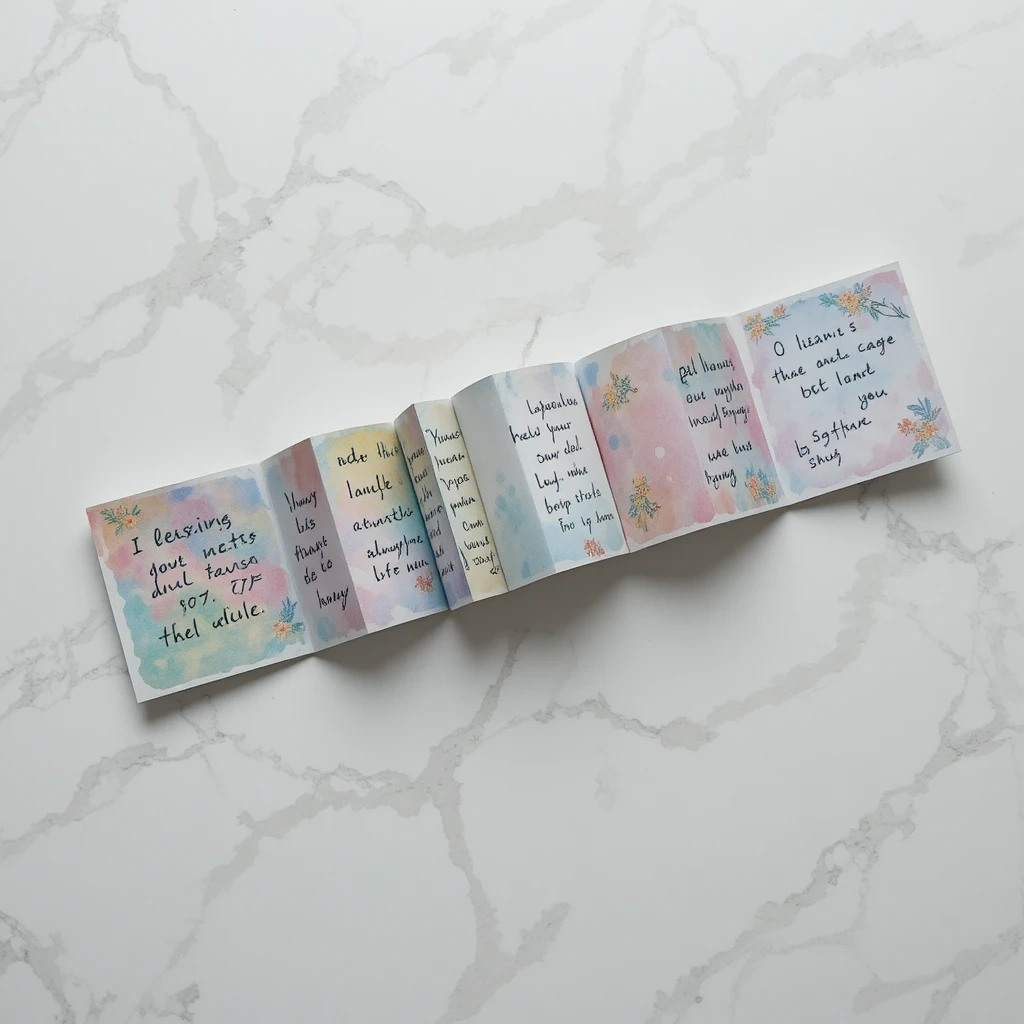
This creative format surprises you — it looks like a standard poster until you pull it open to reveal hidden panels full of sweet, personal messages. The accordion fold adds an element of discovery and delight that makes it truly special.
Materials:
- Long strip of cardstock (or tape multiple sheets together)
- Colored markers or gel pens
- Stickers, washi tape, or stamps for decoration
- A ribbon or bow to tie it closed
Steps:
- Fold the long cardstock strip in accordion (zigzag) folds, about 4–5 inches per panel.
- Decorate the front panel with the title: “Open Me!” or “[Teacher’s Name], This Is For You.”
- Fill each inner panel with a reason, memory, or message from individual students.
- Decorate borders with stars, hearts, or school-themed doodles.
- Tie closed with ribbon so the teacher can unwrap it like a gift.
Time: 25–30 minutes | Difficulty: Easy
Best Use Case: Personal gift, desk decoration, keepsake
Creative Variation: Add a tiny photo of each student on their panel for an ultra-personal touch.
4. Teacher Appreciation Poster in Chalkboard Style
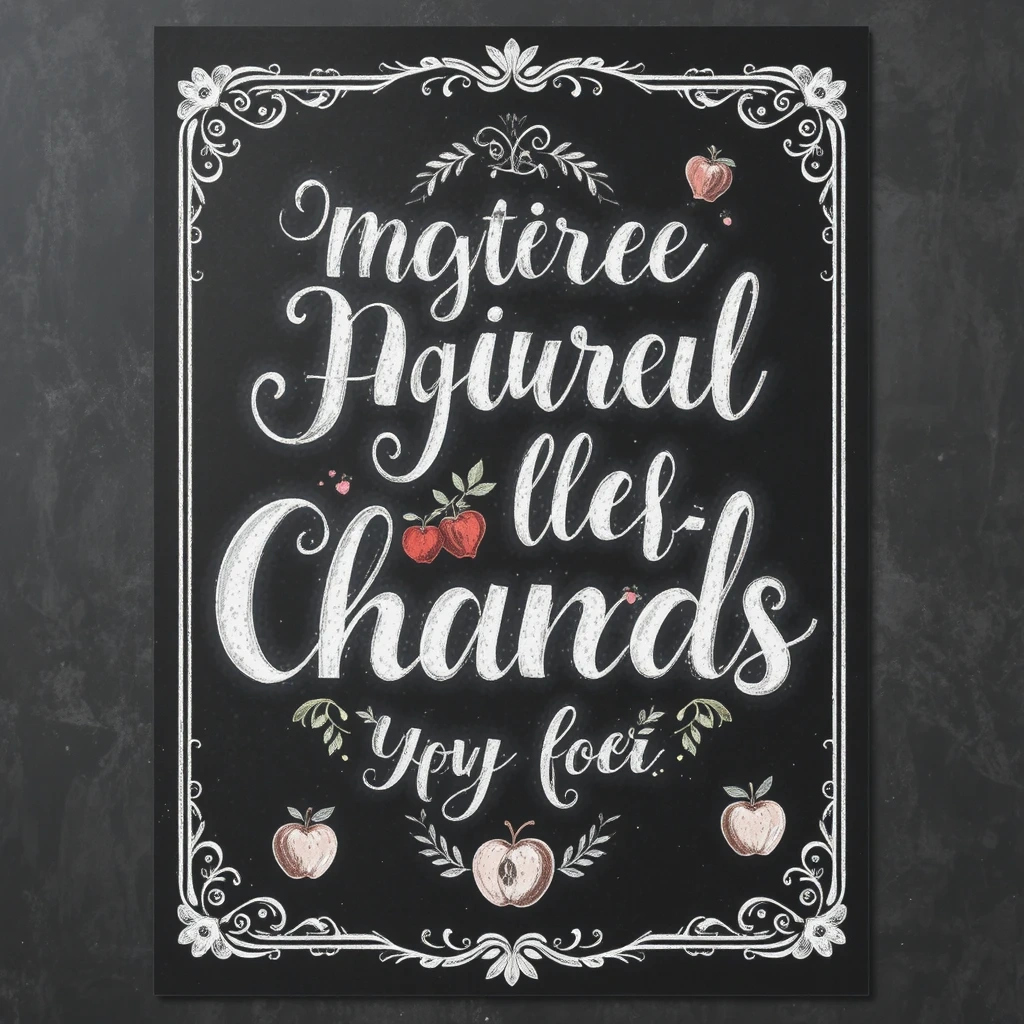
Nothing says “classroom love” quite like a chalkboard aesthetic. This idea recreates that timeless look using a black poster board and white and chalk-toned markers, giving it a nostalgic, professional feel that looks stunning framed on a wall.
Materials:
- Black poster board
- White chalk markers or white paint pens
- Colored chalk markers (pink, yellow, mint)
- Ruler and pencil for layout
- Optional: chalk lettering stencils
Steps:
- Sketch your layout lightly in pencil on the black board.
- Write the main message in large lettering: “The Best Teacher Ever” or personalize with their name.
- Add decorative frames, flourishes, and small icons like apples, pencils, and stars.
- Include a quote from a student or a famous education quote in smaller text.
- Add pops of color using the colored chalk markers for emphasis.
Time: 20–30 minutes | Difficulty: Medium
Best Use Case: Classroom display, hallway tribute, framed gift
Creative Variation: Use a real mini chalkboard instead of poster board for a 3D, displayable gift.
5. Star Map “You Are Our Star” Poster

This celestial-themed design turns the teacher into the brightest star in the galaxy. Each star on the poster contains a student’s name, surrounding a large central star labeled with the teacher’s name — a beautiful metaphor for how they light up every student’s life.
Materials:
- Dark blue or navy poster board
- Gold, silver, and yellow star stickers or cut-outs
- White or metallic gel pens
- Glitter glue (optional)
- Fine-tip black marker
Steps:
- Start with the large center star and write “Our Star: [Teacher’s Name]” inside.
- Scatter smaller stars around the board — one per student — with each student’s name written inside.
- Draw connecting lines between the stars like a real constellation map.
- Add the title at the top: “You Are Our Brightest Star.”
- Use glitter glue along star edges for a magical nighttime glow effect.
Time: 20–25 minutes | Difficulty: Easy
Best Use Case: Room decoration, appreciation week, end-of-year send-off
Creative Variation: Add a moon element and write the school year inside it to mark the memory in time.
6. “Building a Better World” LEGO Brick Poster
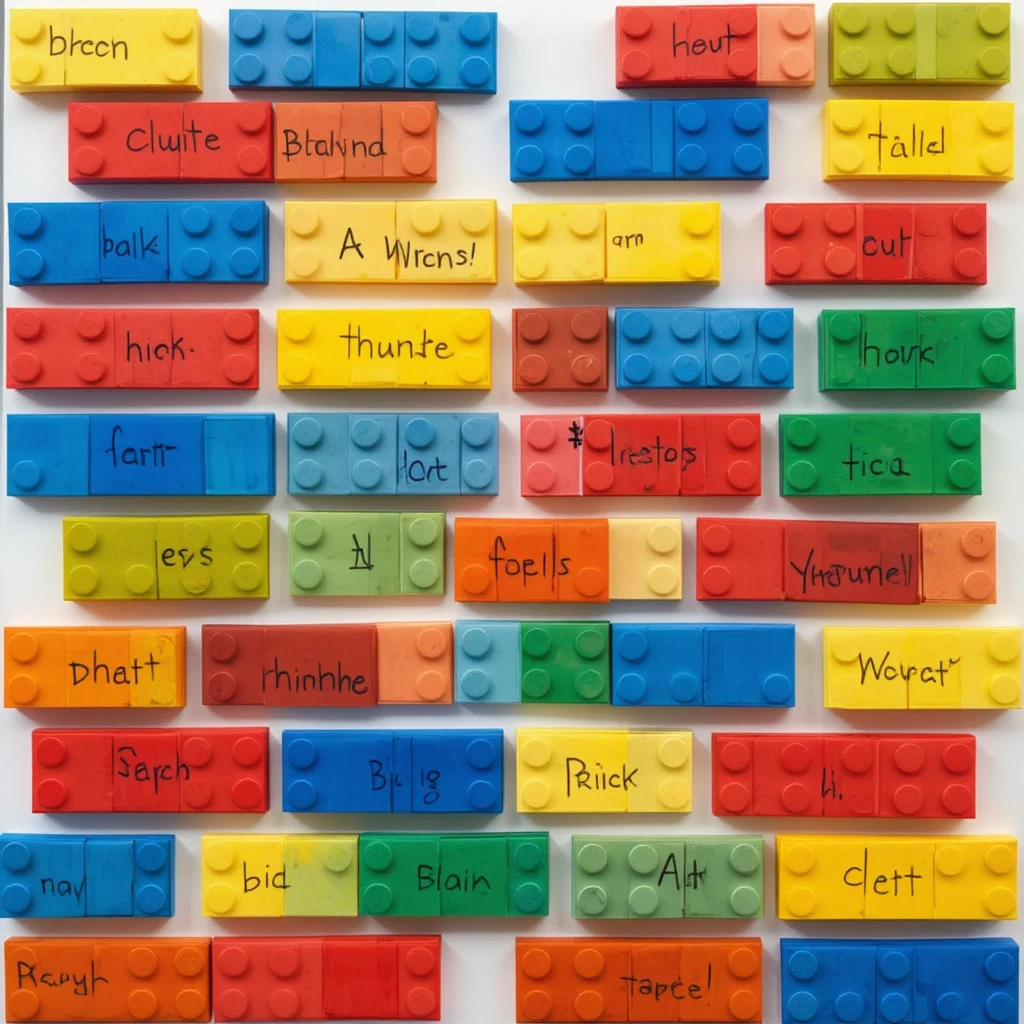
This playful, graphic design uses colorful LEGO brick illustrations (hand-drawn or printed and cut) to build a tower or wall where each brick holds a thank-you message. It’s fun, bright, and works especially well for younger grade levels.
Materials:
- White poster board
- Colored cardstock in primary colors (red, yellow, blue, green)
- Black marker
- Scissors, glue stick
- Ruler
Steps:
- Cut rectangular “brick” shapes from each color of cardstock.
- Draw two or three circles on top of each brick to mimic the LEGO stud design.
- Write one message, memory, or quality on each brick.
- Arrange bricks in a staggered, wall-like pattern across the poster board.
- Add the title at the top: “You’ve Helped Build Something Amazing.”
Time: 25–30 minutes | Difficulty: Easy
Best Use Case: Younger grades, creative class gift, hallway display
Creative Variation: Arrange the bricks to spell the teacher’s name vertically for an acrostic-style design.
7. Teacher Appreciation Poster with Hand-Traced Puzzle Pieces
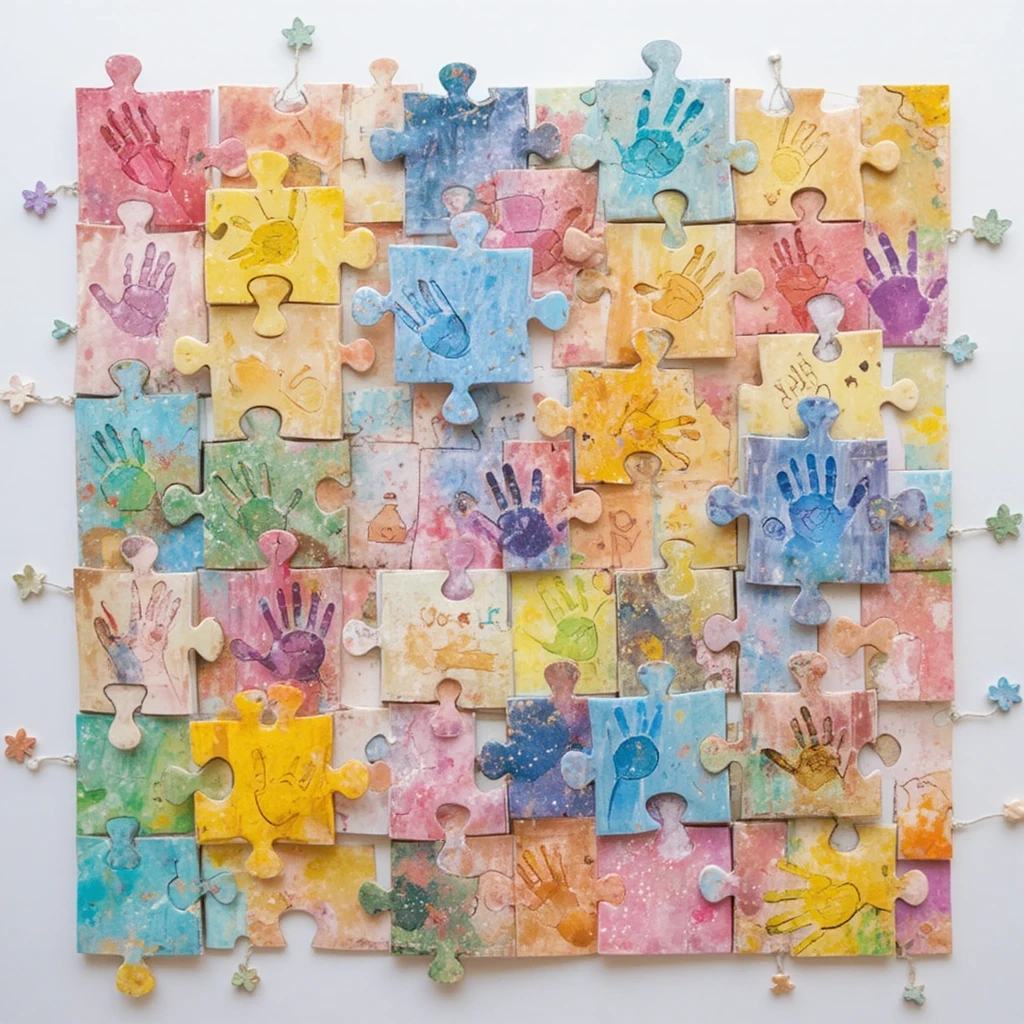
Each student traces their hand onto a puzzle piece shape, turning individual contributions into an interconnected whole. The visual message is powerful: together, the class is complete because of their teacher.
Materials:
- Large white or pastel poster board
- Cardstock in assorted colors
- Pencils, markers, and crayons
- Scissors and glue stick
- Optional: pre-cut puzzle piece templates
Steps:
- Create a simple puzzle piece template and trace onto colored cardstock.
- Have each student trace their handprint onto their puzzle piece and write their name.
- Add a short message on the reverse or around the handprint.
- Arrange and glue all puzzle pieces together on the poster board.
- Add the title: “We All Fit Together Because of You.”
Time: 20–30 minutes | Difficulty: Easy
Best Use Case: Classroom group project, appreciation week display
Creative Variation: Leave the center puzzle piece blank and ask the teacher to add their own hand on the day of gifting.
8. Watercolor Wash Quote Poster
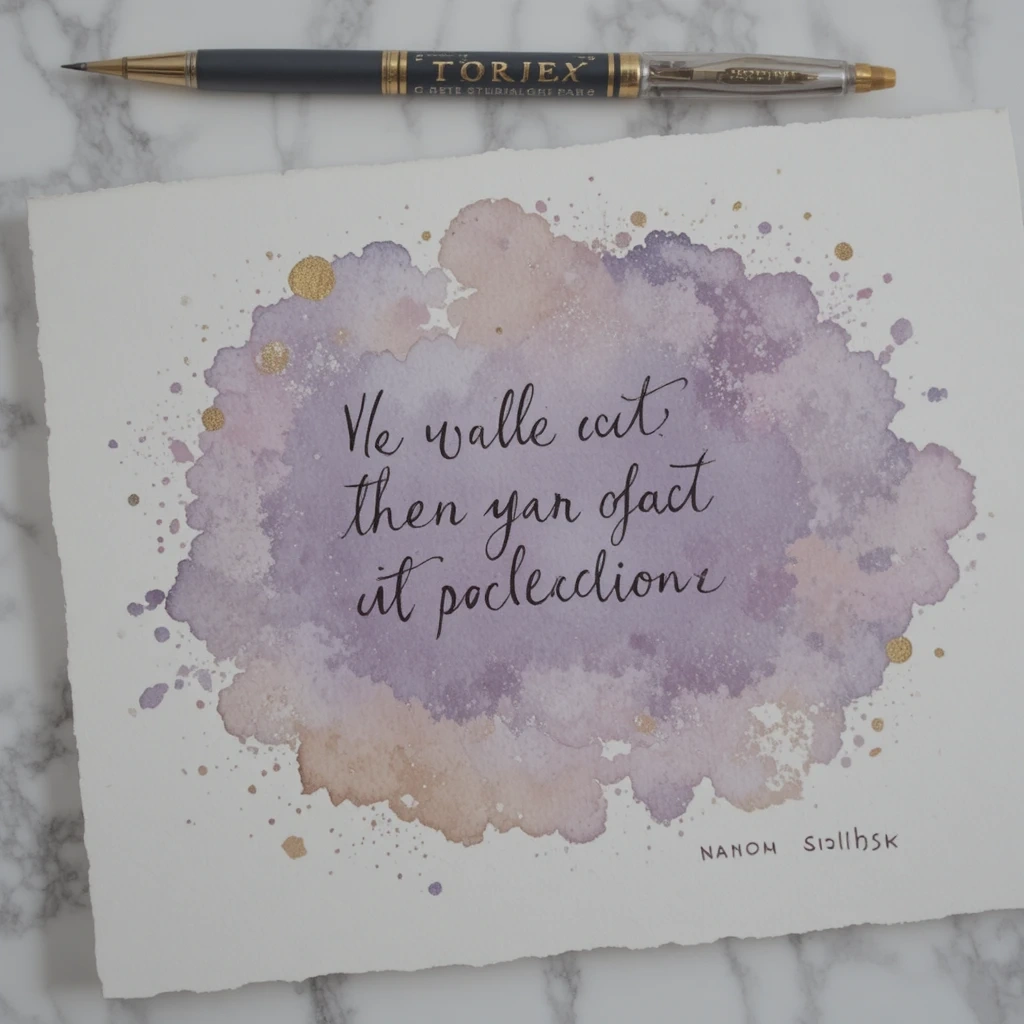
This one leans into fine art territory with a soft, dreamy watercolor background and a bold, meaningful quote layered over it. It’s sophisticated enough to frame and hang in any home or classroom.
Materials:
- Thick watercolor paper or poster board
- Watercolor paints and brushes
- Water cup and paper towels
- Black fine-tip marker or paint pen
- Optional: gold paint pen for accents
Steps:
- Wet the paper slightly and apply loose watercolor washes in complementary colors (e.g., lavender and teal, or peach and gold).
- Allow it to dry completely before adding any text.
- Write your chosen quote in the center using the black marker in your best lettering.
- Add the teacher’s name below the quote and the class year.
- Use gold pen to outline the text or add small details like dots and stars.
Time: 25–30 minutes | Difficulty: Medium
Best Use Case: Framed gift, personal keepsake, hallway art
Creative Variation: Use a stencil for the quote lettering if freehand feels intimidating — the watercolor background does all the heavy lifting visually.
9. “You Planted a Seed” Garden-Themed Poster
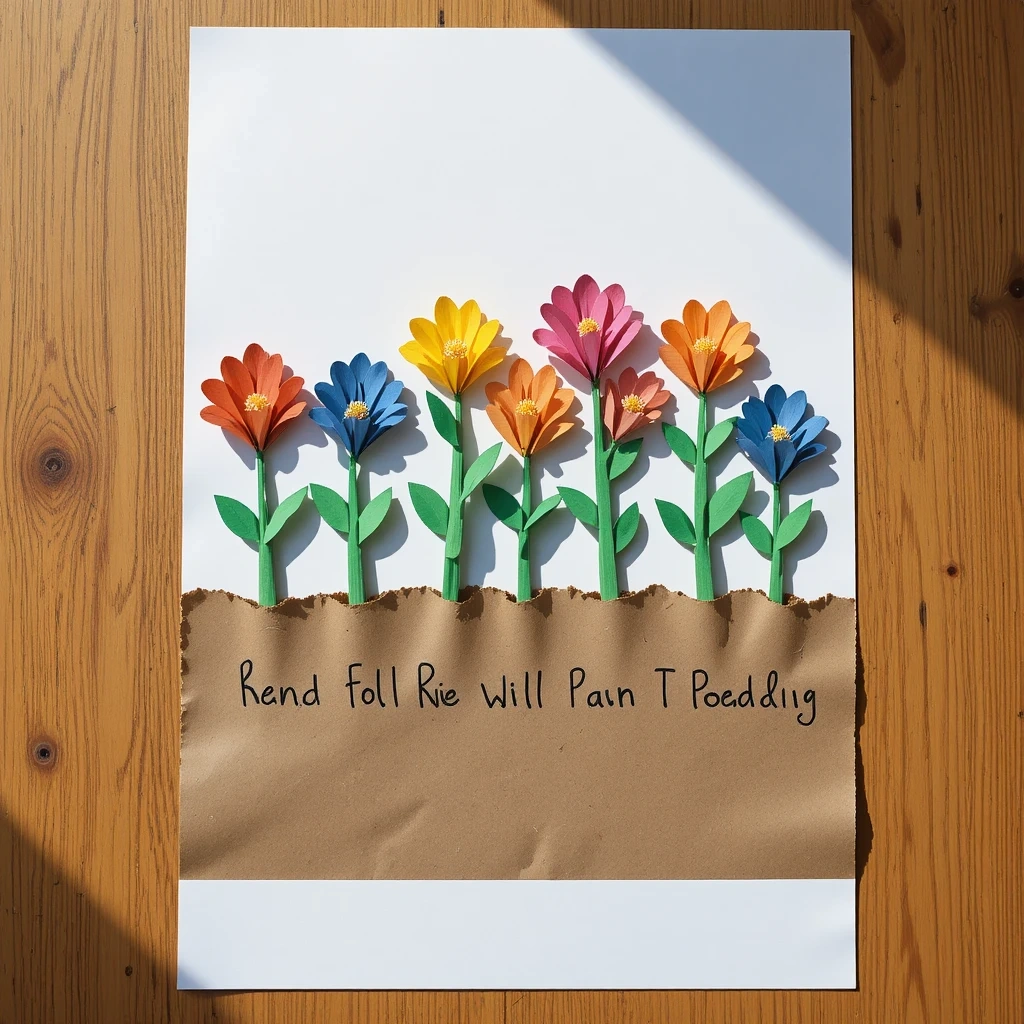
Using the metaphor of growth and planting, this design celebrates the lasting impact a teacher has on every student. Each flower in the garden represents a child, growing upward from seeds the teacher planted through their dedication and care.
Materials:
- Green and white poster board
- Colored construction paper (for flowers)
- Brown cardstock (for soil strip)
- Markers, scissors, and glue
- Small photo of each student (optional)
Steps:
- Cut a long brown strip for the “soil” at the base of the poster and glue it down.
- Create paper flowers in various colors, one per student.
- Write each student’s name on a flower petal or in the center.
- Add stems and leaves connecting flowers down to the soil strip.
- Title the poster: “You Planted a Seed in Each of Us.”
Time: 25–30 minutes | Difficulty: Easy
Best Use Case: End-of-year gift, spring appreciation week
Creative Variation: Add a small envelope of real flower seeds attached to the bottom — a literal and heartfelt bonus.
10. Photo Collage Memory Map Poster
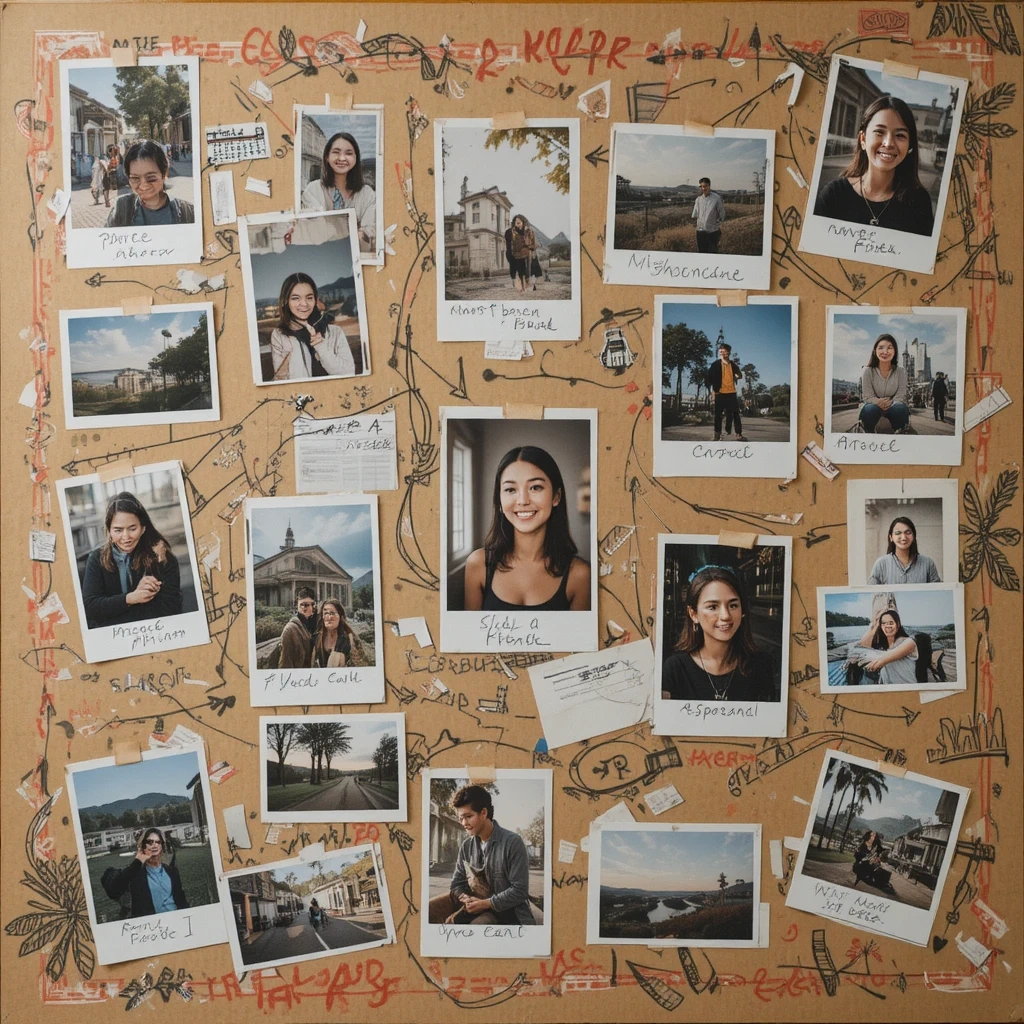
This memory-rich design transforms the school year into a visual journey. Using printed or cut photos, drawings, and mini notes arranged across a poster board in a map-like layout, it captures all the moments that made the year unforgettable.
Materials:
- Large poster board (any color)
- Printed photos or hand-drawn mini illustrations
- Washi tape, colored pens, stickers
- Scissors and glue stick
- Labels or sticky notes for captions
Steps:
- Lay out all your photos and drawings before gluing to plan the arrangement.
- Create “stops” on the map — label key memories like field trips, projects, and class events.
- Draw small arrows, paths, or dotted lines connecting each memory “stop.”
- Add captions or funny quotes under each photo.
- Title it: “[Year] — A Year Worth Remembering, [Teacher’s Name].”
Time: 30 minutes | Difficulty: Medium
Best Use Case: End-of-year gift, farewell poster, hallway display
Creative Variation: Style it like a literal treasure map — use aged (tea-stained) paper tones for a fun vintage feel.
11. Motivational Pennant Banner Poster

Inspired by classic sports pennants and school banners, this design gives the classroom a “go team” energy — because great teaching really is a team effort. Bold colors, strong typography, and school spirit make this one a showstopper.
Materials:
- Large triangular pennant shapes cut from felt or cardstock
- Ribbon or twine
- Acrylic paint or thick markers
- Letter stencils
- Hot glue or tape
Steps:
- Cut five or six large triangular pennants from different colors of felt or cardstock.
- Stencil or freehand one letter or word per pennant (e.g., T-H-A-N-K-S or the teacher’s initials).
- Decorate each pennant with stripes, stars, or school colors.
- String pennants onto ribbon with even spacing.
- Attach to a long backing board or present as a hanging banner.
Time: 25–30 minutes | Difficulty: Medium
Best Use Case: Classroom party, appreciation week hallway decor, gift
Creative Variation: Add a longer pennant at the end with the teacher’s name and year in full.
12. Teacher Appreciation Poster with Personalized Acrostic Name Art
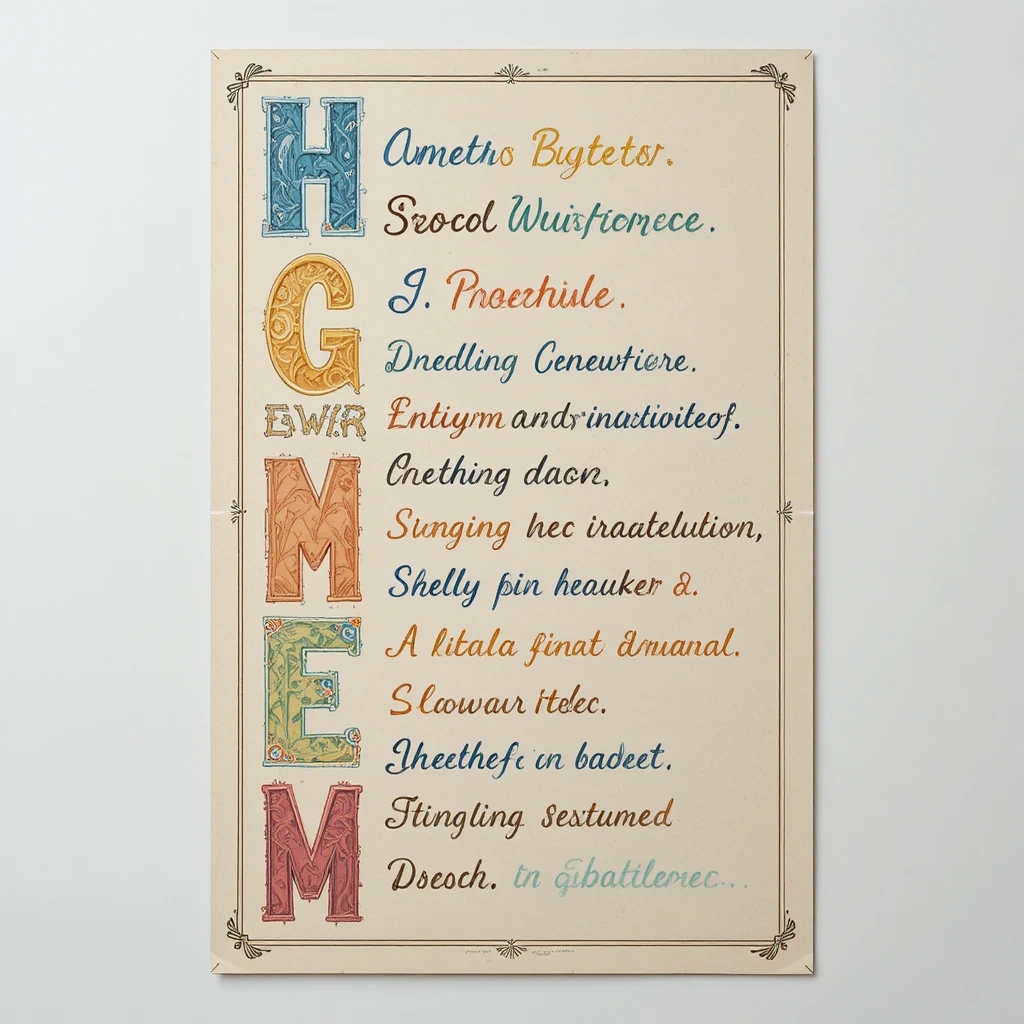
Each letter of the teacher’s name becomes the starting point for a quality, memory, or moment that captures who they are. This classic format never gets old — and when done with care, it becomes one of the most personal tributes of all.
Materials:
- White or colored poster board
- Ruler and pencil for alignment
- Thick markers in 2–3 coordinating colors
- Stickers or stamps for borders
Steps:
- Write the teacher’s first (or last) name vertically down the left side of the poster in large, bold letters.
- For each letter, brainstorm a word or phrase starting with that letter that describes the teacher.
- Write the word or phrase in a contrasting color, extending horizontally from the name letter.
- Decorate the borders with coordinating stickers, doodles, or stamps.
- Add a small headline at the top: “This Is Who You Are.”
Time: 15–20 minutes | Difficulty: Easy
Best Use Case: Quick gift, student solo project, classroom card alternative
Creative Variation: Use a class vote to choose the best word for each letter — then it becomes a truly collective message.
Best Occasions to Use These Teacher Appreciation Poster Ideas
Not sure when to present your poster? Here are the perfect moments:
- Teacher Appreciation Week (first week of May) — the most obvious and celebratory occasion
- End of the School Year — a farewell tribute they’ll carry forward forever
- Teacher’s Birthday — a surprise that stands out from the typical card
- Back-to-School Welcome — set a warm tone from day one
- Holiday Parties — a gift that lasts longer than chocolates
- After a Hard Term — unexpected appreciation hits hardest when it’s most needed
Common Mistakes to Avoid
1. Making it too generic.
Phrases like “Best Teacher Ever” are sweet but forgettable. The most impactful posters include specific memories, inside jokes, or personal qualities that show you were truly paying attention to who this teacher is.
2. Overcrowding the design.
It’s tempting to cram in every idea at once, but a cluttered poster loses its visual impact. Choose one strong concept, leave breathing room, and let the message shine on its own.
3. Rushing the drying time.
If you’re using paint, watercolors, or glue, always let layers dry completely before adding the next element. Smearing ruins the clean look and can’t always be fixed — plan your time accordingly.
Tips for Best Results
- Start with a pencil sketch before committing to markers or paint so you can adjust spacing and layout freely.
- Use a color scheme of 2–3 colors to keep the design cohesive and polished rather than chaotic.
- Print a practice version on regular paper first if you’re nervous about lettering or layout.
- Choose the right size for the occasion — a desk-sized poster is more suitable as a personal gift, while hallway displays need to be large and bold.
- Sign it clearly — include the class name and school year so the teacher always knows exactly who made it.
- Laminate it or frame it if possible, so it lasts as a long-term keepsake rather than fading over time.
Frequently Asked Questions
How far in advance should I make a teacher appreciation poster?
Give yourself at least 2–3 days if it’s a class collaboration — you’ll need time to gather everyone’s contributions, let materials dry, and add finishing touches without rushing.
What size poster board works best?
Standard 22″ x 28″ poster boards are the sweet spot — big enough to make a visual impact but easy enough to store and transport. For hallway displays, go larger.
Can young children (K–2) participate in making these?
Absolutely. The fingerprint tree, sunflower garden, and puzzle piece ideas are all specifically designed to be hands-on and age-appropriate for younger students with minimal adult involvement.
What if I don’t have art supplies at home?
Most of these projects work just fine with basic school supplies — lined paper, colored pencils, and a ruler can go a long way. The dollar store also carries poster board, stickers, and markers at minimal cost.
Is it better to give a poster as a class gift or an individual gift?
Both are meaningful! Class collaboration posters tend to be more emotional because they represent the whole community the teacher has built. Individual posters are more personal and intimate.
How do I make my handwriting look neat on the poster?
Print your text lightly in pencil first, then trace over it with marker. Letter stencils are another great cheat — they’re widely available and make any lettering look polished instantly.
Conclusion
Teachers don’t just teach — they shape futures, build confidence, and leave lasting impressions that students carry for a lifetime. Taking the time to create something by hand is one of the most genuine ways to honor that kind of dedication. Whether you choose a starry constellation map, a blooming sunflower garden, or a heartfelt acrostic name poem, the most important ingredient in any of these projects is the love behind it.
Pick the idea that speaks to you, gather your supplies, and start creating. Your teacher deserves to feel celebrated — and now you have everything you need to make that happen beautifully.