12 Simple Trifold Poster Board Designs for School Projects
Whether you’re preparing for a school science fair, planning a birthday party display, or just looking for a fun weekend DIY project, trifold poster boards are one of the most versatile and underrated creative tools out there. They’re affordable, easy to find, and offer three panels of space just waiting to be transformed into something amazing.
This article is packed with 12 trifold poster board ideas that range from classroom-ready projects to stunning home décor — all beginner-friendly and practical. You’ll find step-by-step guidance, materials lists, and creative variations for every single idea.
Idea 1: Science Fair Display Board
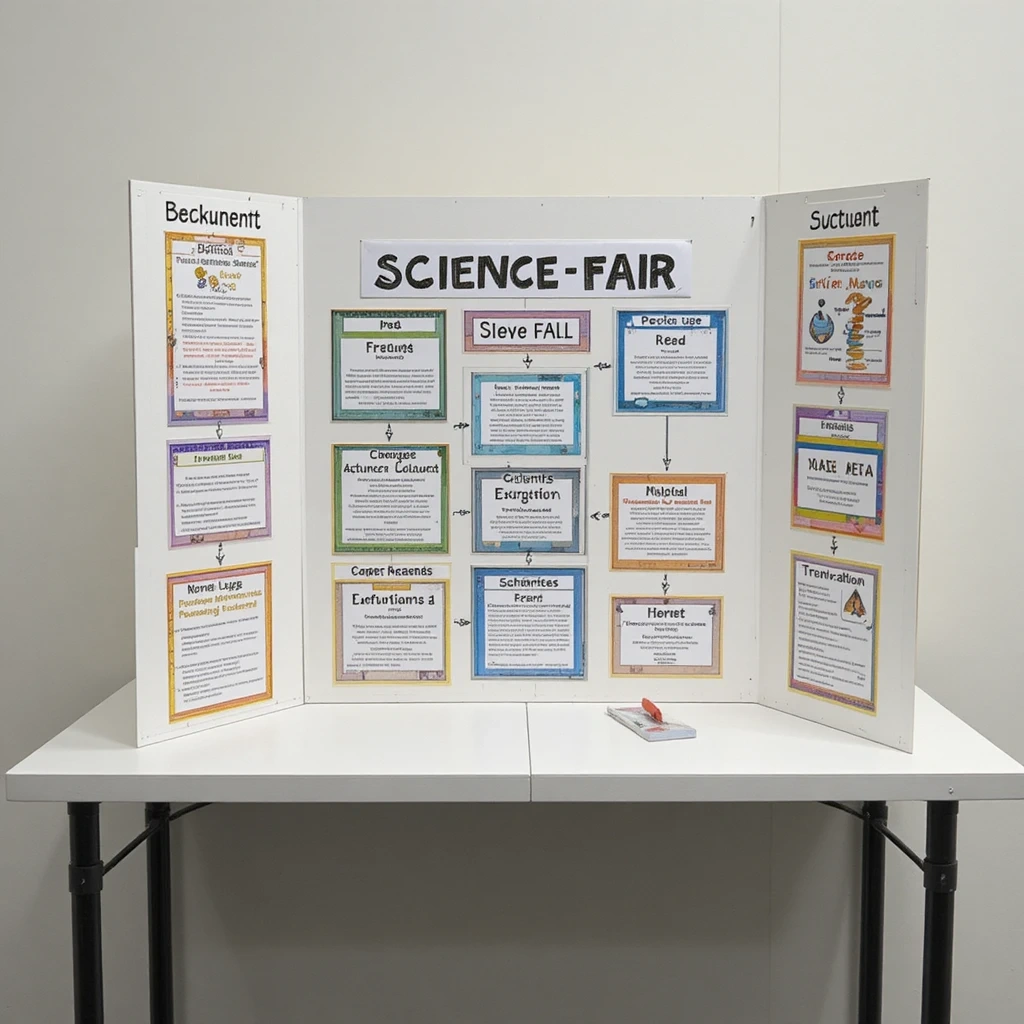
A science fair project deserves a clean, organized display that communicates your findings clearly. A trifold board gives you three sections — perfect for dividing your project into Problem, Process, and Results. With some color-coded sections and printed photos, your board can look both professional and visually engaging.
Materials:
- White or colored trifold poster board
- Printed text and photos
- Glue stick or double-sided tape
- Colored construction paper for borders
- Markers or printed headers
Steps:
- Plan your layout: left panel for hypothesis and materials, center for procedure and photos, right for results and conclusion.
- Print or write your sections in a consistent font size.
- Cut colored paper borders for each section to create visual separation.
- Attach everything neatly using glue or tape.
- Add a bold title to the top center panel.
Time: 45–60 min | Difficulty: Easy Best Use Case: School science fair Creative Variation: Use a black board with neon-colored headers for a modern look.
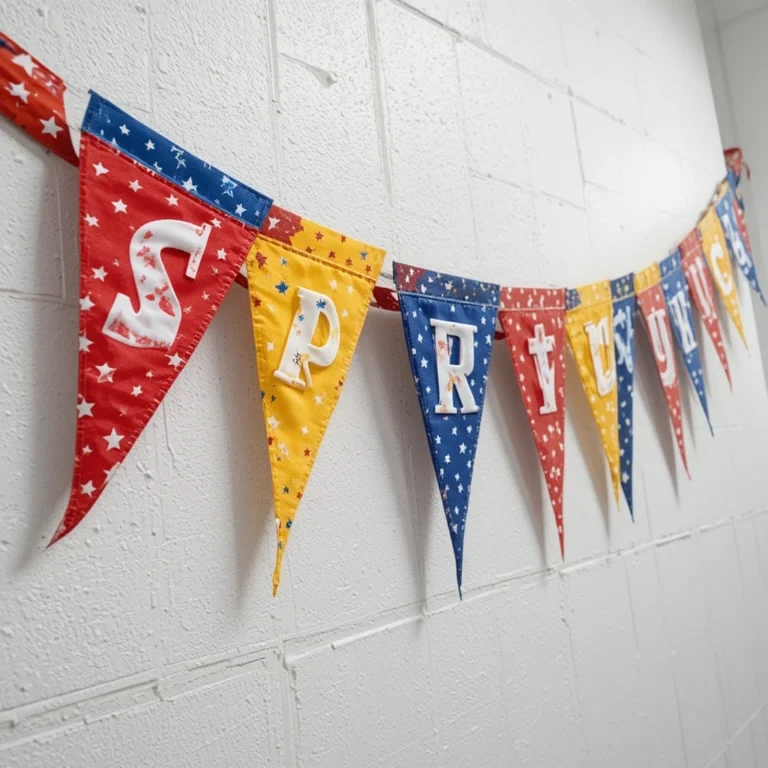
Idea 2: Birthday Party Photo Backdrop
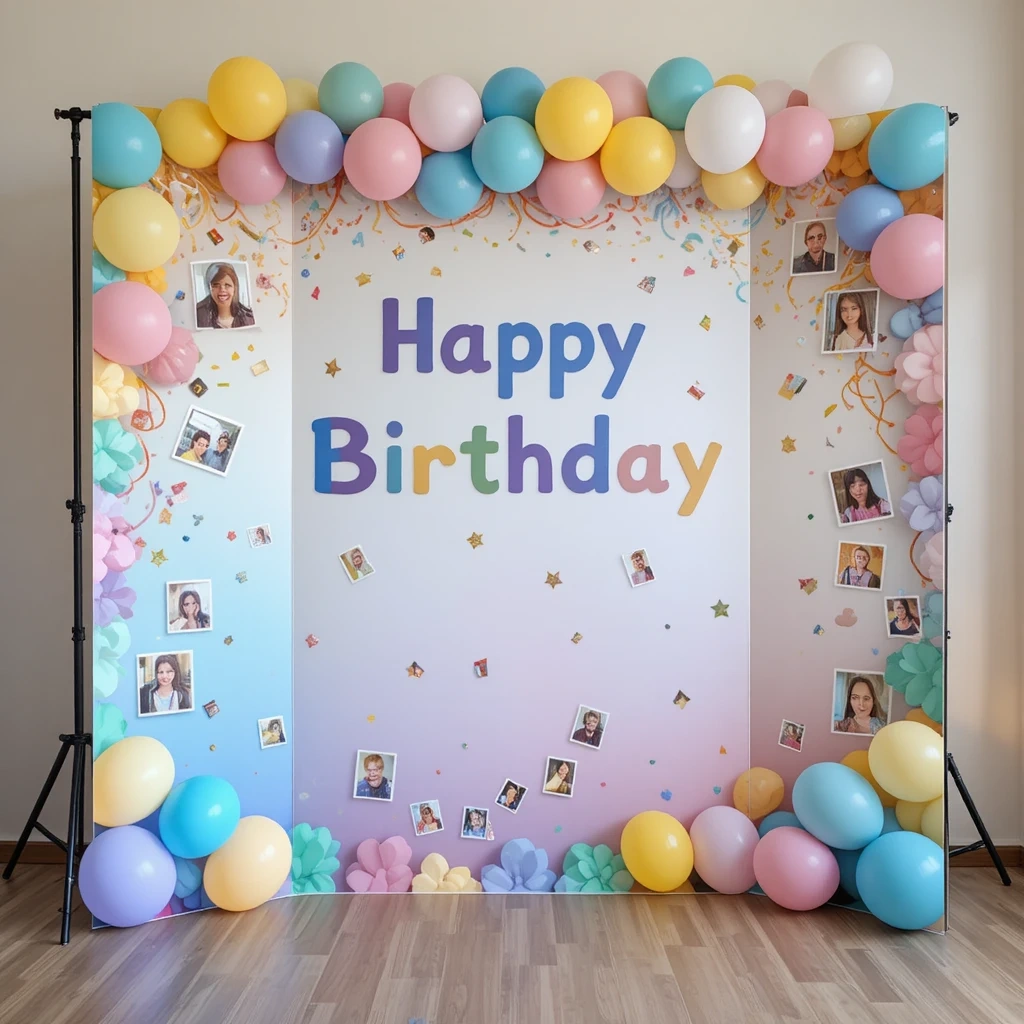
Turn a trifold board into a personalized birthday backdrop by decorating it with balloons, streamers, photos, and a bold “Happy Birthday” banner. It’s an easy DIY photo booth background that guests will love posing in front of — and it takes less than an hour to set up.
Materials:
- White trifold board
- Colorful balloons (cut-out shapes or real)
- Crepe paper streamers
- Printed photos or polaroids
- Letter stickers or paint for the message
Steps:
- Choose a color theme (gold and pink, blue and silver, etc.).
- Attach crepe paper streamers vertically across all three panels.
- Glue or tape balloon cutouts and photos across the surface.
- Spell out the birthday message with large letter stickers on the center panel.
- Add confetti-style dot stickers for extra flair.
Time: 30–45 min | Difficulty: Easy Best Use Case: Birthday party photo booth Creative Variation: Add a custom age or name with foam sticker letters.
Idea 3: Kids’ Alphabet Learning Board
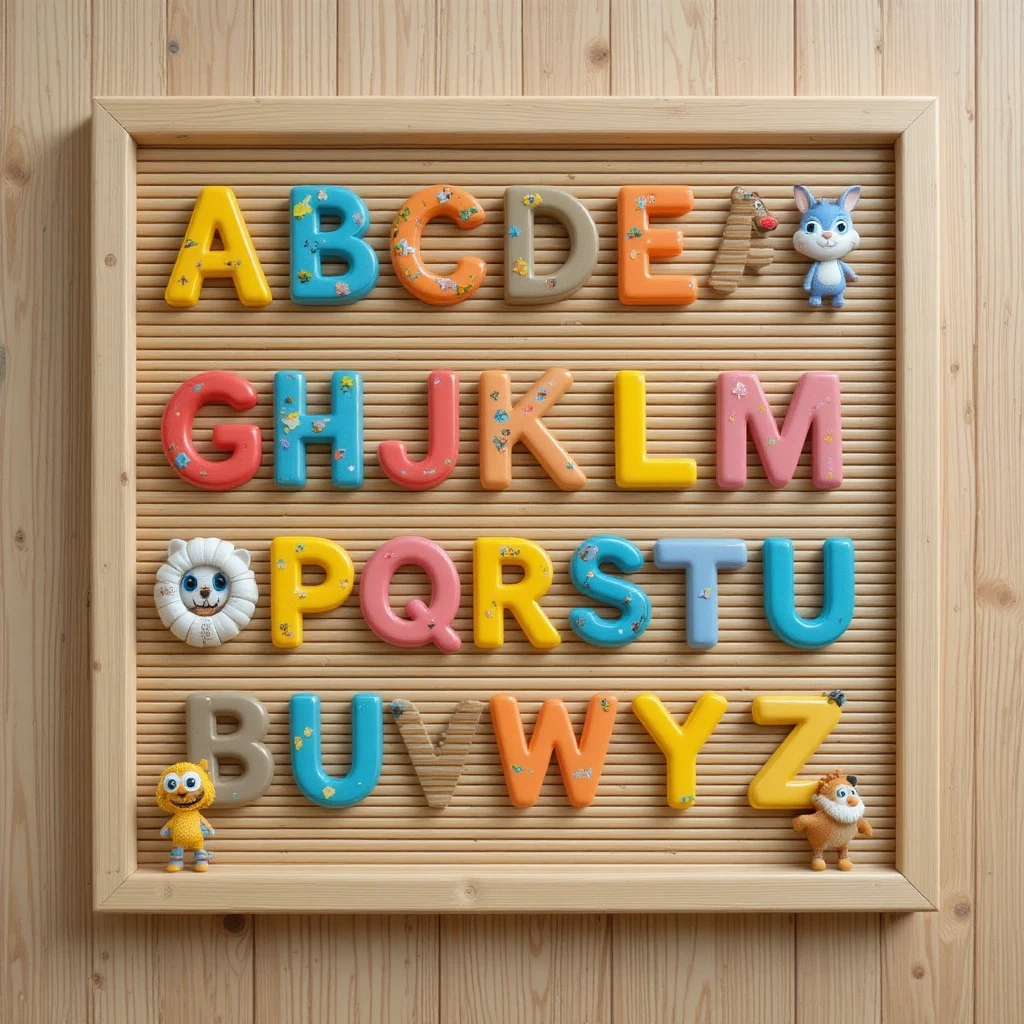
This is a wonderful educational tool for toddlers and preschoolers. Decorate each section of the trifold board with letters, animal pictures, and fun colors to create a bright, engaging learning station. It can stand on a table or be mounted on a wall.
Materials:
- Bright-colored trifold board
- Alphabet stickers or printed letters
- Animal or object clipart images (printed)
- Washable markers
- Laminate sheets (optional)
Steps:
- Divide the board into three sections: A–I, J–R, S–Z.
- Write or stick each letter in large, bold format.
- Glue a matching image next to each letter (A for apple, B for bear, etc.).
- Color-code each section with a different background color.
- Optionally laminate the whole board for durability.
Time: 30–40 min | Difficulty: Easy Best Use Case: Homeschool activity or classroom decoration Creative Variation: Add velcro tabs so kids can match letters to pictures interactively.
Idea 4: Wedding Seating Chart Display
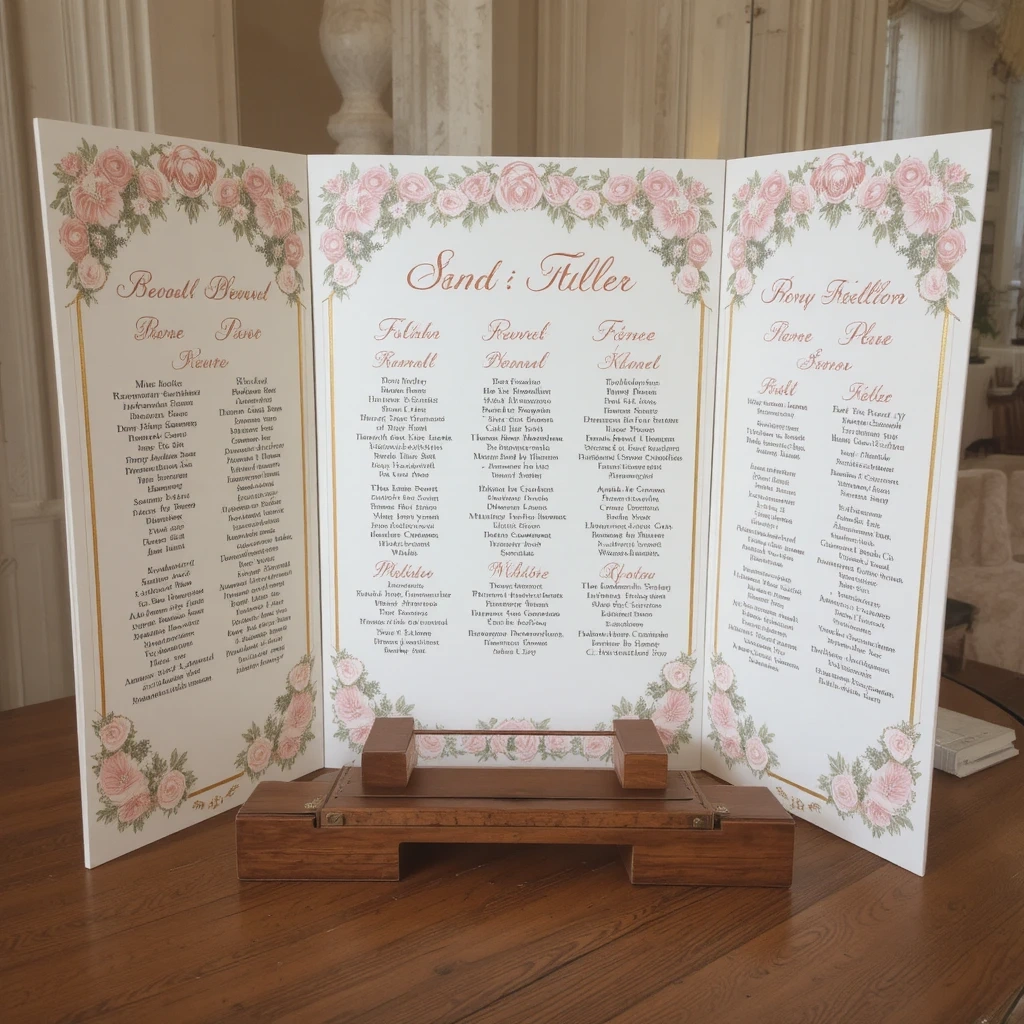
A trifold poster board makes an elegant and practical wedding seating chart. Decorated with flowers, string lights, or a romantic color palette, it can serve as a functional display that also doubles as décor at the venue entrance.
Materials:
- White or ivory trifold board
- Printed guest names and table numbers
- Faux flowers or greenery (hot glue)
- Washi tape or ribbon for borders
- Calligraphy markers or printed script fonts
Steps:
- Print all guest names in a clean script font, organized by table.
- Arrange the table lists evenly across all three panels.
- Add a floral border using faux flowers hot-glued along the top and sides.
- Use ribbon or washi tape to frame each column of names.
- Write or print a heading like “Find Your Seat” at the top.
Time: 60 min | Difficulty: Medium Best Use Case: Wedding or formal event seating display Creative Variation: Use a chalkboard-style board with white chalk markers for a rustic look.
Idea 5: Vision Board for Goal Setting
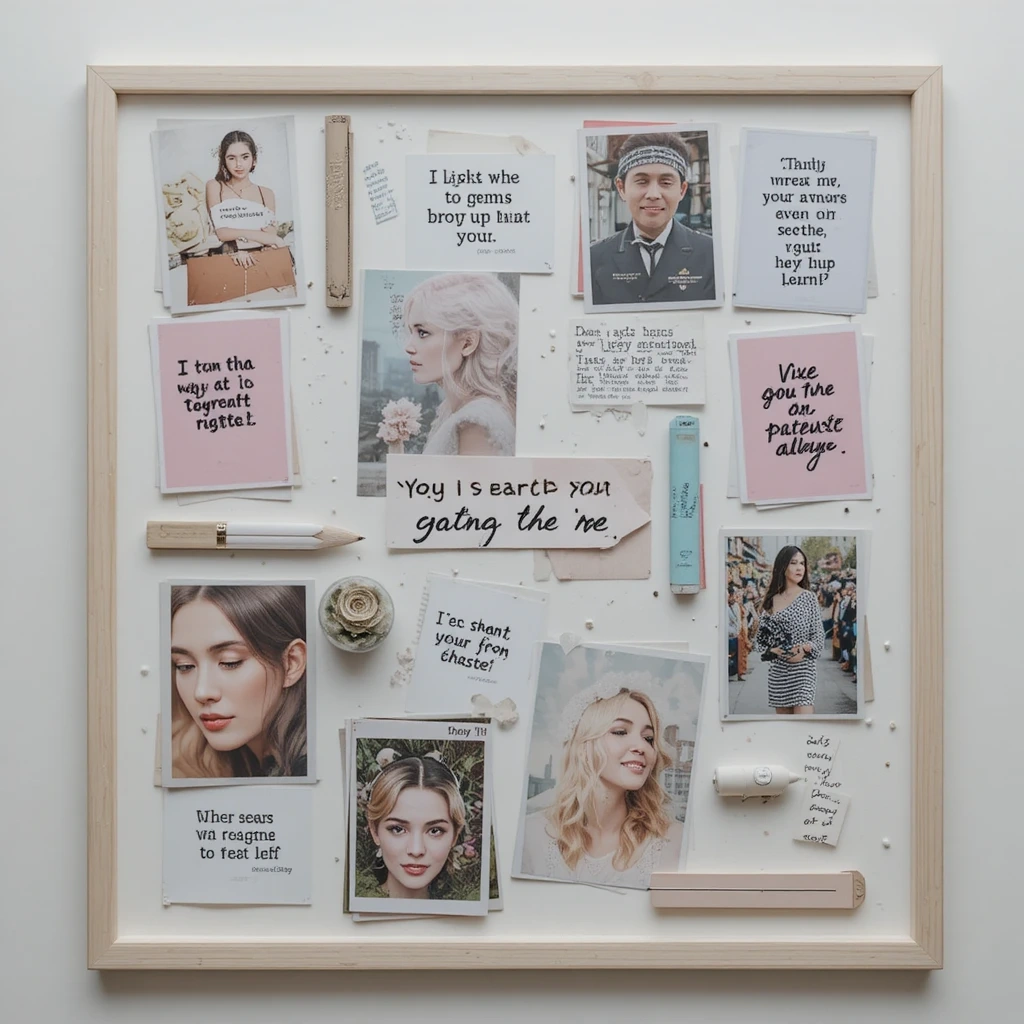
A personal vision board is one of the most powerful self-motivation tools you can make. Use a trifold board to organize your goals into categories — Career, Health, Travel, Personal Growth — and fill it with images, quotes, and affirmations that inspire you every day.
Materials:
- Cork or white trifold board
- Magazine cutouts or printed images
- Inspirational quote printouts
- Glue stick, washi tape, or push pins
- Markers for labels
Steps:
- Label each panel with a life category (e.g., Career | Health | Relationships).
- Gather images that represent your goals and dreams.
- Arrange them on the board before gluing to find the best layout.
- Add quotes and affirmations using markers or printed cards.
- Display on your desk or bedroom shelf where you’ll see it daily.
Time: 30–60 min | Difficulty: Easy Best Use Case: Personal motivation and goal tracking Creative Variation: Update it seasonally with new goals and images.
Idea 6: Business or Product Display Stand

Small business owners and market vendors can use a trifold board as an affordable, portable display stand. Showcase your products, prices, brand story, and social media handles in one eye-catching setup that folds flat for easy transport.
Materials:
- Black or branded-color trifold board
- Printed product photos and descriptions
- Logo sticker or printed logo
- Price tags or label cards
- Hooks or small pockets (optional)
Steps:
- Assign each panel a purpose: brand intro, product showcase, and contact/social info.
- Print high-quality product images and attach them neatly.
- Add your logo prominently at the top center.
- Attach small pockets or envelopes to hold business cards or flyers.
- Keep the design clean and uncluttered for maximum impact.
Time: 45–60 min | Difficulty: Medium Best Use Case: Craft fairs, markets, or pop-up shops Creative Variation: Add QR codes linking to your online store or social media.
Idea 7: Travel Memory Scrapbook Board
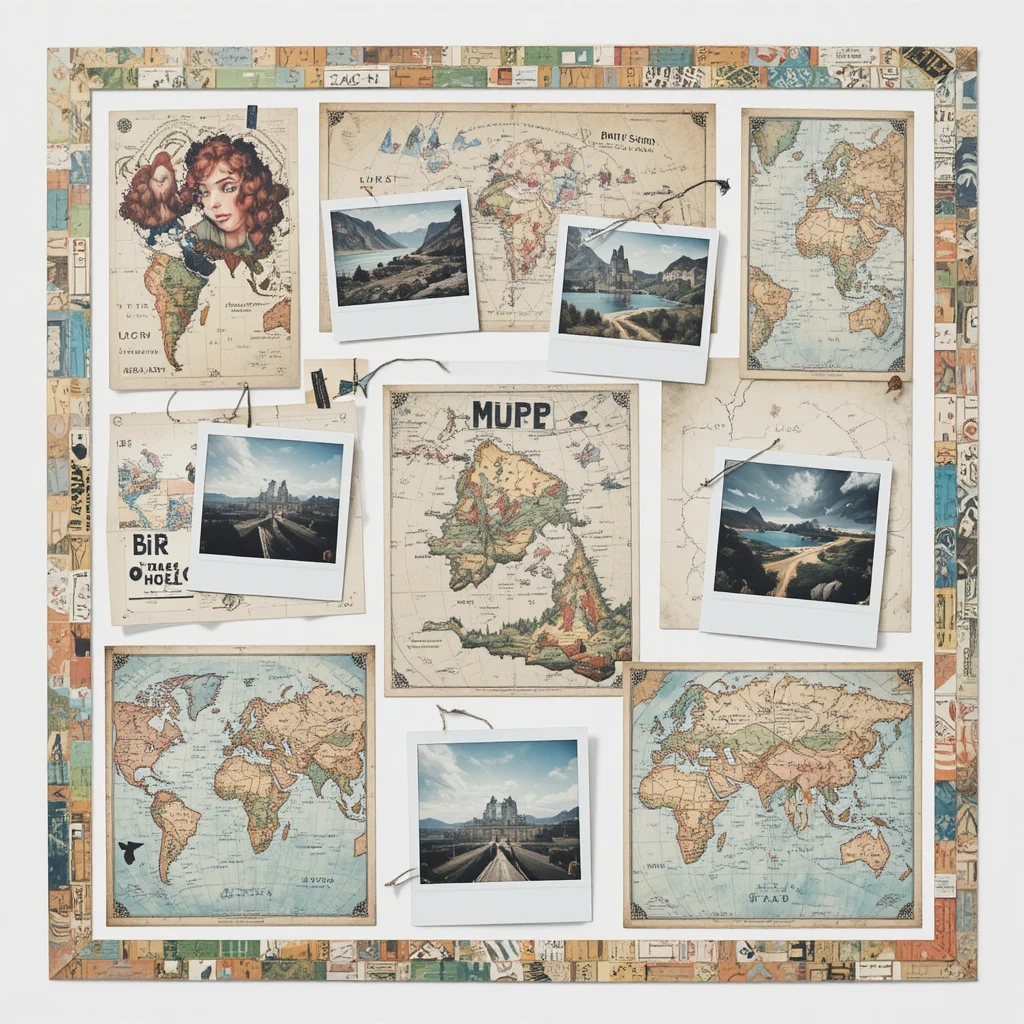
After a trip, transform your trifold board into a beautiful travel scrapbook display. Fill it with photos, ticket stubs, maps, and written memories for a keepsake that’s also a conversation piece in your home.
Materials:
- White trifold board
- Travel photos (printed)
- Ticket stubs, stamps, receipts
- Washi tape and decorative stickers
- Markers or journaling pens
Steps:
- Choose a destination theme (colors, fonts) to unify the layout.
- Print and arrange photos across all three panels.
- Tuck in ticket stubs, small maps, and notes using washi tape.
- Write captions or short memories beside each photo.
- Add travel-themed stickers (planes, suitcases, flags) for personality.
Time: 45–60 min | Difficulty: Easy Best Use Case: Room décor or memory keepsake Creative Variation: Create one board per trip and stack them as a travel journal series.
Idea 8: Classroom Book Report Display
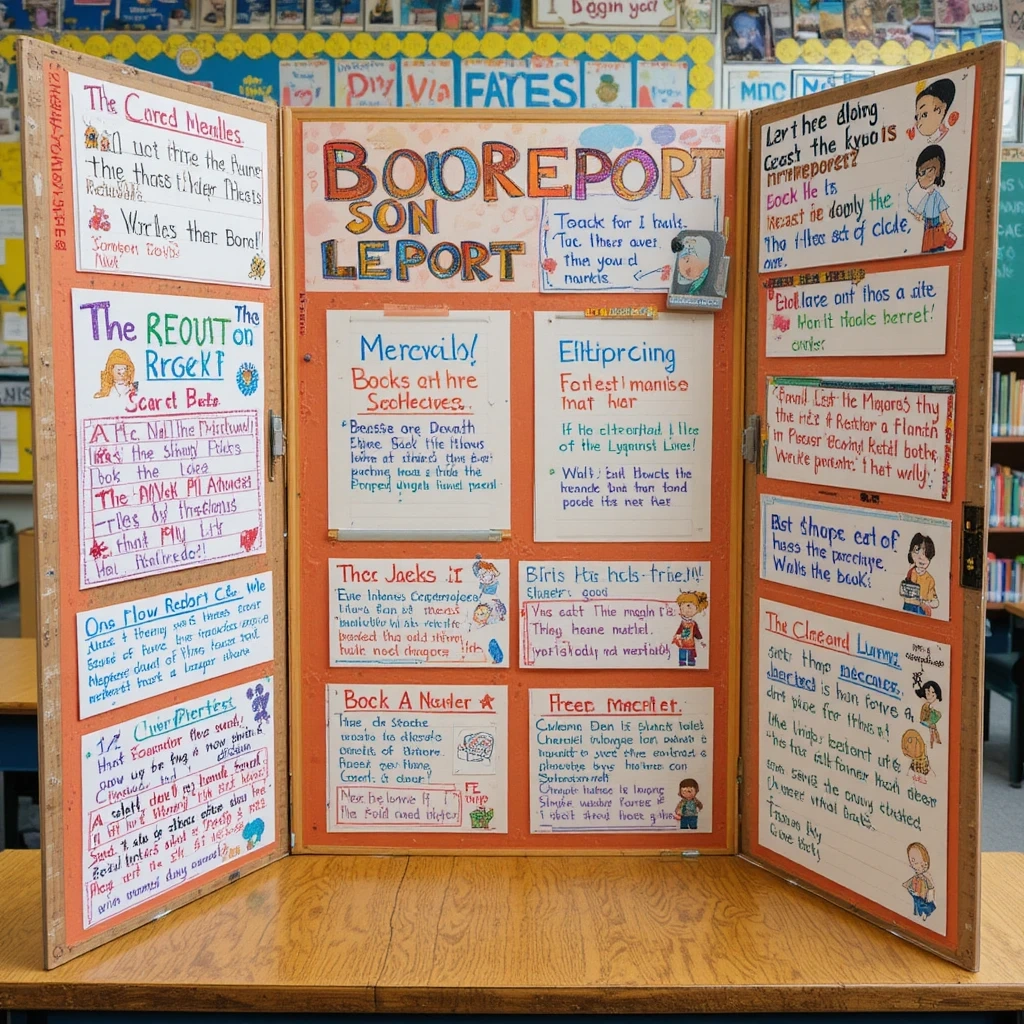
Book reports don’t have to be boring. A trifold board lets students bring their favorite book to life visually — with character profiles, plot summaries, quotes, and illustrations spread across three organized panels.
Materials:
- Colored trifold board
- Construction paper for section headers
- Drawings or printed illustrations
- Markers and pens
- Printed book cover image
Steps:
- Center panel: Book title, author, and a large illustration or book cover.
- Left panel: Character descriptions with drawings.
- Right panel: Plot summary and favorite quotes.
- Use bold headers and colored paper cutouts to frame each section.
- Add a personal review at the bottom of the center panel.
Time: 30–45 min | Difficulty: Easy Best Use Case: Classroom book report project Creative Variation: Include a “Would I Recommend?” rating system with star drawings.
Idea 9: Home Chore Chart for Kids
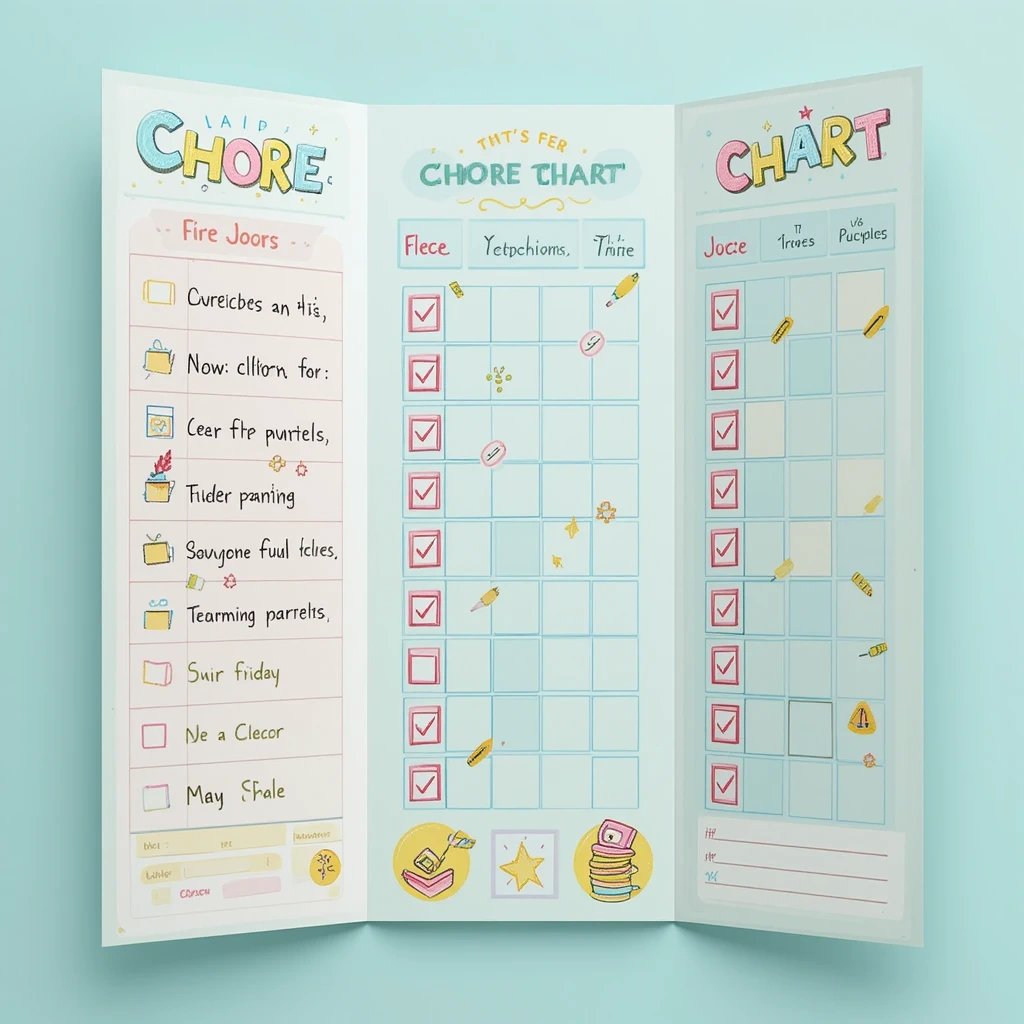
Keep the household running smoothly with a family chore chart made from a trifold board. Assign each panel to a different child or age group and use checkboxes, sticker rewards, and clear visuals to make chores feel like a game.
Materials:
- White or pastel trifold board
- Printed or hand-drawn chore icons
- Velcro dots or dry-erase markers
- Star/smiley stickers for rewards
- Laminate sheet or contact paper
Steps:
- Divide the board into columns: Name, Chore, Done.
- Write each child’s name at the top of their panel.
- List daily chores with small icons or illustrations.
- Laminate (or use contact paper) for reusability with dry-erase markers.
- Let kids add stickers to mark completed chores.
Time: 30 min | Difficulty: Easy Best Use Case: Family home organization Creative Variation: Add a weekly reward system with a “Star of the Week” section.
Idea 10: Event Information Display Board

Whether it’s a school open house, community event, or fundraiser, a trifold board is perfect for presenting event information in a clear and welcoming way. Organize schedules, maps, and highlights across the three panels for an easy-to-read display.
Materials:
- White or event-colored trifold board
- Printed schedule and info sheets
- Event logo or banner
- Photos from past events (optional)
- Markers and adhesive
Steps:
- Left panel: Welcome message and event overview.
- Center panel: Schedule or agenda, prominently displayed.
- Right panel: Map, FAQs, or contact information.
- Use consistent fonts and colors matching the event theme.
- Laminate if the board will be used outdoors or repeatedly.
Time: 30–45 min | Difficulty: Easy Best Use Case: Community events, school nights, fundraisers Creative Variation: Add a QR code linking to the event website or RSVP form.
Idea 11: Gratitude and Affirmation Wall
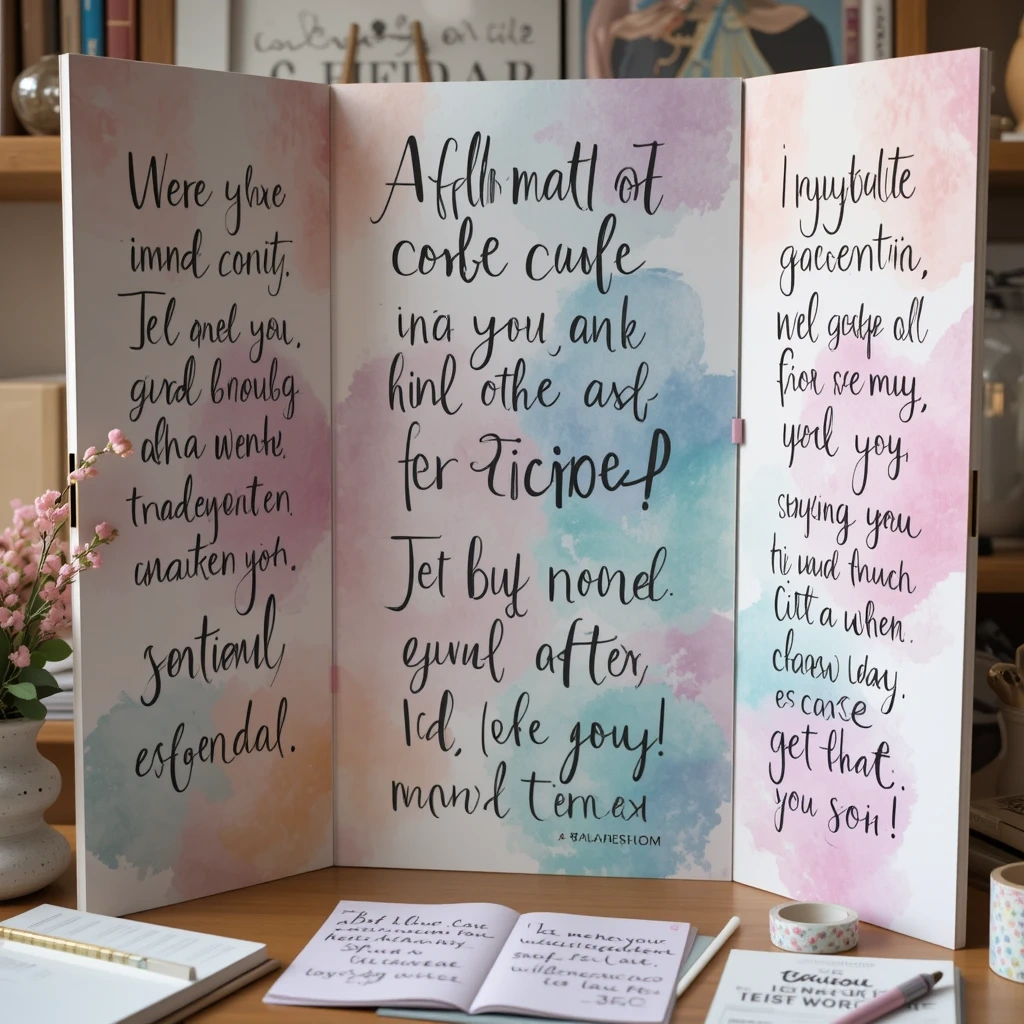
Create a daily positivity station with a trifold board full of affirmations, gratitude prompts, and uplifting quotes. Place it on your desk or nightstand and use it as a mindfulness anchor to start or end each day with intention.
Materials:
- Pastel or white trifold board
- Printed or hand-lettered affirmations
- Watercolor paint or brush markers
- Floral washi tape
- Small note cards for rotating messages
Steps:
- Paint a soft watercolor wash over each panel in different pastel shades.
- Add a title to the center panel: “Today I Am Grateful For…”
- Attach printed affirmations and quotes with washi tape.
- Leave a section with small pockets for rotating daily notes.
- Decorate with hand-drawn flowers or leaves for warmth.
Time: 30–45 min | Difficulty: Easy Best Use Case: Personal wellness and mindfulness Creative Variation: Update the rotating cards weekly with fresh affirmations.
Idea 12: DIY Kids’ Play Store or Restaurant Menu

Spark imaginative play with a trifold board turned into a pretend play store or restaurant menu board. Kids can “run” their own shop or café with a colorful, interactive display they helped create.
Materials:
- Bright-colored trifold board
- Printed or drawn food/product images
- Price tags and menu text
- Velcro or magnets for changeable items
- Markers and stickers
Steps:
- Left panel: “Today’s Specials” with illustrated food items and prices.
- Center panel: Restaurant name in big bold letters with a logo.
- Right panel: Drinks and desserts menu.
- Attach items with velcro so kids can change the menu daily.
- Let the child decorate their “restaurant name” with stickers.
Time: 20–30 min | Difficulty: Easy Best Use Case: Kids’ imaginative play activity Creative Variation: Make a “sold out” sticker the child can slap over items for extra realism.
Best Occasions to Use These Ideas
A trifold poster board is surprisingly flexible. Here are the best moments to reach for one:
- School events — science fairs, book reports, history projects, classroom displays
- Home organization — chore charts, family schedules, vision boards
- Celebrations — birthday backdrops, wedding seating charts, baby showers
- Business — craft fair displays, pop-up shops, community events
- Personal growth — affirmation boards, travel memories, goal tracking
- Kids’ activities — learning boards, play stores, creative play
The beauty of trifold boards is that they store flat and set up in seconds, making them ideal for both temporary and permanent displays.
Common Mistakes to Avoid
1. Overcrowding the panels Trying to fit too much information on one panel makes the board hard to read. Use white space intentionally — less is more when it comes to visual impact.
2. Ignoring visual hierarchy If everything looks the same size, nothing stands out. Use large headers, medium body text, and small details to guide the eye naturally from top to bottom.
3. Using low-quality printed images Blurry or pixelated photos make even the most well-organized board look unprofessional. Always print images at the highest resolution available for a polished result.
Tips for Best Results
- Plan before you glue — lay everything out flat first to check spacing and balance.
- Use a ruler and pencil — lightly sketch guidelines to keep text and images aligned.
- Choose 2–3 colors max — a limited palette keeps the design clean and cohesive.
- Use a bone folder to sharpen the creases on the trifold panels if they seem loose.
- Photograph your finished board before it gets damaged or dismantled — it’s a great keepsake.
- Use foam tape for 3D effects — attaching cutouts with foam adhesive squares adds dimension.
FAQs
Q: What size is a standard trifold poster board? A: Most trifold boards are 36″ x 48″ when fully opened, with each panel approximately 12″ wide. They’re available at most craft stores and dollar stores.
Q: Can I use a trifold board more than once? A: Yes! If you laminate the surface or use contact paper, you can write on it with dry-erase markers and wipe it clean. You can also carefully remove glued items and reuse the board.
Q: What’s the best adhesive for a trifold board? A: Glue sticks work well for paper, while hot glue is better for 3D embellishments like flowers or foam letters. Double-sided tape gives the cleanest finish for flat items.
Q: How do I make my trifold board stand on its own? A: Trifold boards are self-standing — simply open the side panels at a slight angle to create a stable three-legged structure. Make sure the center panel is the heaviest to keep it balanced.
Q: Can kids make these projects independently? A: Many of these ideas are suitable for kids ages 7 and up with minimal supervision. Projects involving hot glue or laminate should have adult help.
Q: Where can I buy trifold poster boards cheaply? A: Dollar stores, Walmart, Target, and Amazon all carry trifold boards at low prices. White boards are the most affordable; colored or pre-printed boards cost slightly more.
Conclusion
A trifold poster board is one of those simple supplies that can lead to surprisingly beautiful, functional, and meaningful creations. Whether you’re preparing for a school project, decorating for a party, or building a personal vision board, the ideas in this article prove there’s no limit to what three panels and a little creativity can achieve.
Pick the idea that excites you most, gather your materials, and start creating. You don’t need to be an artist — you just need a vision and the willingness to try. Your best trifold board is the one you make today.