14 Cozy Fall Cards Ideas for Beautiful Autumn Greetings
Autumn is the coziest time of year to get crafty, and nothing captures that warm, golden feeling better than a handmade card. Whether you’re celebrating a birthday, sending a thank-you, or simply spreading seasonal joy, fall cards are one of the most heartfelt ways to connect with people you love.
This article is packed with inspiration, simple techniques, and beginner-friendly projects that anyone can try — no artistic experience required. Ready to dive into the magic of autumn crafting? These fall cards ideas will spark your imagination and have you reaching for your craft supplies right away.
From pressed leaves to watercolor sunsets, there’s something here for every skill level. Whether you’re a seasoned crafter or just starting out, these fall cards designs are both achievable and absolutely beautiful.
1. Pressed Leaf Greeting Card

There’s something timeless about preserving nature’s artwork directly onto paper. This project uses real fallen leaves pressed flat to create a stunning botanical card that feels both rustic and refined. It’s a beautiful way to capture the season and works perfectly as a gift card for autumn birthdays or Thanksgiving notes.
Materials:
- Blank cardstock (A2 or A6 size)
- Freshly fallen leaves (various shapes)
- Heavy books or a flower press
- Mod Podge or clear-drying craft glue
- Fine-tip permanent marker
Steps:
- Collect colorful leaves and press them between book pages for 5–7 days.
- Once flat and dry, arrange leaves on the front of your cardstock.
- Brush a thin layer of Mod Podge over each leaf and press down gently.
- Let dry completely, then add a handwritten message inside.
Time & Difficulty: 15 min (plus pressing time) | Easy
Best Use Case: Thanksgiving cards, fall birthday greetings, nature-lover gifts
Creative Variation: Add a light watercolor wash in amber or burgundy behind the leaves for an extra artistic touch.
2. Watercolor Pumpkin Card
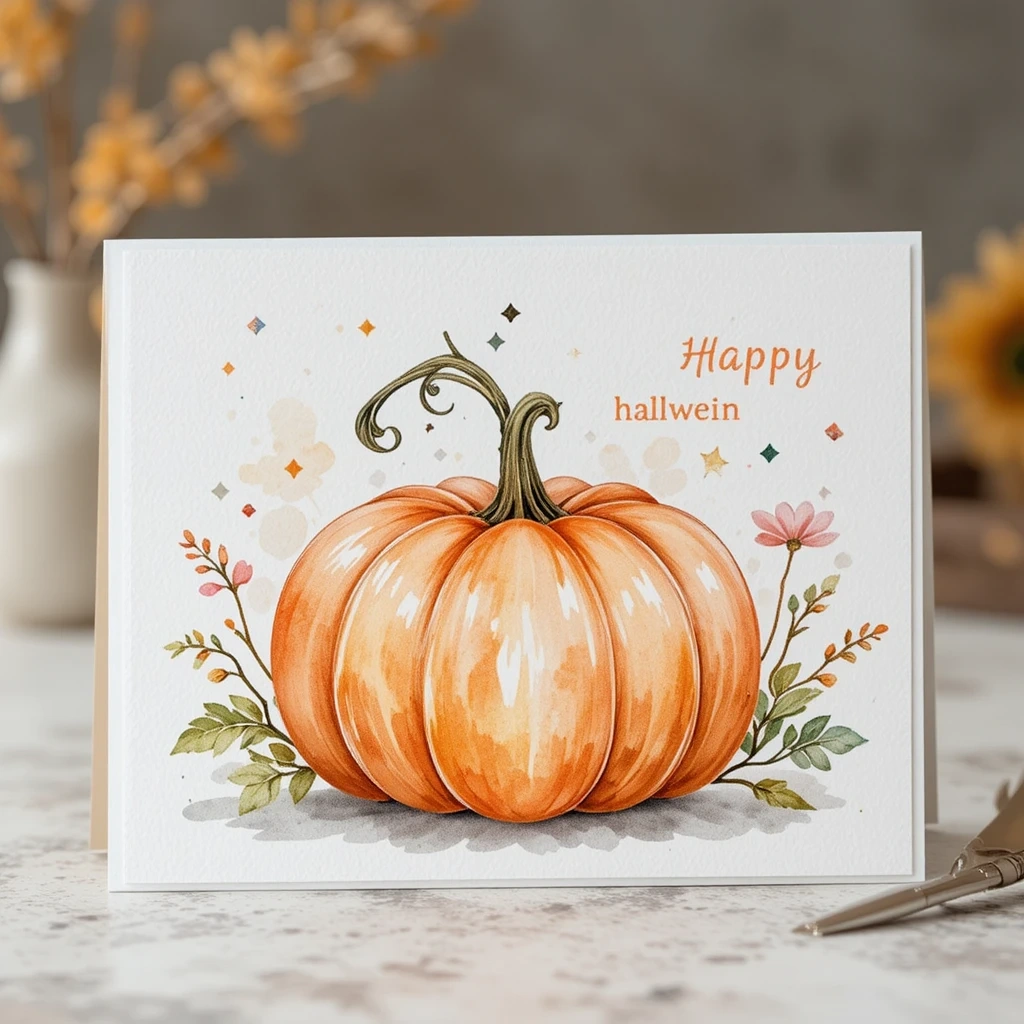
Soft watercolor pumpkins have a dreamy, artistic quality that makes even simple designs look polished. This card is perfect for Halloween or harvest season and looks stunning even if your painting skills are basic — watercolor is forgiving and naturally beautiful.
Materials:
- Watercolor paper (140 lb recommended)
- Watercolor paints (orange, yellow, green, brown)
- Round paintbrush (size 6 or 8)
- Pencil and eraser
- Black fine-tip pen (optional for outline)
Steps:
- Lightly sketch a pumpkin shape in pencil.
- Paint with a wet-on-wet technique, blending orange into yellow.
- Add green for the stem and a hint of brown for shading.
- Once dry, optionally trace over with a fine-tip pen for definition.
- Write your message on the back or fold the sheet into a card.
Time & Difficulty: 20 min | Easy
Best Use Case: Halloween greetings, harvest party invitations, seasonal decor
Creative Variation: Paint multiple mini pumpkins in a row for a charming repeating pattern.
3. Stamped Acorn Card
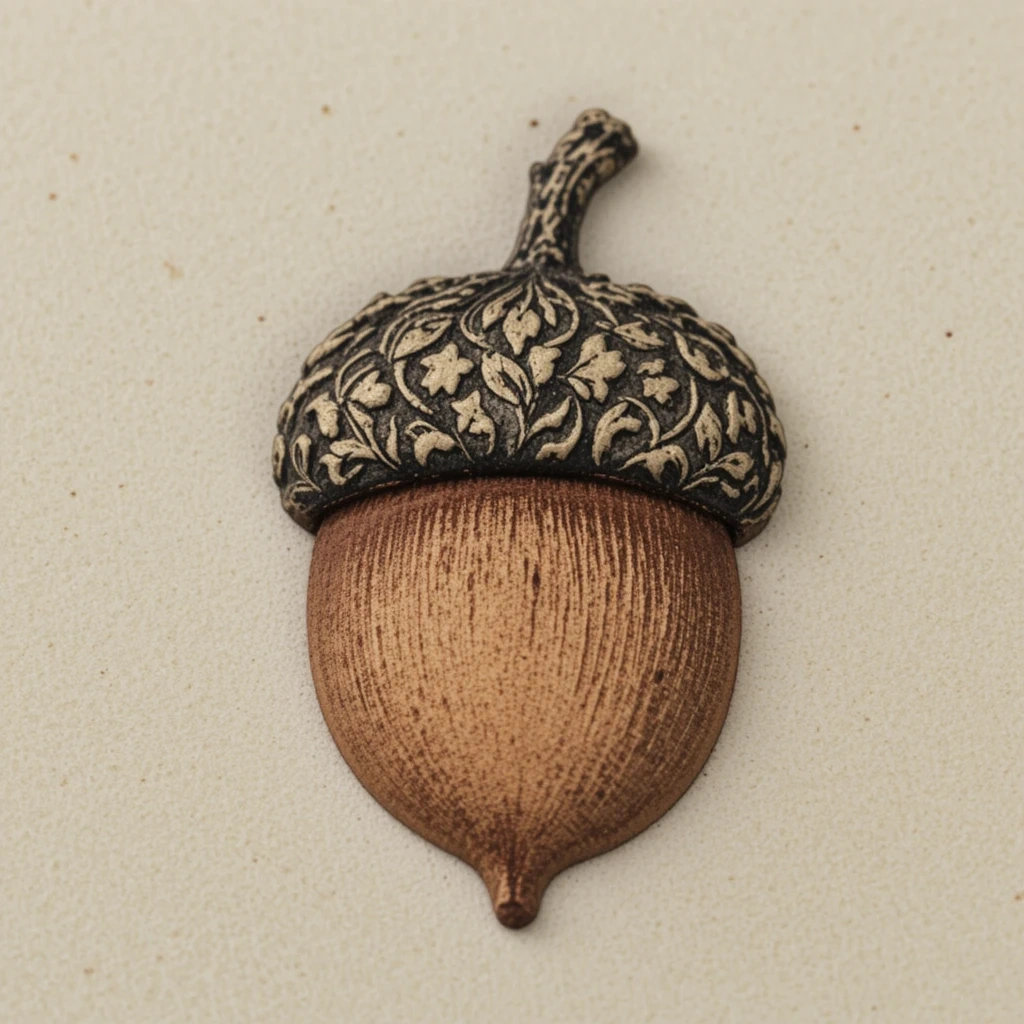
Rubber stamping is one of the fastest ways to create professional-looking cards at home. An acorn motif is quintessentially autumn and works for almost any occasion from fall birthdays to “thinking of you” notes. Layer ink colors for a dimensional look.
Materials:
- Acorn rubber stamp (purchased or hand-carved from foam)
- Ink pads in brown, gold, and rust
- Blank white or kraft cardstock
- Embossing powder (optional)
- Heat gun (if using embossing powder)
Steps:
- Ink your acorn stamp with a base color.
- Press firmly onto your card and lift straight up.
- Repeat with overlapping stamps at different angles.
- Add a second ink color for depth.
- Heat-emboss with gold powder for a luxurious finish.
Time & Difficulty: 10 min | Easy
Best Use Case: Thank-you cards, gift tags, seasonal notes
Creative Variation: Use a white ink pad on dark brown cardstock for an inverted, moody look.
4. Fall Foliage Silhouette Card
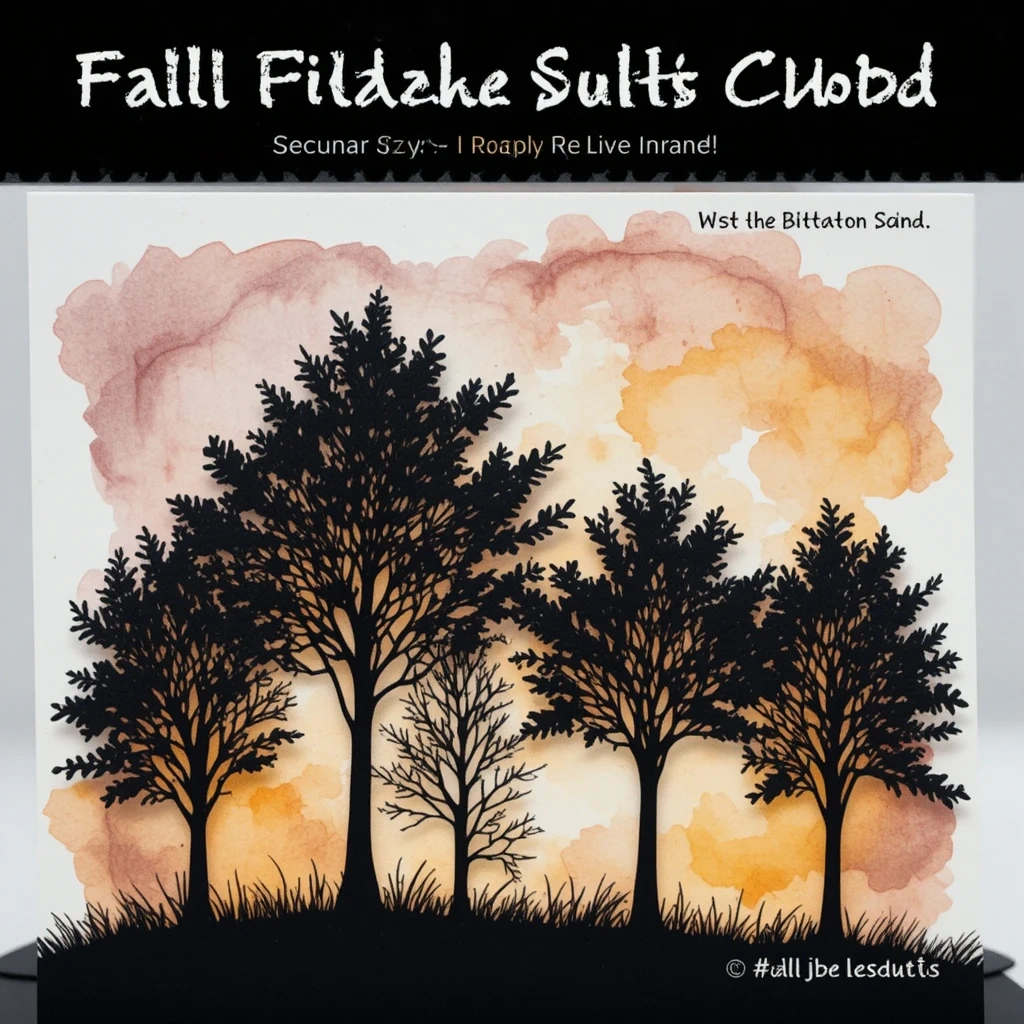
Silhouettes are dramatic and strikingly beautiful. By cutting out leaf or tree shapes from black cardstock and placing them against a warm watercolor sky background, you create a card that looks professionally designed. This is one of the most visually impressive fall cards ideas with minimal effort.
Materials:
- Black cardstock
- Watercolor paper
- Watercolor paints (orange, pink, red, gold)
- Craft scissors or Cricut machine
- Glue stick
Steps:
- Paint a gradient sky on watercolor paper using warm tones — blend wet.
- Let dry completely.
- Cut a tree, branch, or leaf silhouette from black cardstock.
- Glue the silhouette over the painted background.
- Fold a backing sheet and attach the finished piece to the front.
Time & Difficulty: 25 min | Medium
Best Use Case: Autumn birthday cards, wall art, framing
Creative Variation: Add a full moon in white behind the tree for a Halloween night effect.
5. Cozy Sweater Weather Card
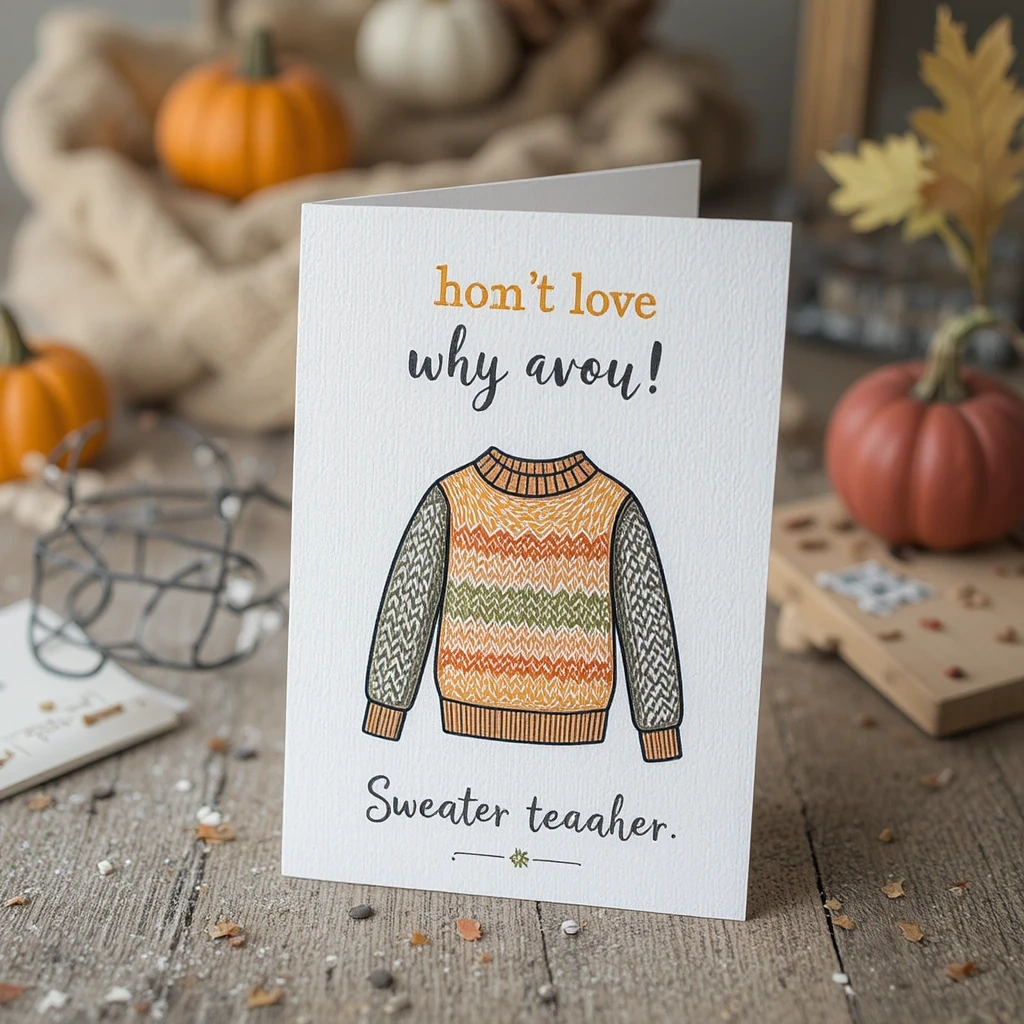
Who doesn’t love “sweater weather” season? This adorable card features a tiny knitted sweater illustration (either drawn or stamped) with cozy fall colors. It’s charming, relatable, and perfect for anyone who loves the arrival of cooler days.
Materials:
- Blank cardstock
- Fine-tip markers or gel pens (mustard, burgundy, rust, cream)
- Ruler and pencil
Steps:
- Lightly pencil a simple sweater outline in the center of your card.
- Draw a pattern on the sweater — stripes, fair isle dots, or plaid.
- Color in with warm-toned markers.
- Add a “Sweater Weather” message below.
- Border the card with a thin hand-drawn frame.
Time & Difficulty: 20 min | Easy
Best Use Case: Friend greetings, autumn birthday, seasonal “thinking of you” cards
Creative Variation: Turn it into a mini card set and gift them bundled with a cozy tea or candle.
6. Dried Flower Herbarium Card
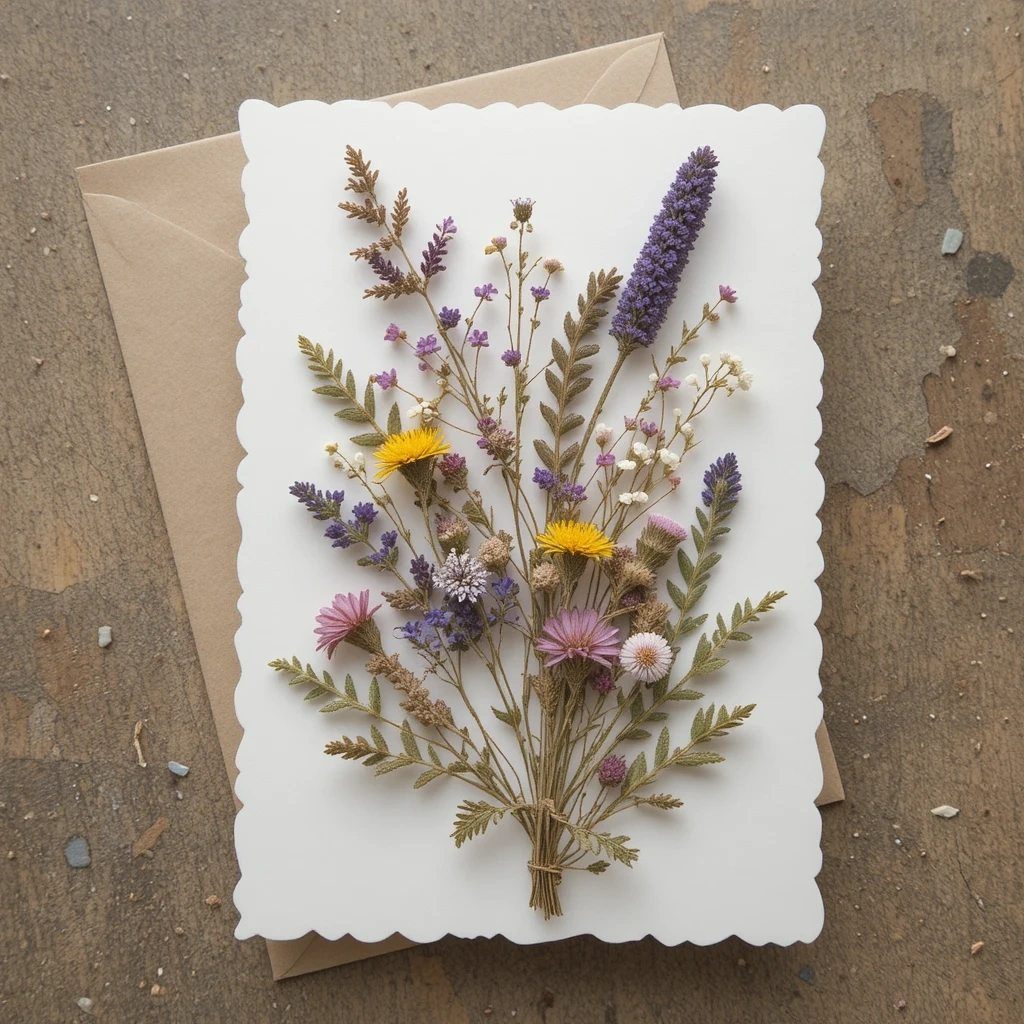
Pressed wildflowers and dried herbs create cards that feel like little works of art. Lavender, chamomile, tiny ferns, or seed pods all press beautifully and give cards an organic, handcrafted elegance. These are particularly popular for handmade gift-giving during the harvest season.
Materials:
- Blank watercolor cardstock
- Dried or pressed flowers and herbs
- Tweezers
- PVA glue or Mod Podge
- Small paintbrush
Steps:
- Arrange your pressed botanicals on the cardstock before gluing to plan the layout.
- Apply a thin layer of glue to the back of each piece using tweezers.
- Press gently into place on the card.
- Seal with a thin coat of Mod Podge over the top.
- Let dry flat for at least an hour.
Time & Difficulty: 20 min | Easy
Best Use Case: Thank-you notes, bridal shower cards, nature-inspired gifts
Creative Variation: Add a hand-lettered Latin plant name beneath each botanical for a vintage apothecary look.
7. Torn Paper Landscape Card
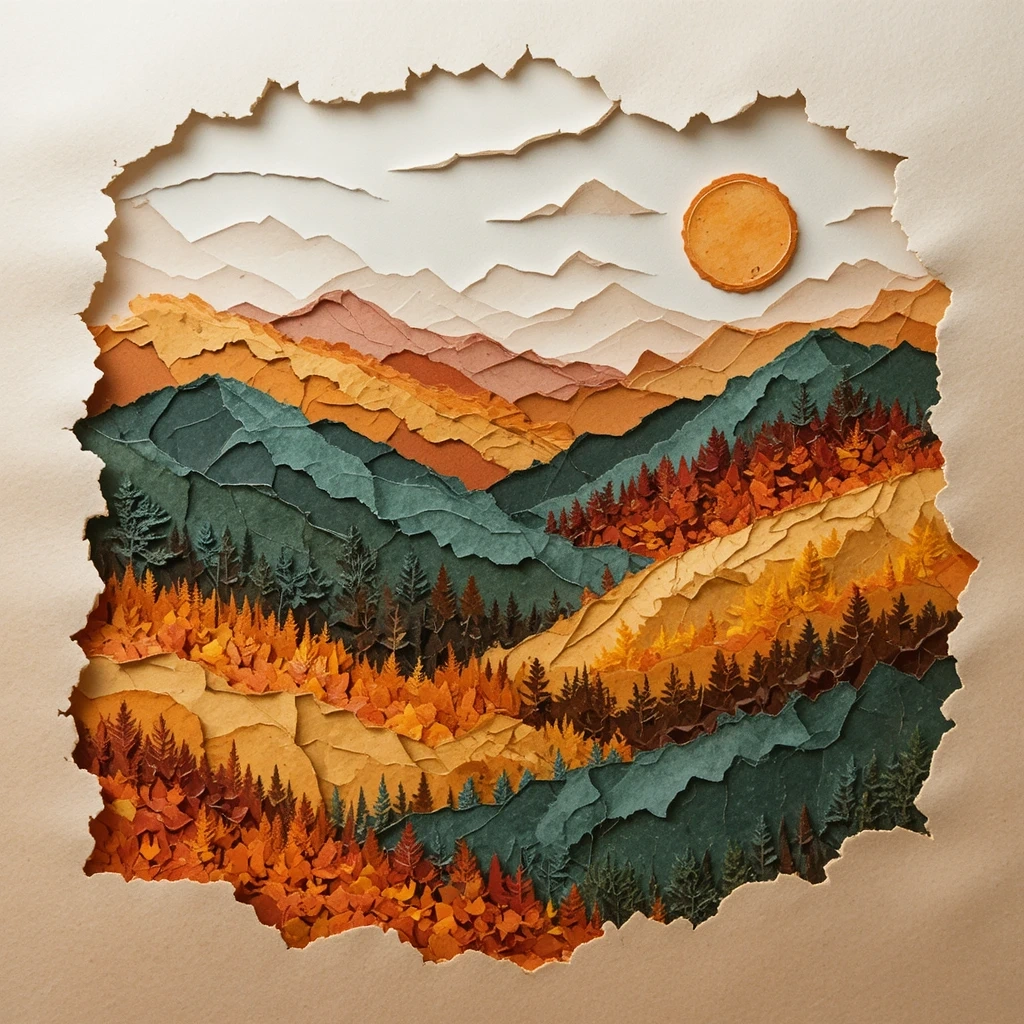
No scissors needed for this one! Torn paper edges create a beautiful, textured landscape reminiscent of layered autumn hills. Use papers in rust, gold, burnt orange, and forest green to build a stunning seasonal scene.
Materials:
- Assorted colored paper (autumn tones)
- Blank white cardstock
- Glue stick
- Black marker (optional for details)
Steps:
- Tear strips of colored paper at irregular angles to represent hills or sky.
- Layer them from bottom to top, starting with the foreground.
- Glue each layer down, allowing slight overlaps.
- Add a small torn paper sun or moon in the sky.
- Outline details with a black marker if desired.
Time & Difficulty: 15 min | Easy
Best Use Case: Seasonal greeting cards, children’s activity, classroom project
Creative Variation: Add a tiny silhouette of a farmhouse or barn cut from black paper for a charming countryside vibe.
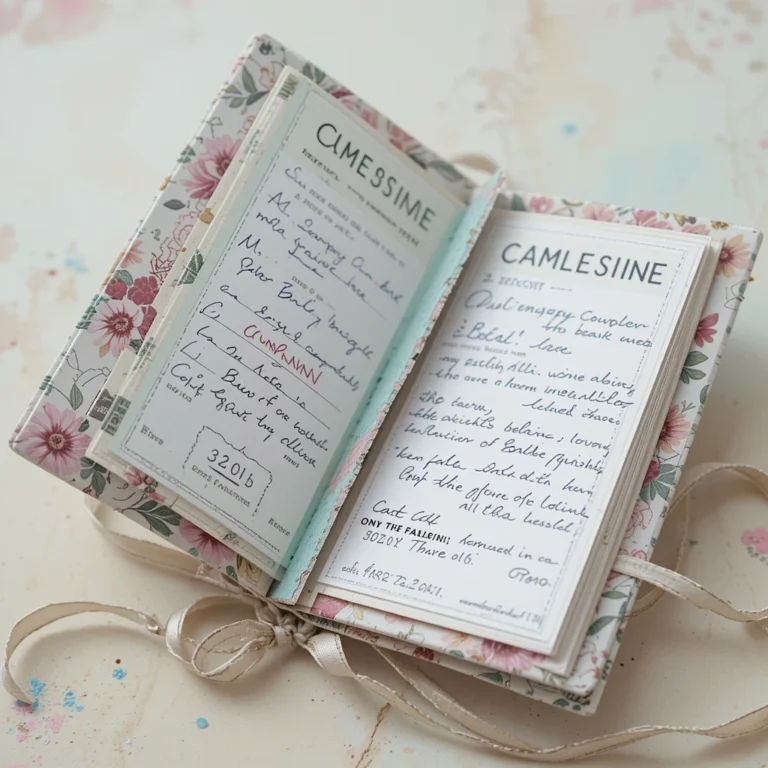
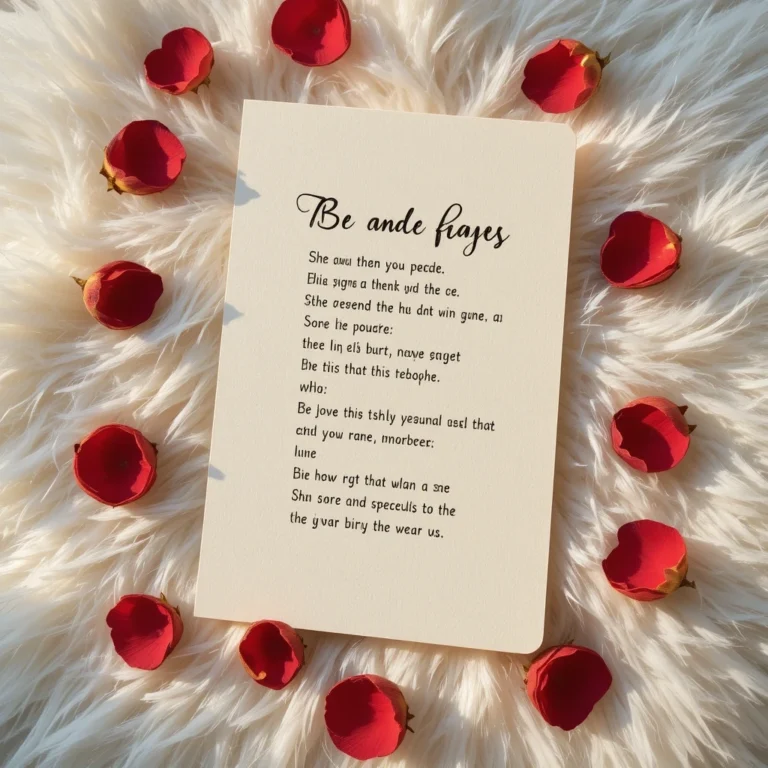
8. Handwritten Lettering Autumn Quote Card
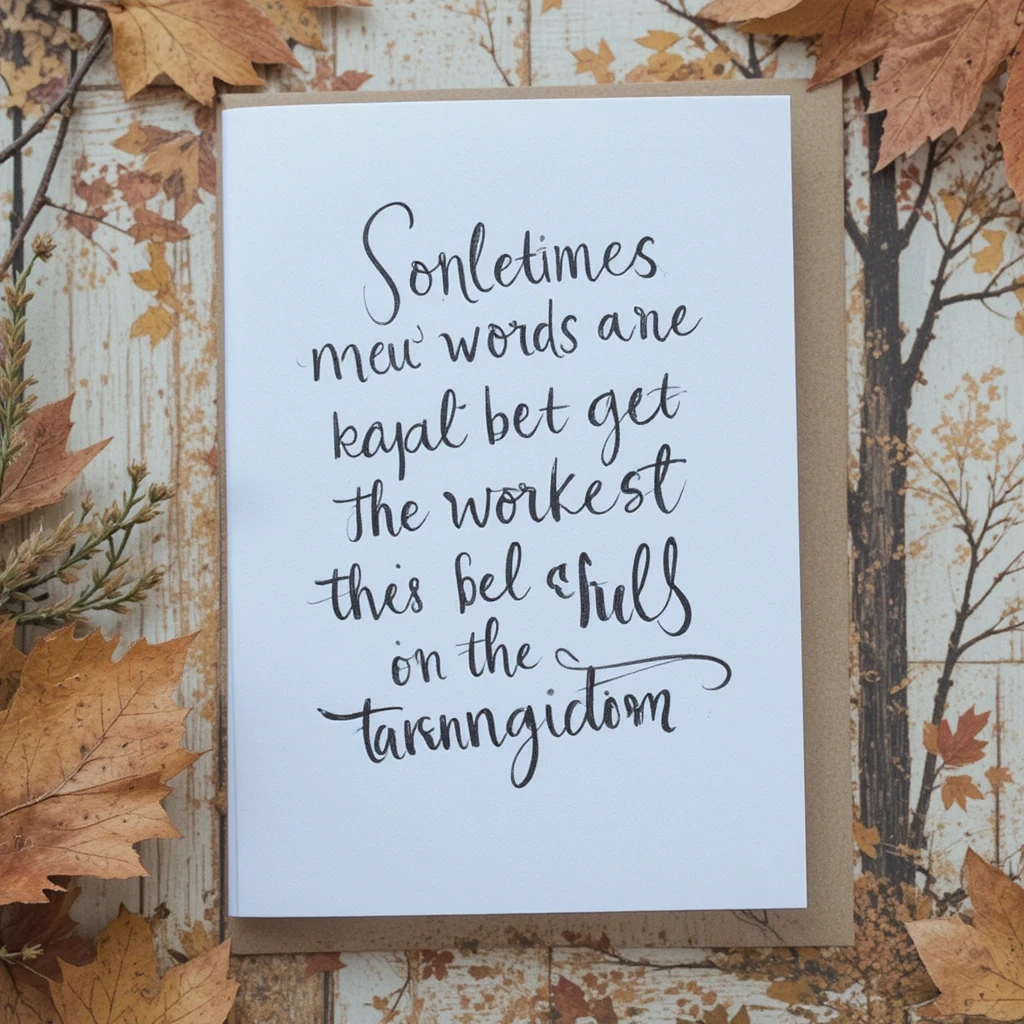
Sometimes words are the most powerful art. A beautifully hand-lettered autumn quote on quality paper makes for an incredibly meaningful card. Choose a quote about change, gratitude, or the beauty of the season and let the words do the work.
Materials:
- Smooth white or cream cardstock
- Fine-tip brush pens or calligraphy pens
- Pencil and ruler (for guidelines)
- Eraser
Steps:
- Lightly rule horizontal guide lines in pencil.
- Write your chosen quote in pencil first, spacing evenly.
- Go over with your brush pen using downstroke pressure technique.
- Add small leaf doodles or flourishes as decorative elements.
- Erase all pencil marks once ink is fully dry.
Time & Difficulty: 25 min | Medium
Best Use Case: Inspirational gifts, framing, autumn journal inserts
Creative Variation: Try writing the quote in two contrasting fonts — a bold serif for the main words and delicate script for the smaller connecting words.
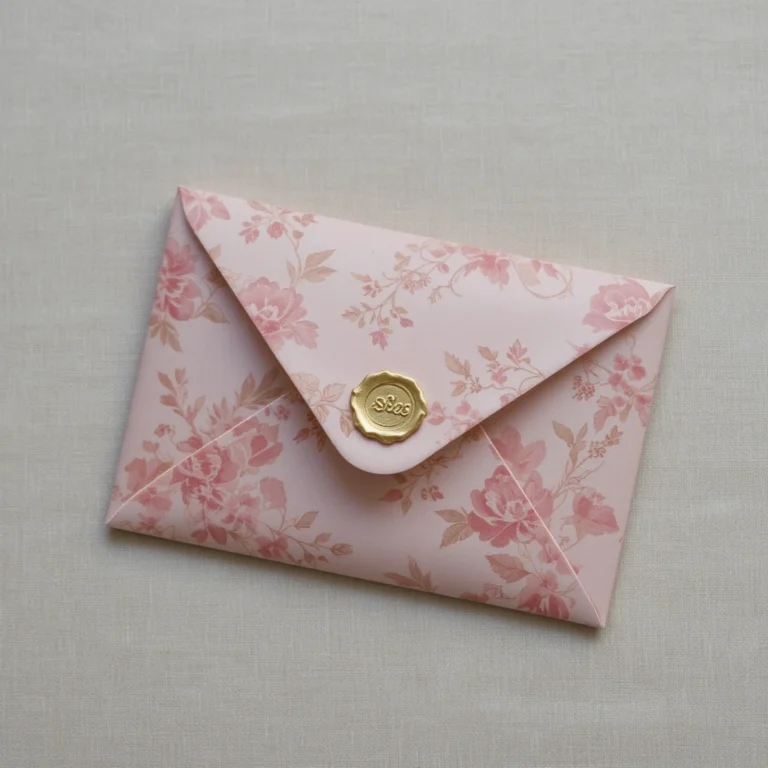
9. Cinnamon-Scented Card
This is a sensory experience wrapped in an envelope! By mixing a small amount of cinnamon powder into your paint or craft glue, you create a card that actually smells like autumn. It’s a wildly creative and unexpected way to delight the recipient.
Materials:
- Blank cardstock
- Brown craft paint
- Ground cinnamon
- Paintbrush
- Leaf stencil
Steps:
- Mix a tablespoon of brown paint with half a teaspoon of cinnamon.
- Use your stencil to paint cinnamon-scented leaf shapes onto the card.
- Let dry for at least 30 minutes.
- Add detail lines with a fine marker.
- Seal in an envelope — the scent stays strong for weeks.
Time & Difficulty: 15 min | Easy
Best Use Case: Surprise gifts, fall holiday mailing, sensory experience cards
Creative Variation: Add nutmeg or allspice to the mixture for a warming spiced blend that deepens the scent.
10. Fingerprint Leaf Tree Card
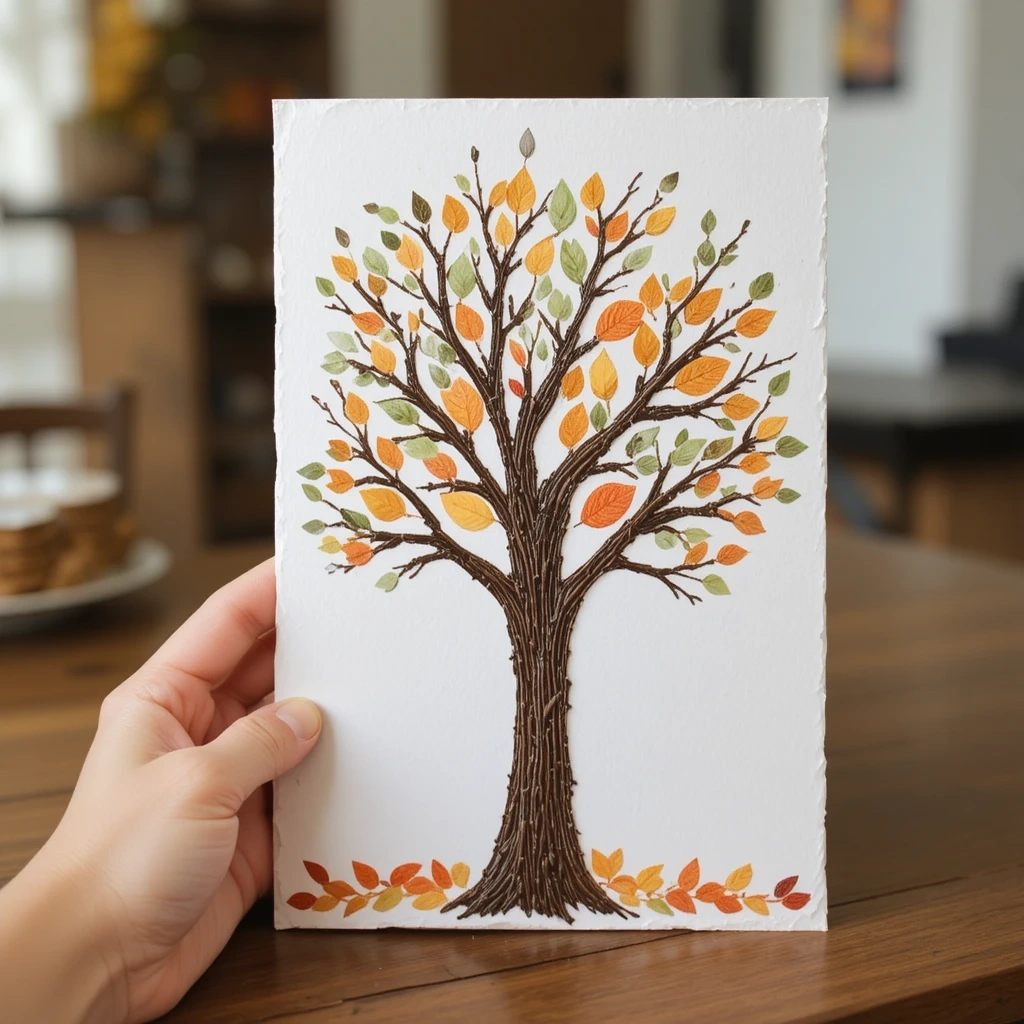
Your fingerprints become tiny leaves on a bare autumn tree — this technique is beloved by crafters of all ages and creates absolutely charming results. It’s also a wonderful card to make with kids for grandparents or teachers.
Materials:
- Blank white cardstock
- Brown and black ink pad or paint
- Ink pad in red, orange, yellow, and green
- Fine-tip marker
Steps:
- Draw or stamp a bare tree trunk and branches in brown/black.
- Dip your fingertip into fall-colored ink.
- Press fingerprints around the branches to create clusters of “leaves.”
- Repeat with different colors, letting each dry slightly before adding the next.
- Add a message with a fine-tip marker.
Time & Difficulty: 15 min | Easy
Best Use Case: Kid-made cards, teacher appreciation, family greeting cards
Creative Variation: Use a whole hand with splayed fingers pressed in green to create a giant leaf shape at the center.
11. Washi Tape Plaid Card
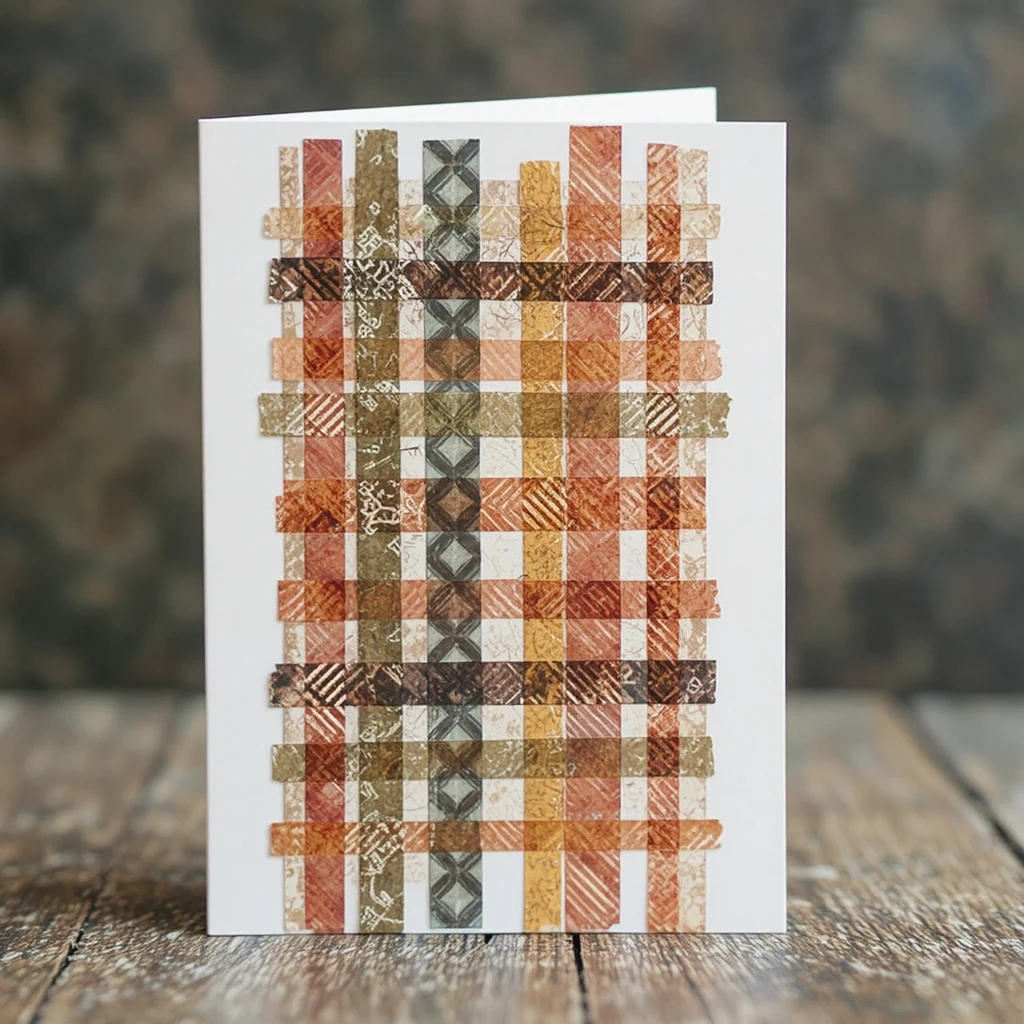
Washi tape is one of the most underrated card-making tools available. By layering strips of fall-colored washi tape in a plaid or grid pattern, you can create a beautifully textured card that looks tailored and intentional — in just minutes.
Materials:
- Blank cardstock (white or kraft)
- Washi tape in rust, mustard, forest green, and cream
- Scissors
- Fine-tip pen
Steps:
- Apply horizontal strips of washi tape across the card front, varying the width and color.
- Add vertical strips on top to complete the plaid grid.
- Trim edges clean with scissors.
- Add a simple stamped or hand-drawn message.
Time & Difficulty: 10 min | Easy
Best Use Case: Quick gift tags, mailing cards, birthday cards with a cozy aesthetic
Creative Variation: Cut the washi tape into diagonal strips for a herringbone or argyle-inspired look.
12. Ombre Leaf Watercolor Card
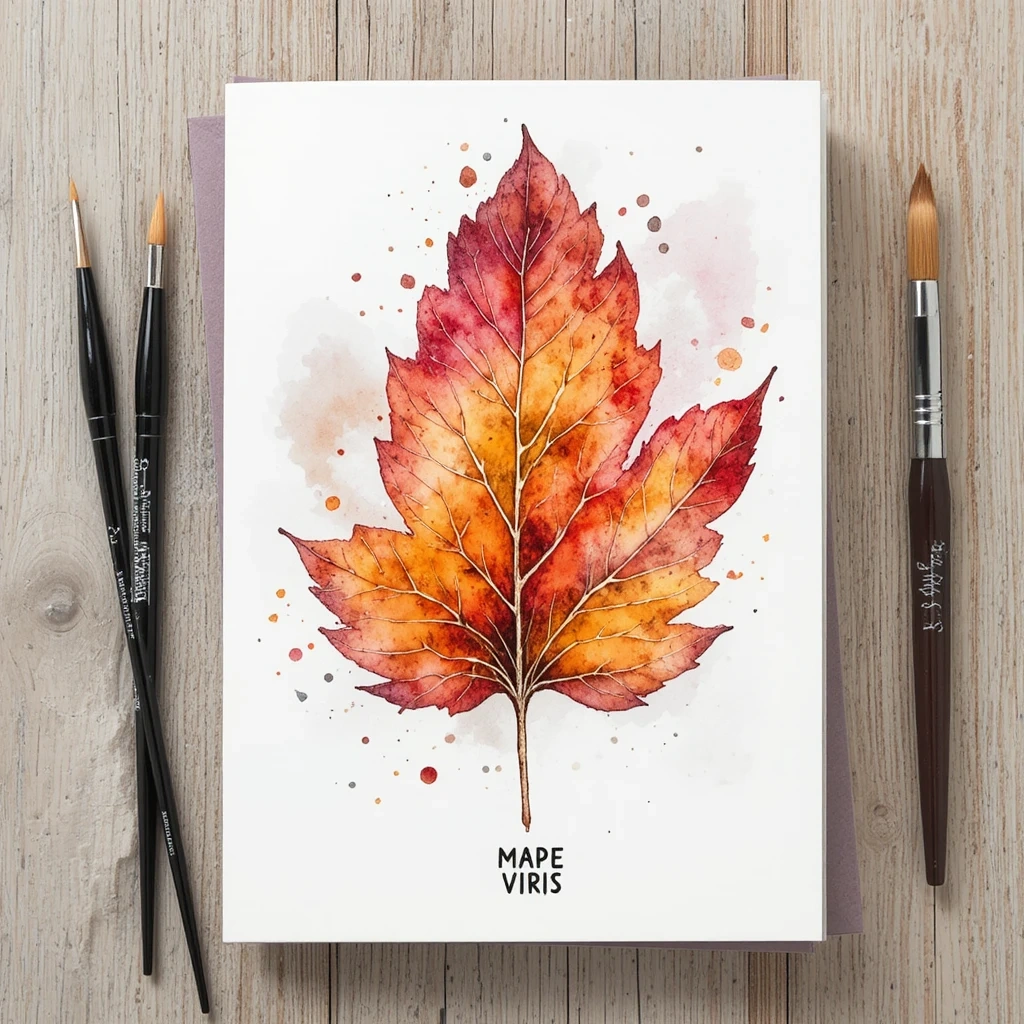
An ombre effect on a single oversized leaf gives a card gallery-worthy elegance. Choose a gradient that transitions from deep burgundy through orange to warm gold — pure autumn magic. The soft blending of colors is easier than it looks with the wet-on-wet technique.
Materials:
- Watercolor paper
- Watercolor paints (burgundy, orange, gold)
- Flat brush and round brush
- Pencil
Steps:
- Sketch a large leaf outline filling most of the card front.
- Wet the entire leaf shape with clean water.
- Drop burgundy at the top while the paper is wet.
- Add orange in the middle, letting colors bleed into each other naturally.
- Drop gold at the bottom and tip. Let dry completely before handling.
Time & Difficulty: 20 min | Medium
Best Use Case: Art cards, framing, botanical gift cards
Creative Variation: Use a white crayon to draw veins on the leaf before painting — they’ll resist the watercolor and show up beautifully.
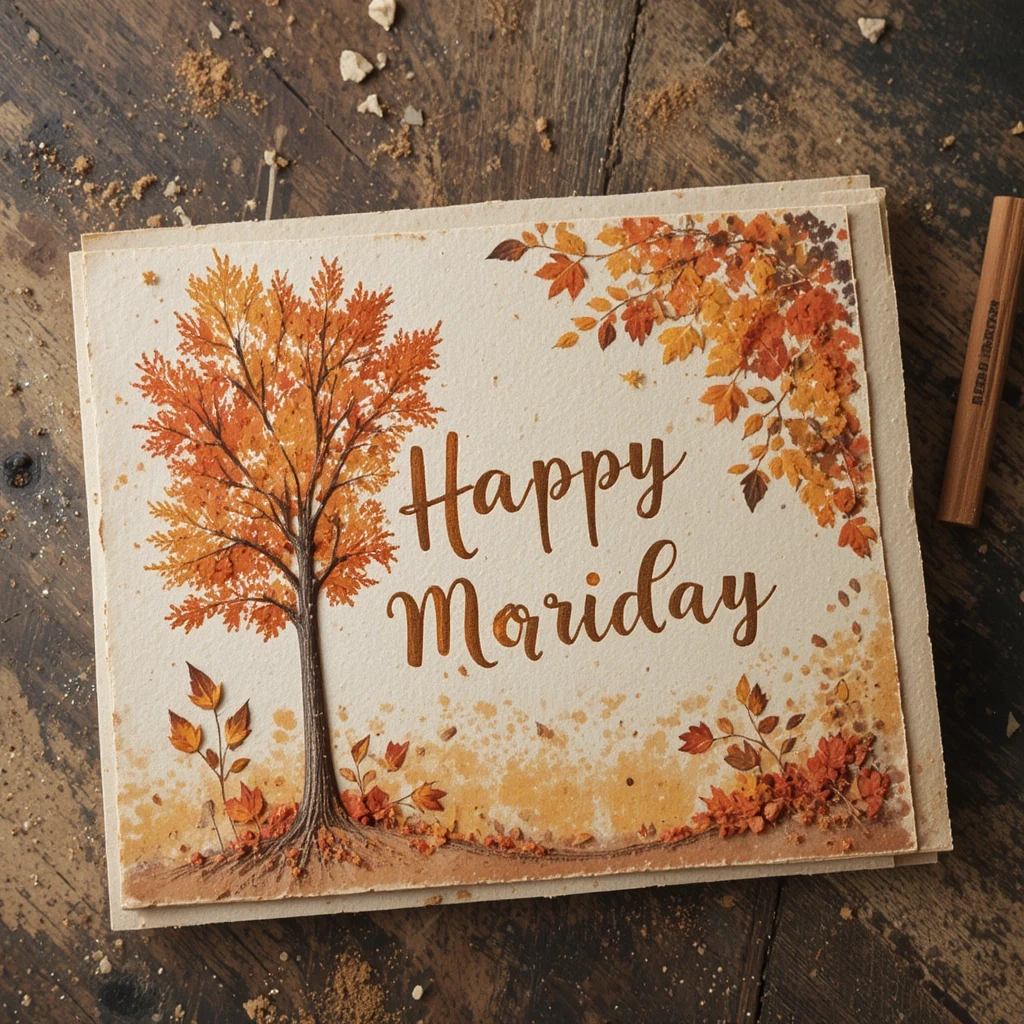
13. Kraft Paper Harvest Card
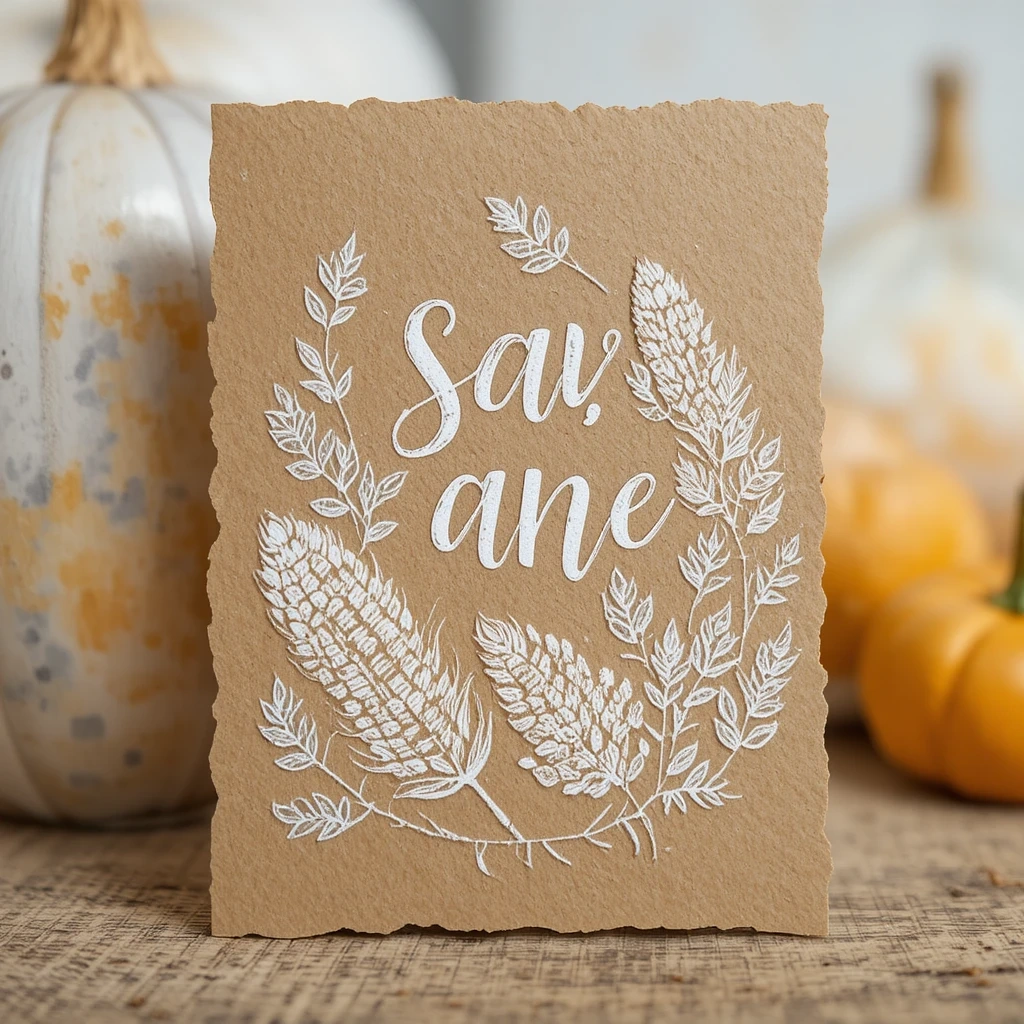
Kraft paper has a natural, earthy texture that is perfectly suited to autumn aesthetics. Pair it with white ink or white gel pens, add harvest motifs like wheat, corn, or squash, and you have a card that looks like it came from an artisan boutique.
Materials:
- Kraft cardstock or brown paper bags
- White gel pen or white ink
- White ink pad (optional)
- Leaf or harvest stamps
Steps:
- Cut kraft paper to your desired card size and fold.
- Stamp harvest motifs using white ink.
- Add hand-drawn details with a white gel pen.
- Letter a message like “Grateful for You” in white script.
- Optionally, add a twine bow or dried sprig of wheat.
Time & Difficulty: 15 min | Easy
Best Use Case: Thanksgiving cards, harvest festival invitations, rustic gift tags
Creative Variation: Lightly singe the edges of the kraft paper with a lighter for a rustic, aged look.
14. Gratitude & Thankfulness Card
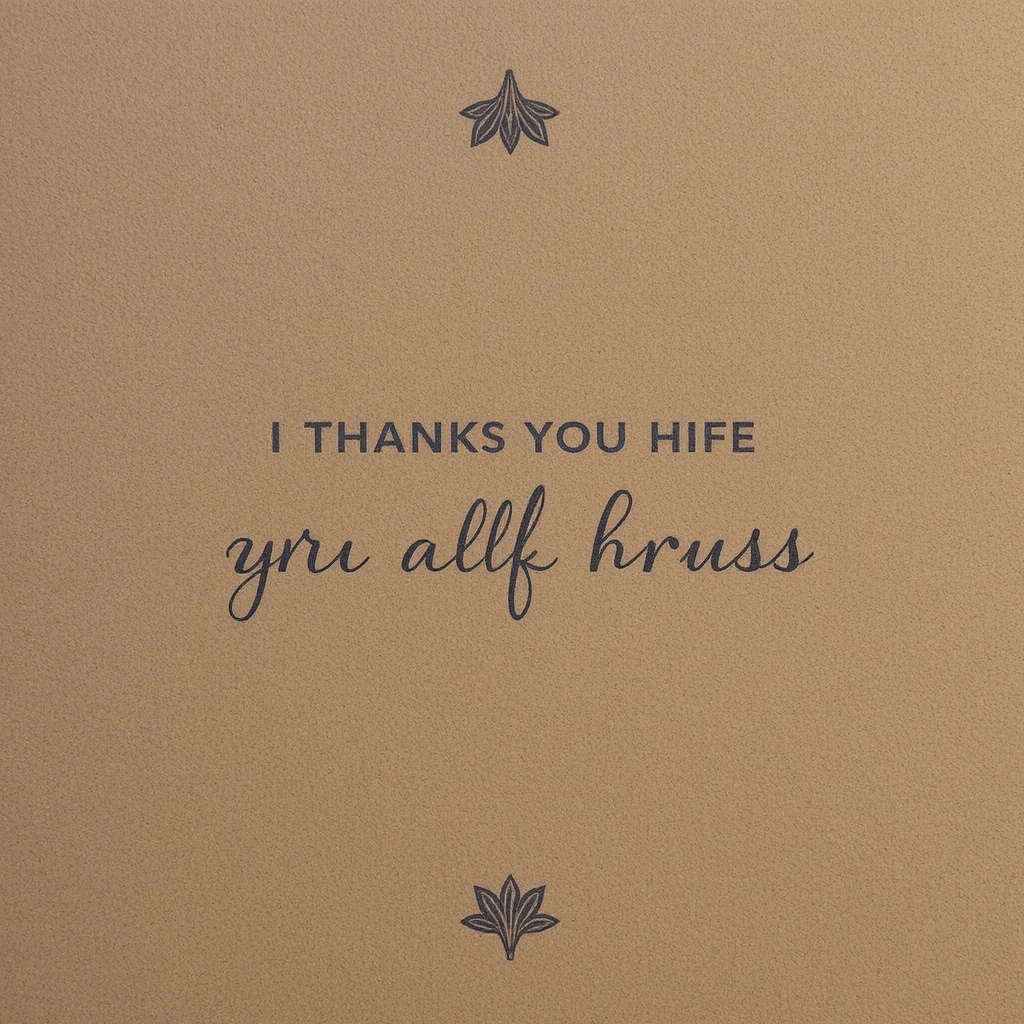
The fall season is synonymous with gratitude, making a heartfelt thankfulness card one of the most meaningful things you can create. This minimalist design combines clean typography with a soft autumn color palette — simple, sincere, and genuinely moving.
Materials:
- Cream cardstock
- Rust and gold brush pens
- Fine-tip black pen
- Small leaf stamps (optional)
Steps:
- Write “Thank You” or “Grateful for You” in large, flowing brush lettering.
- Frame the words with tiny hand-drawn leaves and dots in rust and gold.
- Add a short personal handwritten message inside.
- Optionally, stamp a border of leaves around the interior message.
Time & Difficulty: 15 min | Easy
Best Use Case: Thanksgiving cards, teacher appreciation, friend or family notes
Creative Variation: Write one specific thing you’re grateful for about the recipient on the inside — it transforms a pretty card into a treasured keepsake.
Budget-Friendly Guide to Making Fall Cards
You don’t need an expensive craft room to create stunning autumn cards. Here’s how to keep costs down without sacrificing quality:
- Use what you have: Fallen leaves, old magazine paper, and recycled brown bags make excellent materials. Nature provides some of the best autumn textures for free.
- Invest in versatile basics: A set of watercolor paints, a pack of blank cardstock, and a few brush pens will cover you for dozens of projects.
- Buy in bulk: Blank card packs (usually 50–100 cards) are far cheaper per card than buying individually.
- Share supplies: Coordinate with a friend to split a stamp set or paper pack and halve your costs.
- Shop seasonal sales: Craft stores like Michaels and Hobby Lobby offer deep discounts on fall supplies by mid-October.
Common Mistakes to Avoid
1. Using paper that’s too thin for watercolor Regular printer paper will buckle and warp the moment it gets wet. Always use at least 90 lb cardstock or dedicated watercolor paper for any wet media project. This single upgrade dramatically improves results.
2. Rushing the drying time Impatience is the enemy of handmade cards. Pressing, gluing, or embellishing before paint or glue is fully dry leads to smears, lifting, and ruined work. Set a timer and walk away.
3. Overcomplicating the design Beginners often try to pack too many elements onto one card. A single well-executed motif — one perfect leaf, osne beautiful quote — is always more impactful than a cluttered composition. Less truly is more.
Tips for Best Results
- Test colors on scrap paper before committing to your final card.
- Work in batches — if you’re making multiples, do all cutting, then all painting, then all writing for efficiency.
- Use a bone folder to get crisp, clean card folds.
- Store finished cards flat under a heavy book to prevent warping.
- Add a sentiment liner (a separate strip of text paper glued inside) to elevate the interior of your card.
- Photograph your cards before sending — you’ll want a record of your beautiful work!
FAQs
Q: What’s the easiest fall card to make for a complete beginner? The washi tape plaid card (idea #11) or the fingerprint leaf tree (#10) are both excellent starting points — they require minimal supplies and produce impressive results with very little skill.
Q: Can I use regular printer paper for these projects? For drawing-only projects, yes. But for any glue, watercolor, or wet media, you’ll want at least 80–100 lb cardstock. Thin paper buckles badly when wet.
Q: How do I keep pressed leaves from becoming brittle and breaking? Seal them with a thin coat of Mod Podge on both sides once they’re fully pressed and dry. This preserves flexibility and locks in color.
Q: What’s the best way to write neatly inside a small card? Lightly rule pencil guidelines on the inside before writing. Erase gently after the ink dries. Practice the first line on a scrap sheet first.
Q: Are these ideas suitable for kids to make? Most ideas here (especially #7, #10, #11, #13) are very child-friendly. A few watercolor projects work well for kids with minimal adult guidance.
Q: What size cardstock should I use for mailing? A2 size (4.25″ x 5.5″) fits standard A2 envelopes and is the most mail-friendly and cost-efficient option for handmade cards.
Conclusion
Autumn is the most inspiring season of the year — full of rich color, cozy textures, and meaningful moments worth celebrating. Whether you’re making a heartfelt thank-you card, a spooky Halloween greeting, or a warm harvest note, handmade fall cards carry a personal energy that store-bought cards simply can’t replicate.
Pick one idea that speaks to you, gather your supplies, and start creating. Your recipients will treasure every single one.