12 Creative Teacher Appreciation Cards Teachers Will Love
Teachers shape the future — one lesson, one smile, and one encouraging word at a time. If you’ve ever wanted to say “thank you” in a way that truly lands, a handmade card is one of the most heartfelt gestures you can offer.
This article walks you through 12 beautiful, creative, and easy-to-make teacher appreciation cards that students, parents, and even fellow teachers can put together at home or in the classroom.
Whether you’re crafting solo or leading a whole class project, these ideas will inspire you to create something unforgettable.
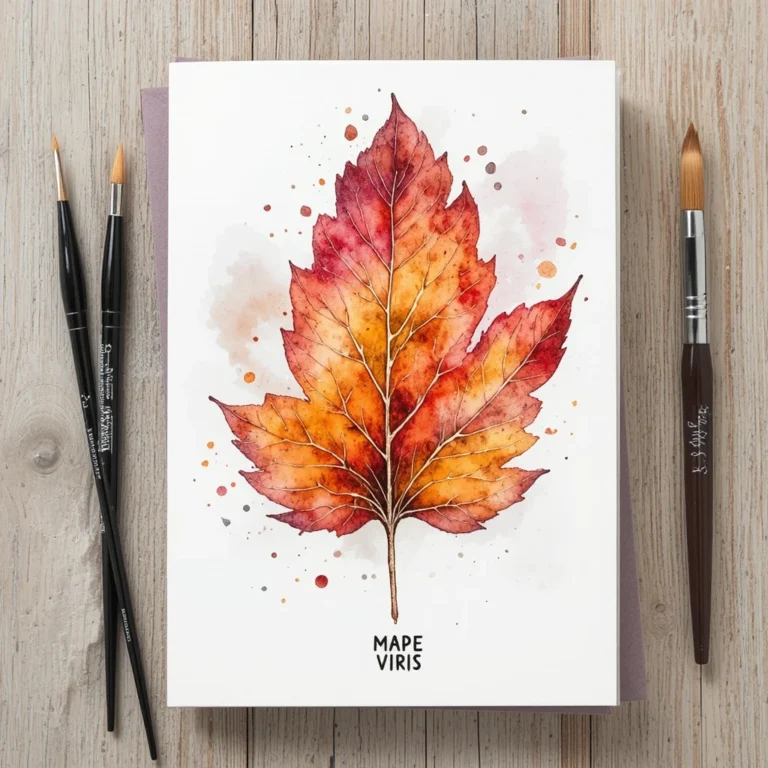
1. Watercolor Wash Thank-You Card

Soft watercolor backgrounds give this card an artistic, gallery-worthy look — and it’s surprisingly beginner-friendly. A simple wash of color with a white ink message creates a stunning contrast that feels both elegant and personal. This is one of those teacher appreciation cards that looks like it took hours but only needs about 20 minutes.
Materials:
- Watercolor paints (basic set)
- Watercolor paper or thick cardstock
- White gel pen or white paint marker
- Painter’s tape
- A brush and water cup
Steps:
- Use painter’s tape to border a piece of watercolor paper into a card shape.
- Wet the paper lightly with a clean brush.
- Drop in 2–3 colors and let them bleed naturally — blues, purples, and pinks work beautifully.
- Let it dry completely (about 10 minutes).
- Remove tape and write your message with a white gel pen.
Time & Difficulty: 20 min | Easy Best Use Case: Gift, end-of-year card Creative Variation: Add a small gold star sticker or washi tape border for extra charm.
2. Chalkboard-Style Appreciation Card

This card mimics the classroom chalkboard aesthetic that teachers know and love. Using black cardstock as the base and white chalk markers to write encouraging words, it creates a nostalgic, meaningful look that fits perfectly for any educator.
Materials:
- Black cardstock
- White chalk marker or white paint pen
- Ruler
- Optional: colored chalk markers for accent details
Steps:
- Fold black cardstock in half to create the card base.
- Use a white chalk marker to write your message in a casual handwritten style.
- Add doodles like stars, apples, or small hearts as accents.
- Let it dry fully before handling to avoid smudging.
Time & Difficulty: 15 min | Easy Best Use Case: Gift, classroom display Creative Variation: Add a small apple illustration or ruler doodle to lean into the school theme.
3. Pop-Up Paper Apple Card
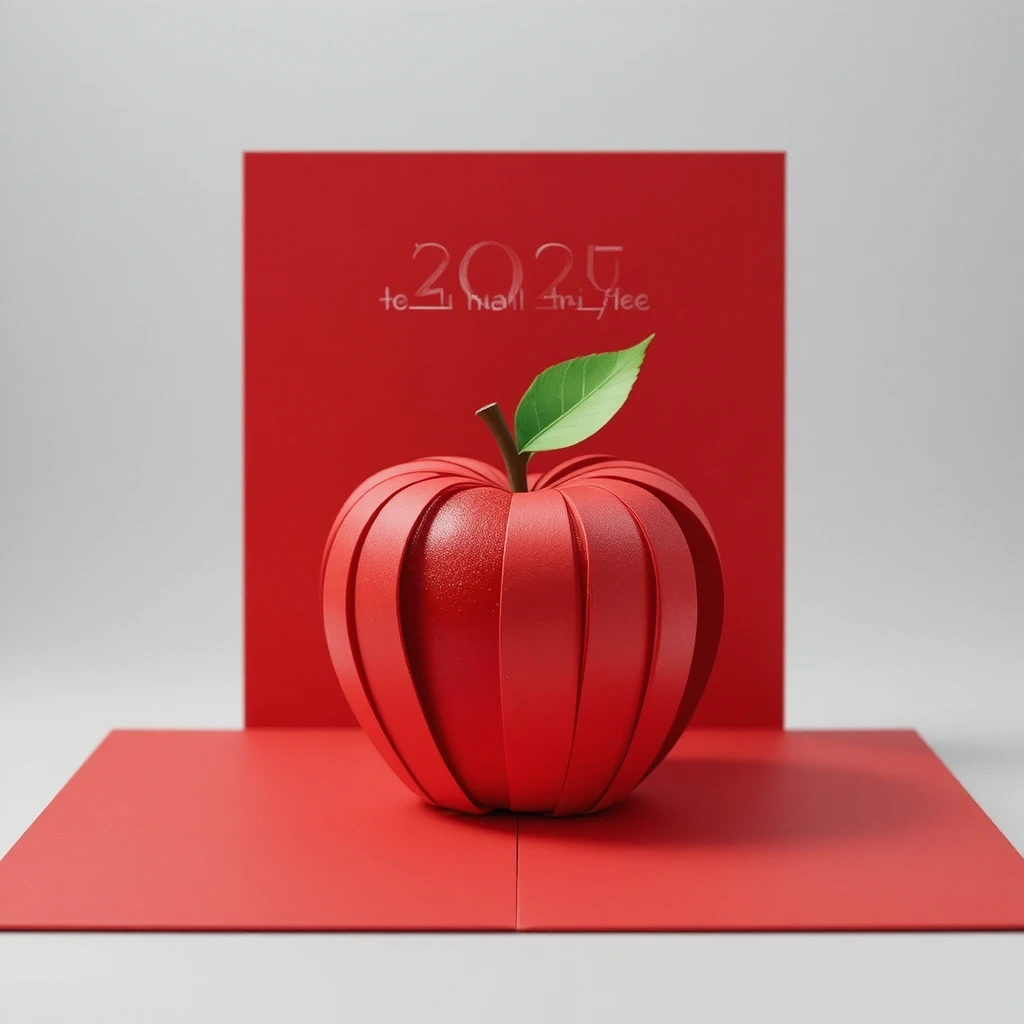
This interactive 3D card pops open to reveal a paper apple inside — a sweet nod to the classic teacher symbol. It’s a little more involved, but the reaction it gets makes every extra minute worthwhile.
Materials:
- Red and green cardstock
- White cardstock for card base
- Scissors or craft knife
- Glue stick
- Black marker
Steps:
- Fold the white cardstock in half for the card base.
- Cut a simple apple shape from red cardstock and a small leaf from green.
- Score and fold a strip of cardstock into a small “accordion” spring.
- Glue the spring inside the card so the apple pops up when opened.
- Write your message on the inside around the pop-up.
Time & Difficulty: 25 min | Medium Best Use Case: Gift, special occasion card Creative Variation: Replace the apple with a pencil or graduation cap shape for a different look.
4. Fingerprint Bouquet Card
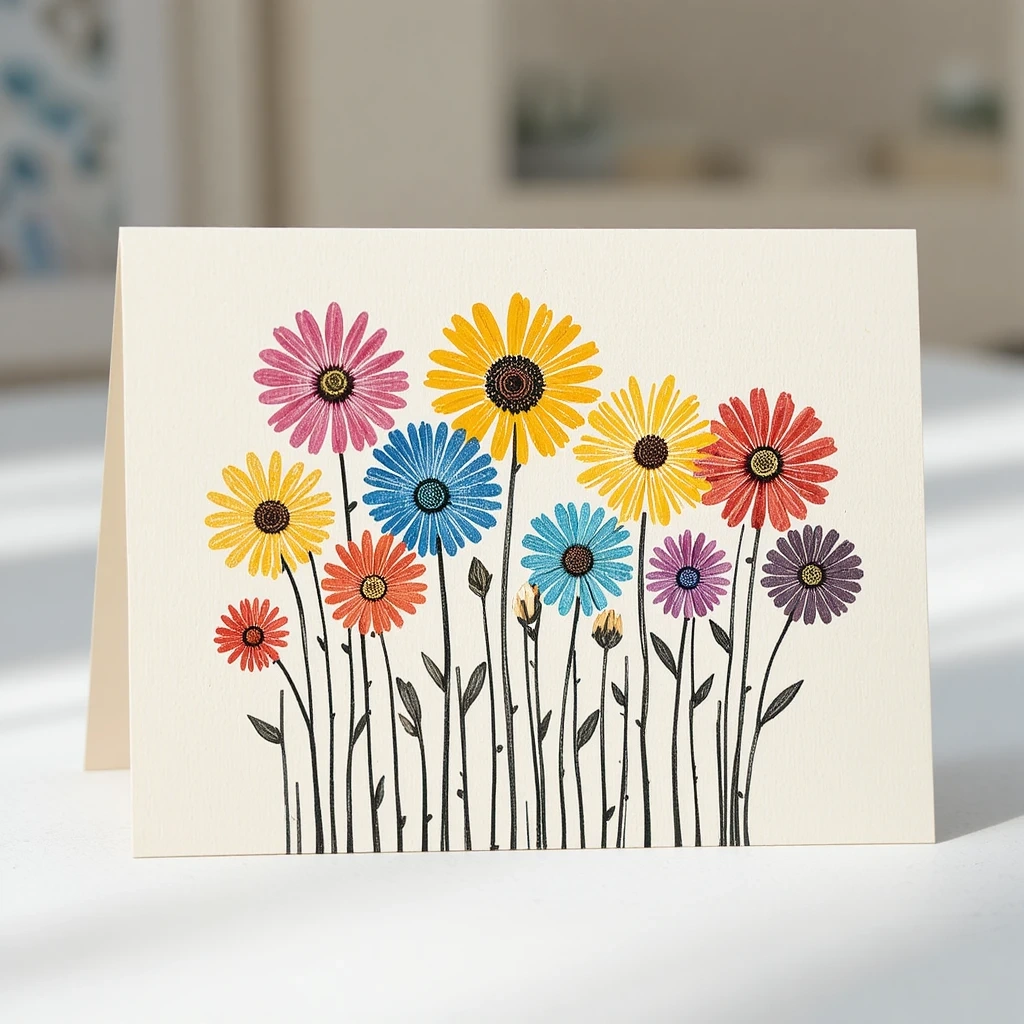
This card uses fingerprints as flower petals — making it incredibly personal and especially sweet when made by young students. Each fingerprint is one-of-a-kind, just like the bond between a teacher and their class.
Materials:
- White or cream cardstock
- Stamp pads in 2–3 colors
- Fine-tip black marker
- Optional: green marker for stems
Steps:
- Fold cardstock into a card shape.
- Press a finger onto a stamp pad and stamp 5 prints in a circular flower shape.
- Repeat with other colors to create a full bouquet.
- Use a black marker to add stems, leaves, and a vase doodle.
- Write a message inside the card.
Time & Difficulty: 15 min | Easy Best Use Case: Classroom group project, gift Creative Variation: Have every student in the class add one fingerprint flower to create a class bouquet card.
5. Kraft Paper Envelope Card with Twine
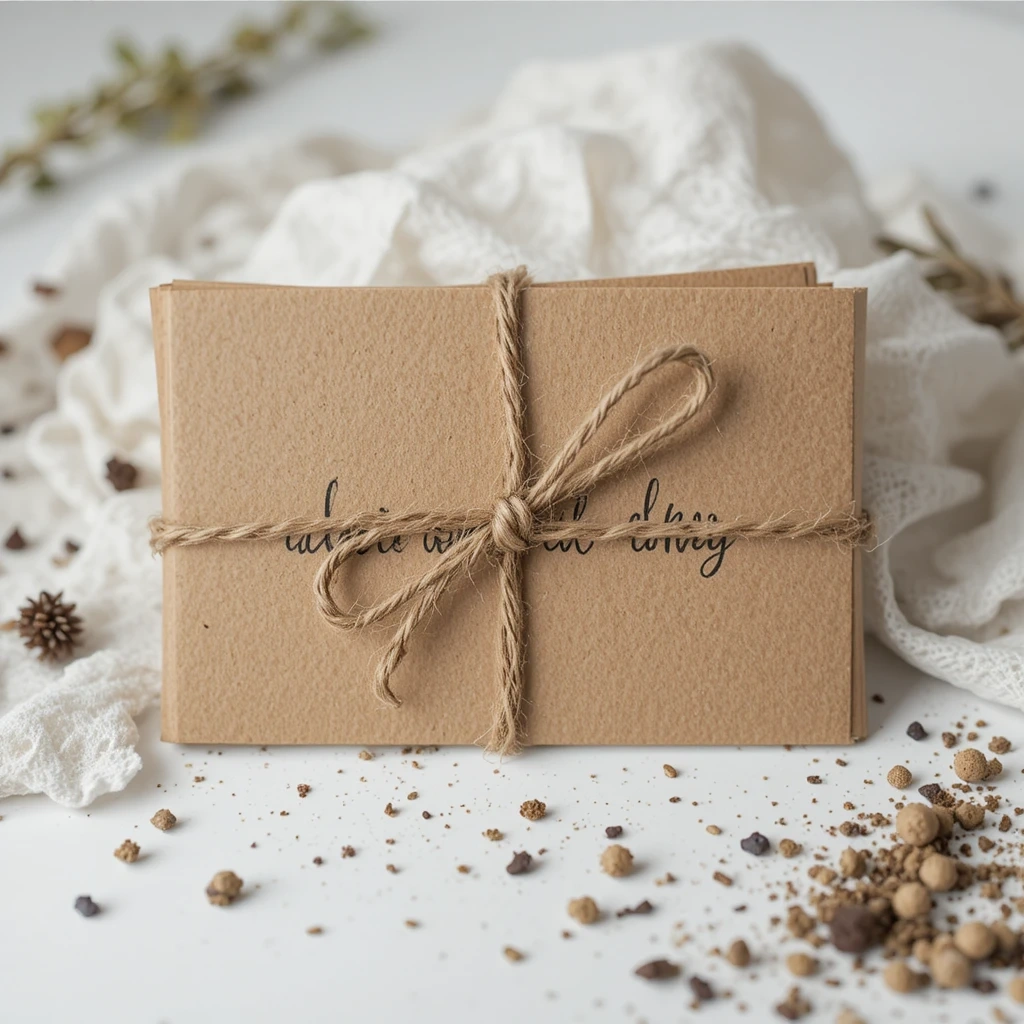
This rustic, minimal design uses kraft paper and twine for a warm, handmade feel. It looks like something from a cozy stationery boutique — but it costs almost nothing to make.
Materials:
- Kraft paper or brown cardstock
- Twine or jute string
- Hole punch
- Stamps or alphabet stickers
- Wax seal (optional)
Steps:
- Cut kraft paper and fold into a card.
- Punch two small holes on the left edge.
- Thread twine through the holes and tie a small bow.
- Stamp or sticker your message on the front.
- Add a wax seal to the front flap for an extra special touch.
Time & Difficulty: 20 min | Easy Best Use Case: Gift wrap accent, appreciation card Creative Variation: Tuck a small handwritten note or gift card inside the envelope before tying it closed.
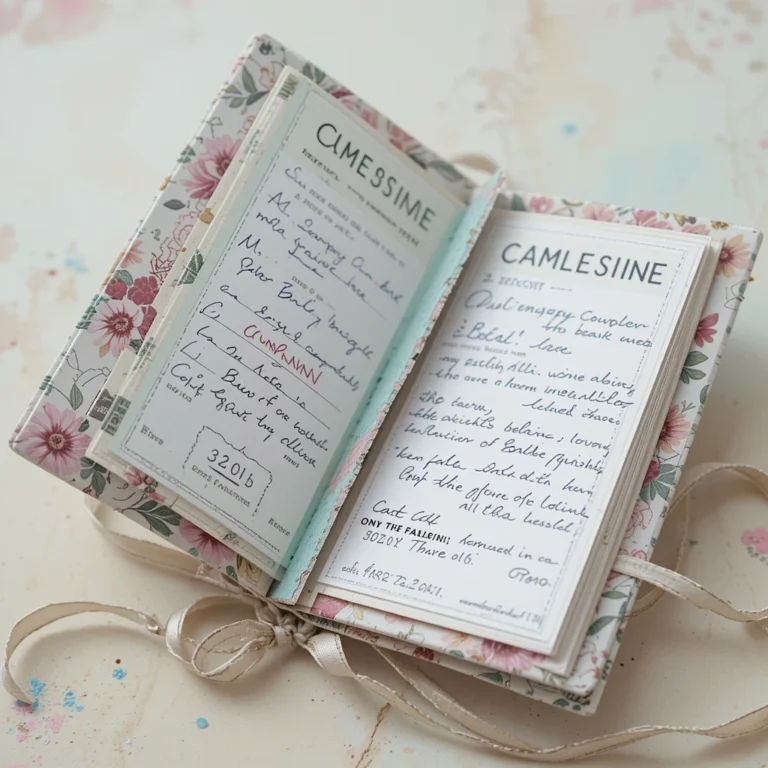
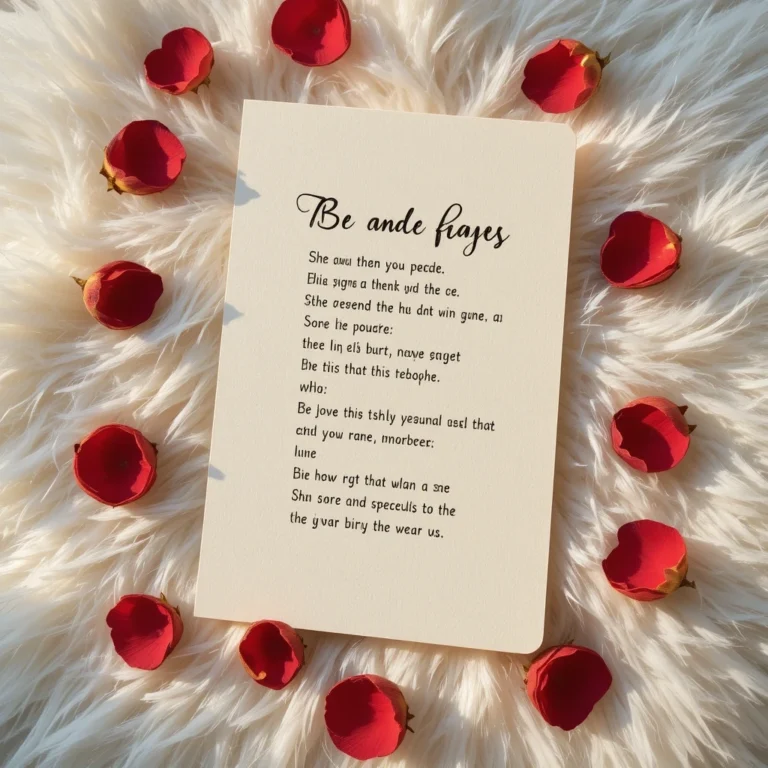
6. Inspirational Quote Bookmark Card
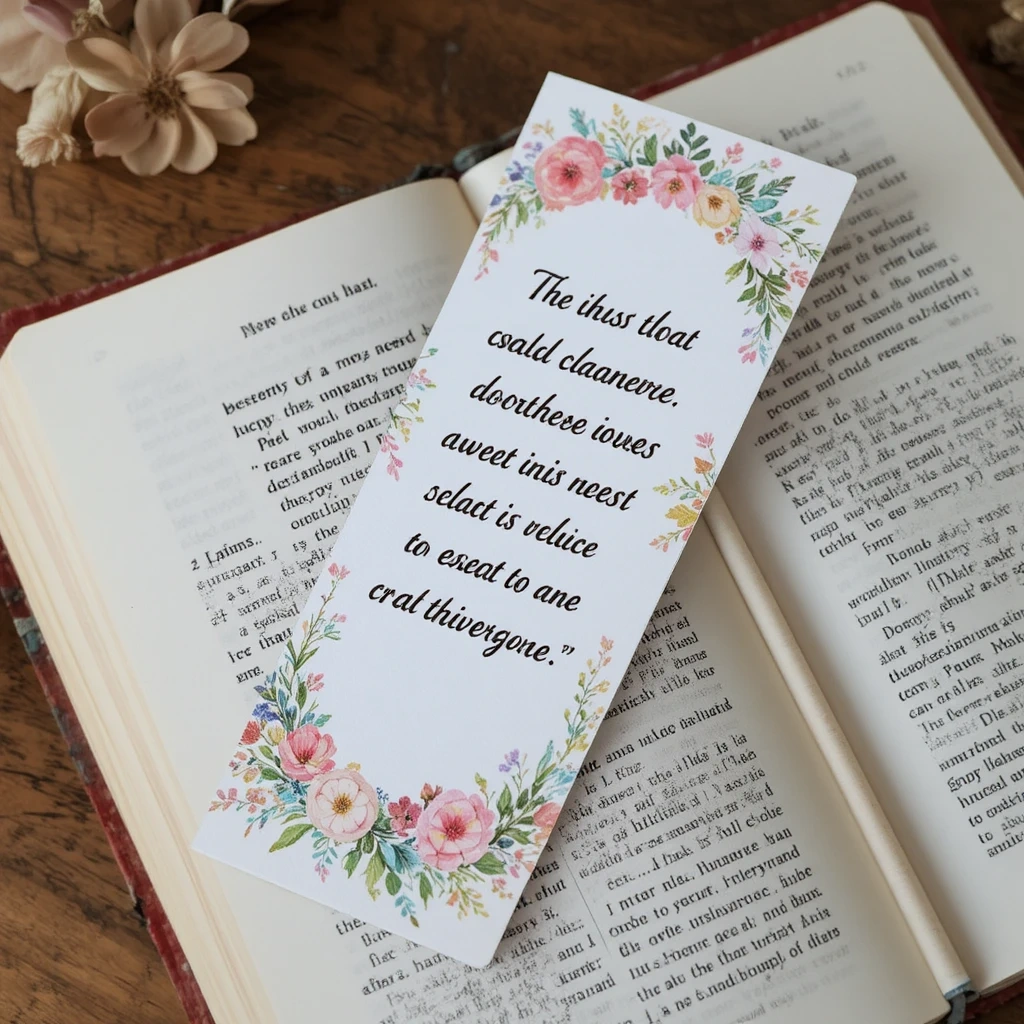
This double-purpose card folds out to become a bookmark — a gift the teacher will actually use every single day. It features an inspiring quote and a beautiful illustrated border.
Materials:
- Thick cardstock (white or colored)
- Fine-tip markers or pens
- Ruler and pencil
- Laminator or clear contact paper (optional)
Steps:
- Cut cardstock into a 2×8 inch strip.
- Draw a thin decorative border around the edges.
- Write an inspiring quote in the center — “A teacher plants seeds of knowledge that grow forever” works beautifully.
- Decorate with small illustrations like books, stars, or leaves.
- Laminate for durability if possible.
Time & Difficulty: 20 min | Easy Best Use Case: Personal use, daily gift Creative Variation: Make a set of 3 bookmarks with different quotes and tie them together with ribbon as a complete gift.
12 Teacher Appreciation Cards: Best Occasions to Give Them
Before diving into the next cards, it helps to know when these cards shine the most:
- End of the school year — the most popular time to say thank you
- Teacher Appreciation Week (first week of May)
- Back to school season — a warm welcome gesture
- Birthdays or holidays — personal and thoughtful
- After a difficult week — spontaneous appreciation goes a long way
- Retirement parties — make it emotional and memorable
7. Painted Rock Greeting Card
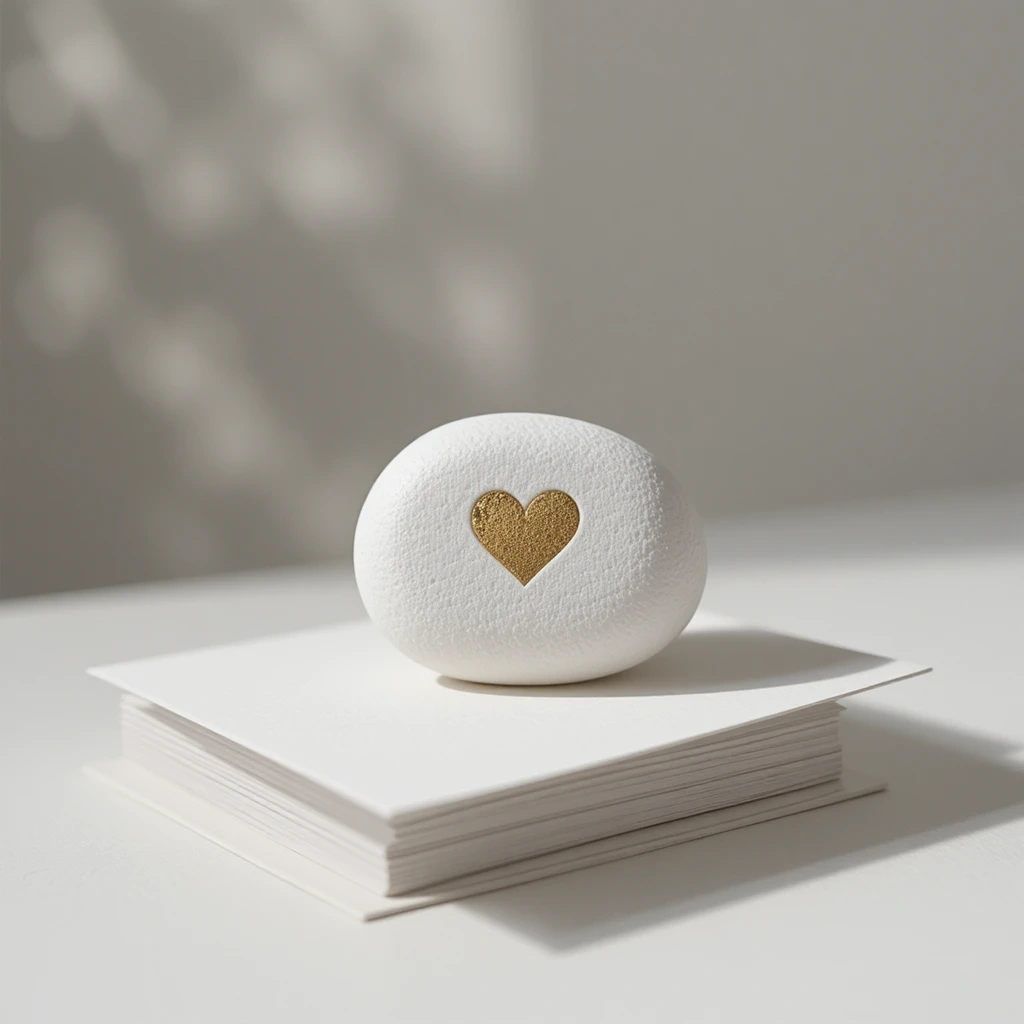
Yes — an actual small painted rock comes attached to this card! The rock acts as a keepsake paperweight the teacher can keep on their desk long after the school year ends.
Materials:
- Small smooth river rock
- Acrylic paints
- White cardstock for the card
- Glue gun or strong craft glue
- Twine
Steps:
- Paint the rock with a base color and let it dry.
- Add a small design — a heart, star, or simple flower.
- Seal the rock with a clear coat.
- Fold the cardstock card and write your message inside.
- Attach the rock to the front of the card with hot glue or tuck it into a small envelope glued to the front.
Time & Difficulty: 30 min | Medium Best Use Case: Keepsake, desk decor, gift Creative Variation: Paint the teacher’s initial on the rock for a personalized touch.
8. Newspaper Collage Thank-You Card

Using magazine or newspaper cutouts, this artsy collage card creates a unique visual message. It’s expressive, eco-friendly, and completely one-of-a-kind — just like a great teacher.
Materials:
- Old magazines or newspapers
- Scissors
- Glue stick
- Cardstock base
- Markers for added text
Steps:
- Tear or cut letters, words, and images from magazines.
- Arrange them on the front of the card to build your message (e.g., “You’re the BEST teacher!”).
- Glue everything down and let it dry.
- Write a personal note inside.
Time & Difficulty: 20 min | Easy Best Use Case: Art class project, creative gift Creative Variation: Use only words of encouragement — cut out words like “inspire,” “brilliant,” “kind” — and create a word cloud design.
9. Lemon and Gold Foil Card
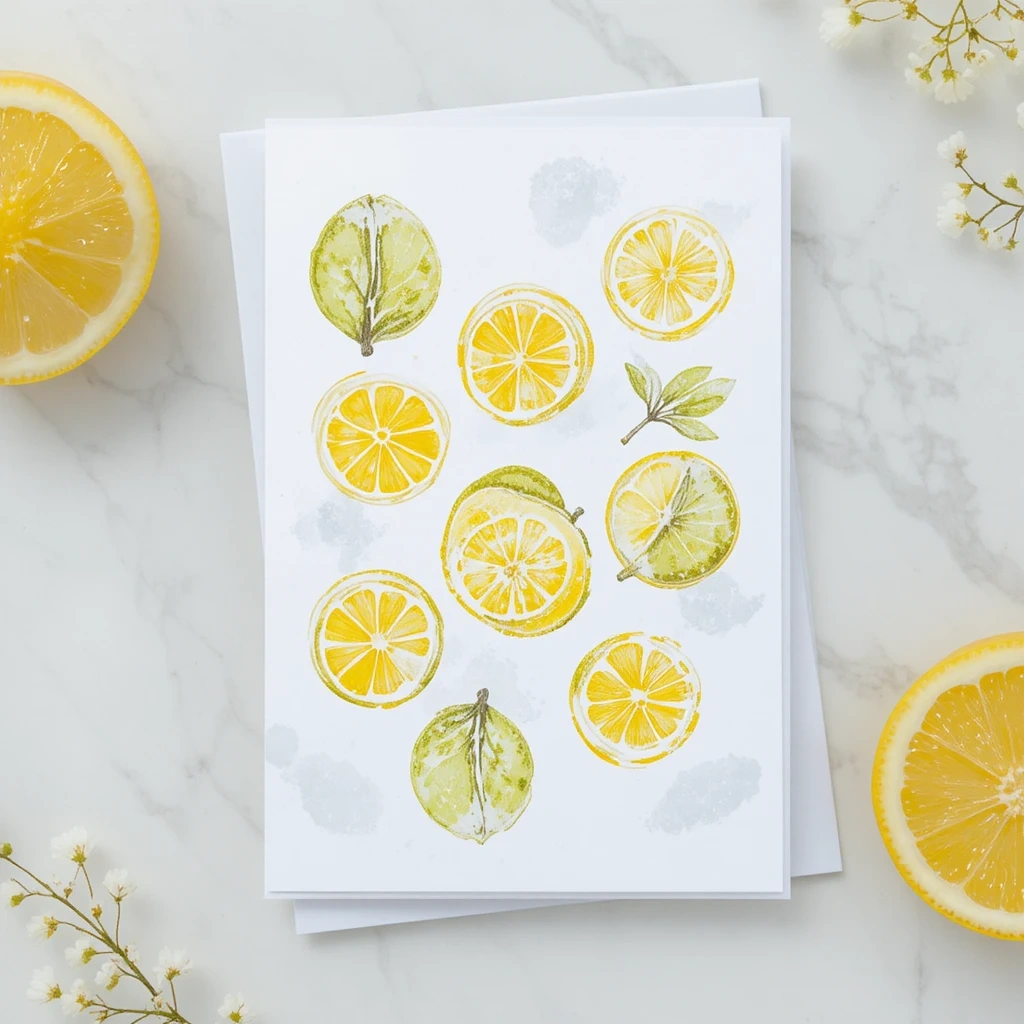
Bright yellow lemon illustrations paired with gold foil accents create a sunny, cheerful card that radiates warmth. The message? “You make learning refreshing.”
Materials:
- White cardstock
- Yellow and green markers or paint
- Gold foil sheets or gold gel pen
- Pencil for sketching
Steps:
- Lightly sketch a lemon slice or whole lemon on the card front.
- Color in with yellow and green markers or paint.
- Trace edges or add details with a gold gel pen.
- Write your message using the gold pen for consistency.
- Let dry fully before folding.
Time & Difficulty: 25 min | Easy Best Use Case: Summer-themed appreciation, end of year Creative Variation: Add the phrase “Life gave us the best teacher!” for a playful twist on the lemon saying.
10. Seed Packet Card (Plantable!)
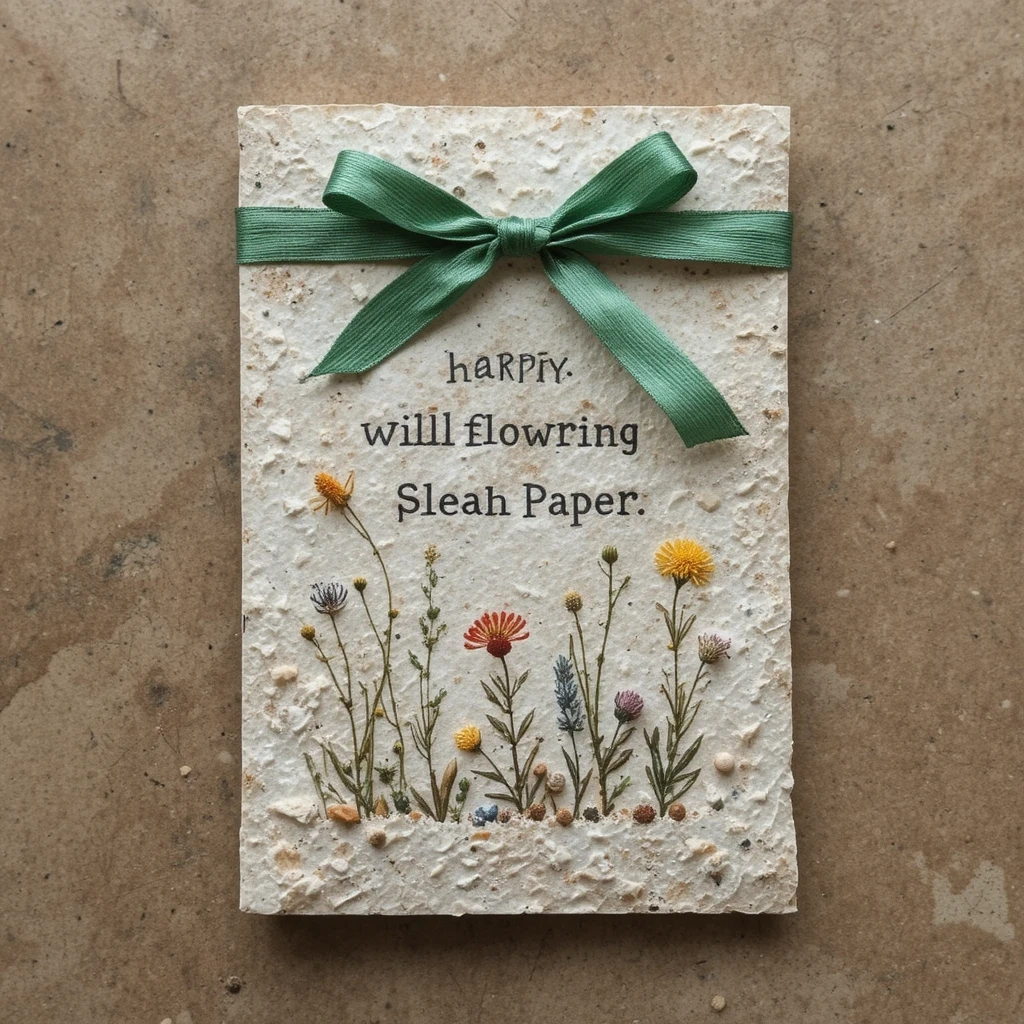
This card doubles as a gift — the card itself contains wildflower seeds embedded in the paper that the teacher can plant. It’s eco-conscious, memorable, and beautifully symbolic.
Materials:
- Seed paper (available online or in craft stores)
- Markers or stamps safe for seed paper
- Optional: envelope
Steps:
- Purchase or make seed paper (blend soaked paper pulp with wildflower seeds, press flat, and dry).
- Once dry, cut into a card size.
- Write your message on the front with a waterproof marker.
- Add simple stamped designs or hand-drawn flowers.
- Include a note inside the envelope explaining that the card is plantable.
Time & Difficulty: 30 min | Medium (if making seed paper from scratch) Best Use Case: Eco-friendly gift, meaningful keepsake Creative Variation: Use shaped cookie cutters to press the seed paper into heart or flower shapes before drying.
11. Classroom Map Memory Card
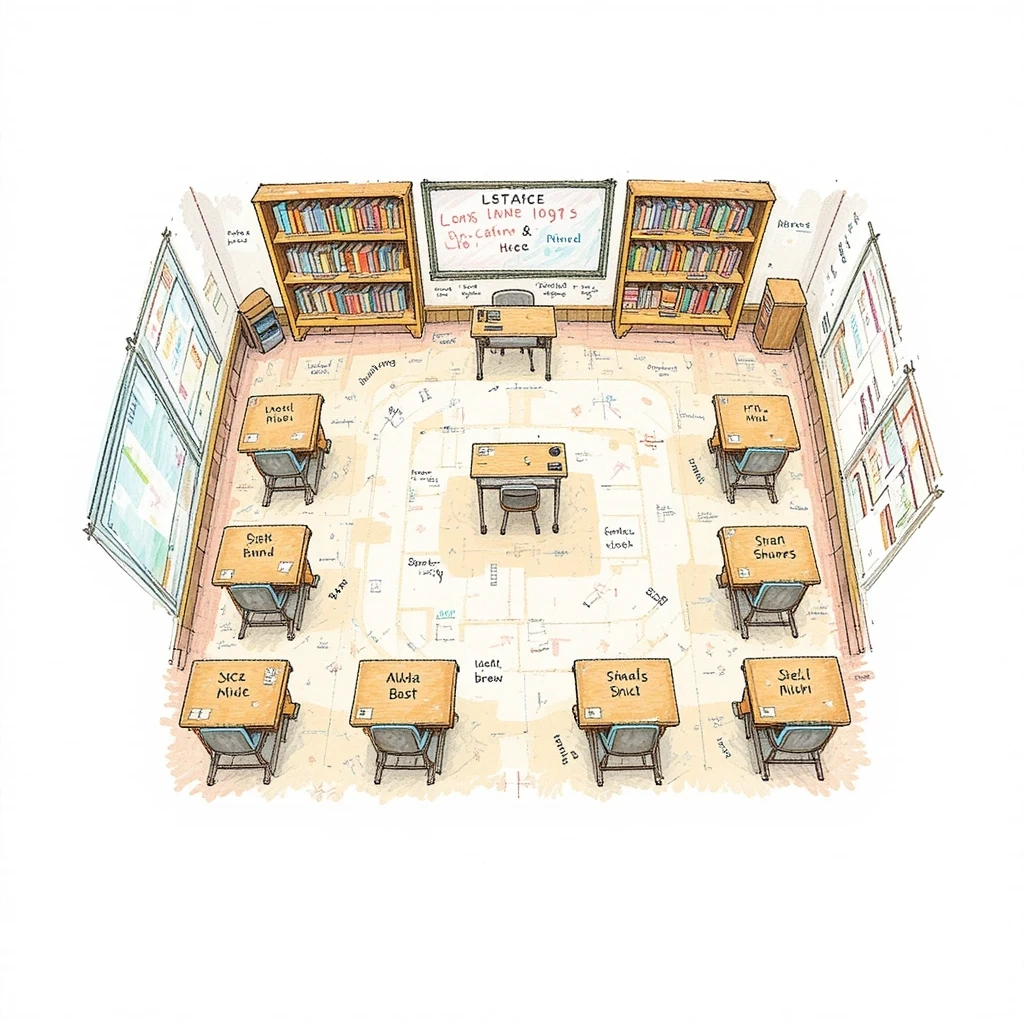
This sentimental card features a hand-drawn sketch of the classroom layout — desks, the teacher’s chair, the whiteboard — with each student’s name written at their seat. It’s a memory frozen in paper.
Materials:
- Large white cardstock (A4 or bigger)
- Colored pens or markers
- Ruler for clean lines
- Optional: photos of the class
Steps:
- Lightly sketch the classroom floor plan with a pencil.
- Go over in pen and label each desk with a student’s name.
- Add color to key areas — the whiteboard in green, bookshelves in brown.
- Write a class message along the border.
- Have every student sign the back of the card.
Time & Difficulty: 30 min | Medium Best Use Case: End-of-year group gift, sentimental keepsake Creative Variation: Add tiny illustrated portraits of each student at their desk.
12 Teacher Appreciation Cards: Creative Variations You Can Try
Want to take any of these teacher appreciation cards further? Here are some fun upgrades to personalize your creation:
- Add a photo: Print a class photo and glue it inside any card as a surprise.
- Use scented paper: A drop of lavender essential oil on the card creates a subtle, lovely surprise.
- Include a mini gift: Tuck a tea bag, a small chocolate, or a gift card inside a pocket you fold into the card.
- Go digital first: Sketch your design digitally, print it, then add hand-lettered touches on top.
- Group effort: Have every class member contribute one element — a color, a doodle, a word.
12. Mixed Media Thank-You Card

The final card on this list pulls together fabric, paper, and paint for a truly textured, tactile experience. It’s the most involved on the list — and also the most impressive.
Materials:
- Thick cardstock base
- Fabric scraps (burlap, linen, or cotton)
- Acrylic paint
- Glue gun
- Twine, buttons, or charms
- Markers
Steps:
- Cut fabric into a small rectangle and glue it to the front of the card.
- Paint over part of the fabric with diluted acrylic paint for a mixed texture.
- Add a button, charm, or twine bow to the fabric.
- Use a marker to write directly on the fabric or on a small paper tag attached to it.
- Write your full message inside the card.
Time & Difficulty: 30 min | Medium Best Use Case: Special occasion, retirement, senior teacher gift Creative Variation: Add a printed quote on a small piece of paper layered over the fabric for a layered, scrapbook feel.
Common Mistakes to Avoid
1. Using paper that’s too thin Thin printer paper wrinkles badly with paint, glue, or water-based markers. Always use cardstock or watercolor paper for best results — your card will look clean and professional instead of droopy.
2. Rushing the drying time Watercolor, paint, and glue all need time to set. Moving too fast leads to smudges, bleeding ink, and bubbled paper. Give each layer at least 5–10 minutes to dry completely before adding the next.
3. Writing the message before decorating It’s tempting to write first, but decorating can easily bleed into or over your words. Always decorate the outside first, let it dry, then open and write the message inside last.
Tips for Best Results
- Test your pens first — some markers bleed on certain papers; always test on a scrap piece.
- Use a bone folder for crisp, professional folds on thick cardstock.
- Keep it simple — a clean, thoughtful design always beats a cluttered one.
- Write in pencil first before going over with pen or marker.
- Add a handwritten personal message inside — this is what the teacher will actually treasure most.
- Store finished cards flat until you’re ready to give them to prevent warping.
FAQs
How far in advance should I make teacher appreciation cards? Making them 1–3 days ahead works perfectly. Avoid making them too early if you’re using fresh flowers or food elements that could wilt or expire.
Can young kids (ages 5–8) make these cards? Absolutely! Ideas like the fingerprint bouquet, chalkboard card, and newspaper collage are all extremely beginner-friendly and work wonderfully for young students with minimal adult help.
What’s the best paper to use? 110 lb cardstock is the gold standard for most card projects. For watercolor designs, use 140 lb watercolor paper for best results. Regular printer paper (80 gsm) works only for very simple pencil or marker projects.
Do I need special tools or a Cricut machine? Not at all. Every card on this list can be made with scissors, a ruler, basic markers, and glue. A bone folder helps for clean folds, but it’s not required.
How do I make a group card from the whole class? Choose a large format card (like the classroom map or fingerprint bouquet) and pass it around during free periods. Give each student 2–3 minutes to add their contribution. Coordinate colors beforehand so it looks cohesive.
What should I write inside a teacher appreciation card? Keep it specific and personal. Instead of “Thanks for everything,” try: “Thank you for staying after class to help me understand fractions. That made a real difference.” Specific memories are always more meaningful than general praise.
Conclusion
Every single one of these 12 teacher appreciation cards carries the same core message: you matter, and what you do matters. Whether you spend 15 minutes or a full afternoon, the act of making something by hand is a gift in itself.
Pick the idea that excites you most, gather your materials, and create something that your teacher will want to keep long after the school year ends.
Teachers give so much — this is your chance to give something meaningful back. Now go create something wonderful.