15 Graduation Cards Inspiration – Make Anyone Feel Special
Graduation is one of those milestone moments that deserves way more than a store-bought card with a generic message. Whether you’re celebrating a kindergarten graduate or a college senior, taking a little extra time to create something heartfelt goes a long way.
This article is packed with graduation cards inspiration to help you design something truly memorable — from simple handmade designs to elegant layered creations. These ideas are beginner-friendly, budget-conscious, and full of creative potential.
1. Tassel Worth the Hassle Folded Card
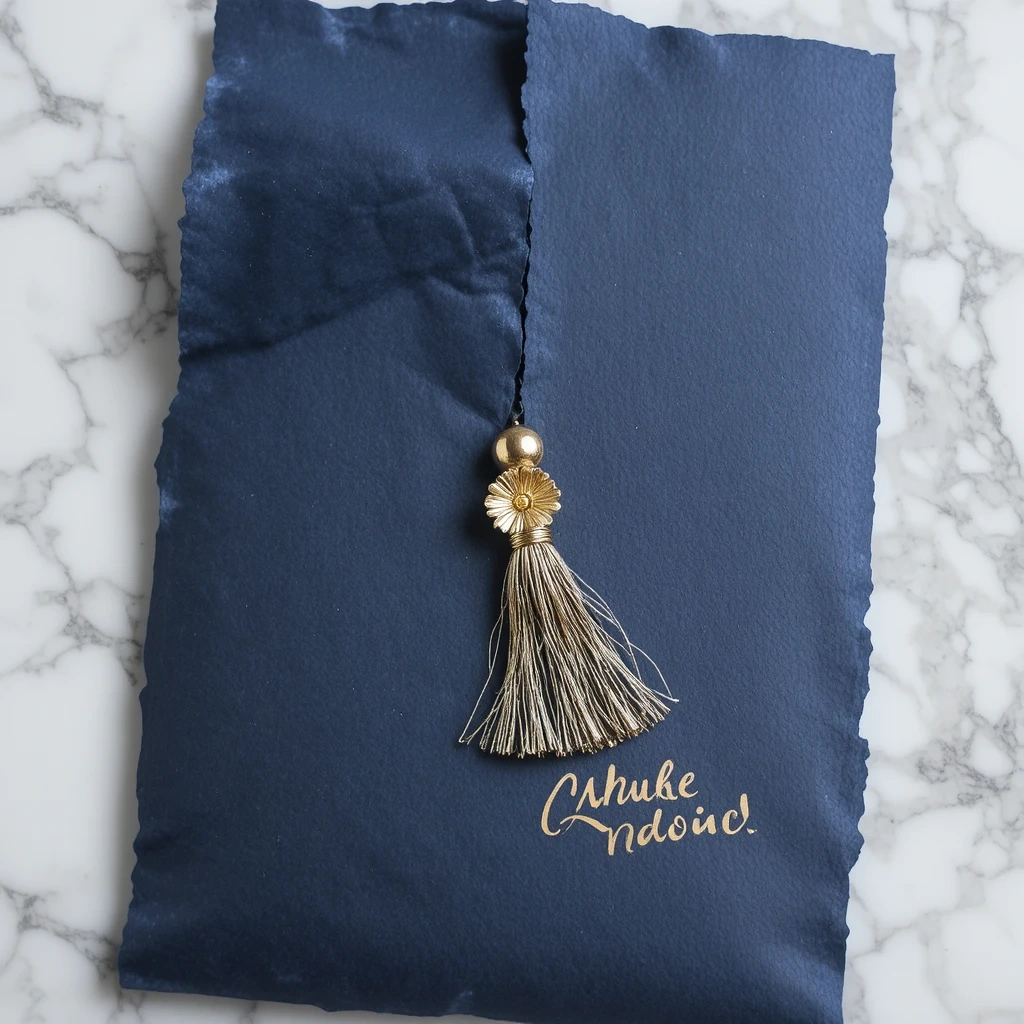
This classic design plays on the iconic graduation phrase and makes a bold visual statement. A simple card fold with a hand-drawn or printed tassel feels timeless and thoughtful. Add a golden tassel charm for a 3D touch that graduates will want to keep forever.
Materials:
- Cardstock (white or navy)
- Gold marker or paint pen
- Mini tassel charm or ribbon
- Black fine-tip pen
- Glue dots
Steps:
- Fold cardstock in half vertically.
- Draw or print the tassel on the front cover using a gold marker.
- Write “The tassel was worth the hassle!” along the top.
- Attach a mini tassel to the top right corner with a glue dot.
- Write your personal message inside.
Time: 15 minutes | Difficulty: Easy Best Use Case: Gift card or keepsake Creative Variation: Use the graduate’s school colors instead of gold.
2. Watercolor Diploma Scroll Card
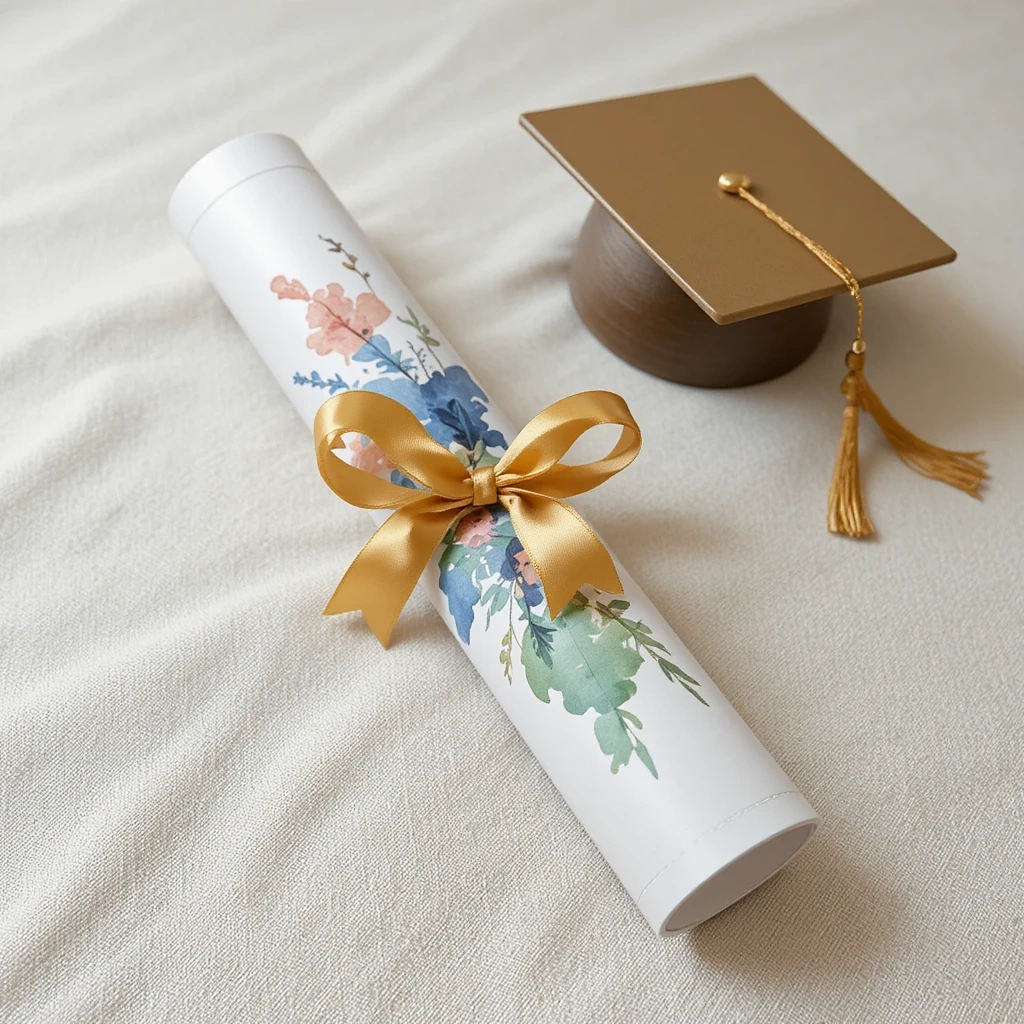
Watercolor gives any card an artistic, polished look. Roll-style cards mimicking a diploma scroll feel extra fitting for this occasion. The soft washes of color behind simple black calligraphy create something that looks professionally made.
Materials:
- Watercolor paper (cut to card size)
- Watercolor paints
- Fine brush
- Black calligraphy pen
- Ribbon for tying
Steps:
- Wet the paper and apply a soft wash of color across the surface. Let dry.
- Write “Congratulations, Graduate!” in calligraphy once dry.
- Roll the paper into a scroll and tie with ribbon.
- Slip inside a tube or envelope for gifting.
Time: 20 minutes | Difficulty: Medium Best Use Case: Keepsake gift or display piece Creative Variation: Paint a small graduation cap icon at the top of the scroll.
3. Graduation Cards Inspiration with Polaroid Photo Insert
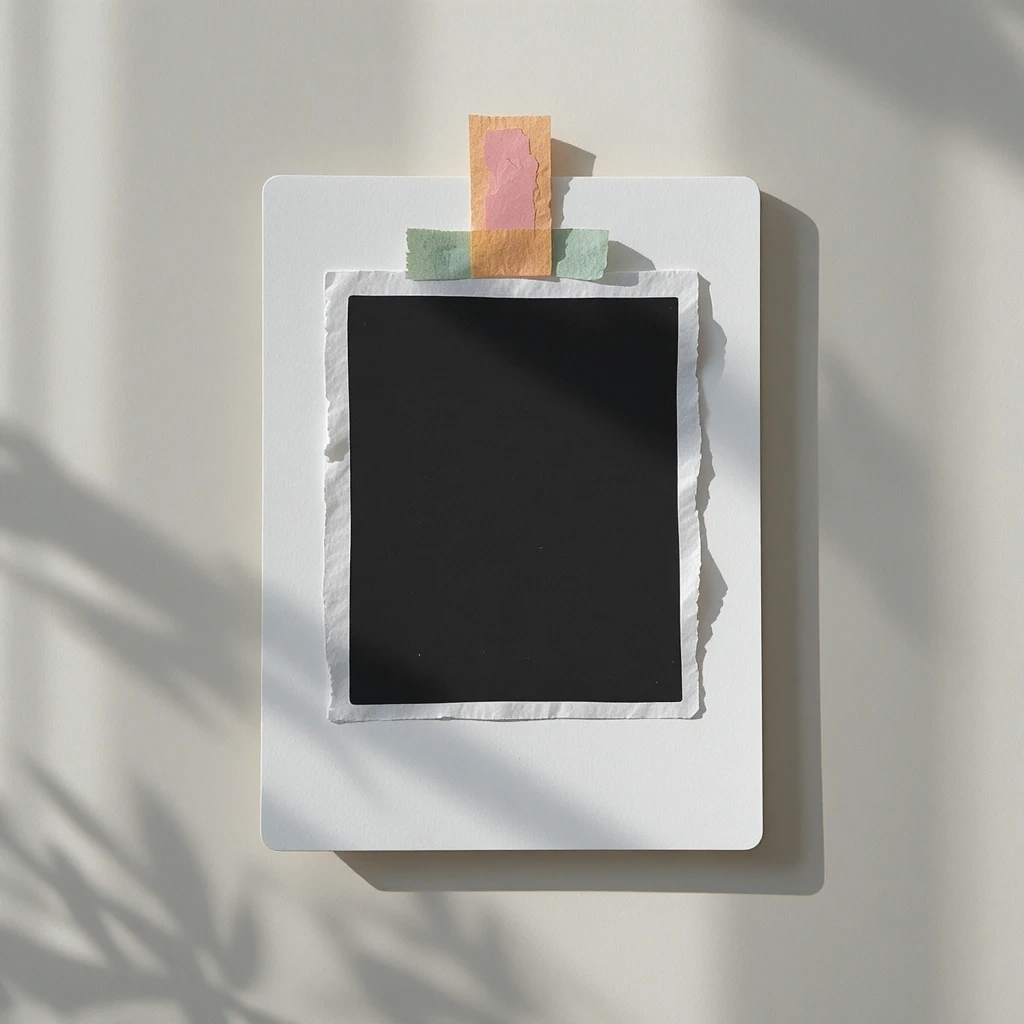
Photos make cards feel intimate and personal. Create a card that holds a small Polaroid-style photo of a favorite memory with the graduate. This idea doubles as a mini photo gift they’ll want to frame or pin up.
Materials:
- White cardstock
- Printed Polaroid-style photo (3×3 inches)
- Washi tape
- Fine-tip pen or stamps
- Glitter pen (optional)
Steps:
- Fold cardstock in half to create a card.
- Washi tape the photo to the front at a slight angle.
- Below the photo, write: “Look how far you’ve come.”
- Decorate borders with small doodles or stamps.
- Write a heartfelt message inside.
Time: 10 minutes | Difficulty: Easy Best Use Case: Personal gift for close friends or family Creative Variation: Use multiple small photos to create a mini collage on the front.
4. Chalkboard Style Graduation Card
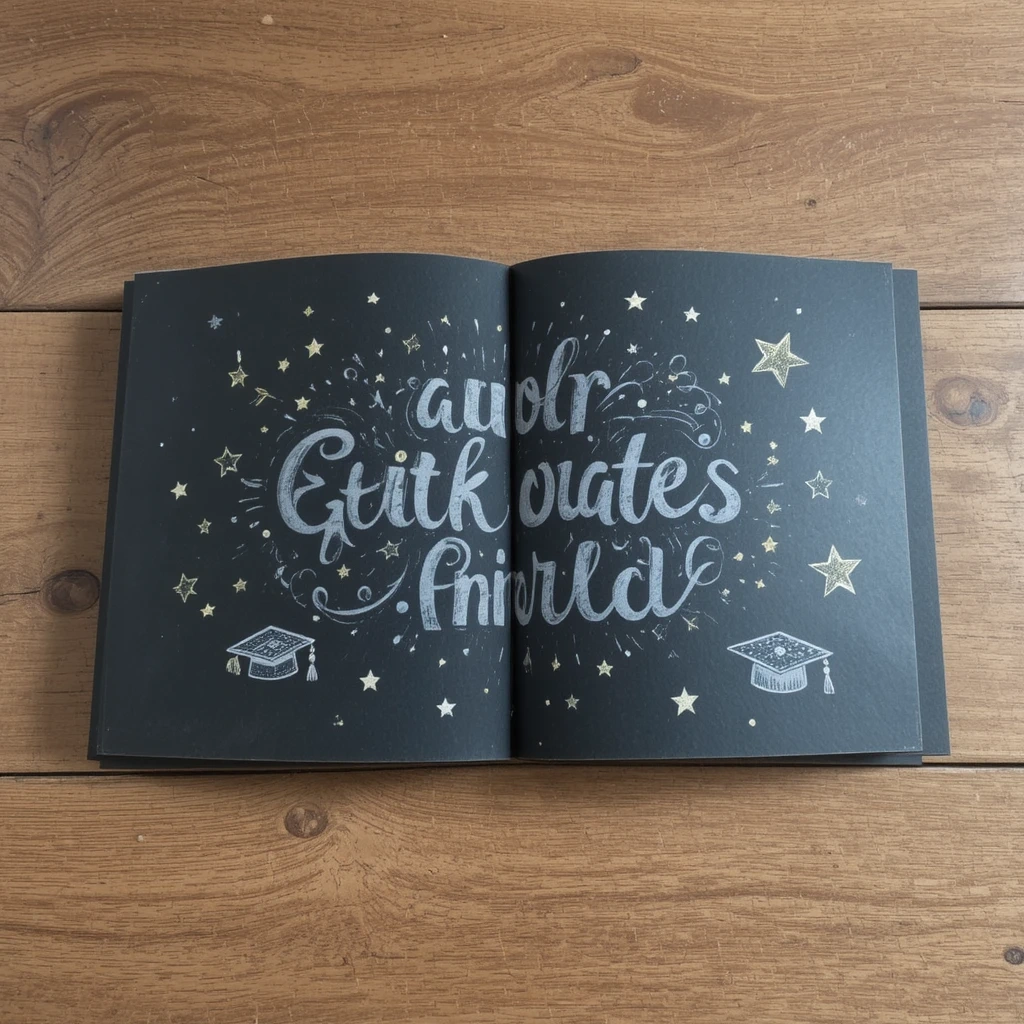
Chalkboard designs never go out of style and look especially impressive with white gel pens on black cardstock. Bold lettering combined with illustrated elements makes for a dramatic, gallery-worthy card.
Materials:
- Black cardstock
- White gel pen
- White chalk marker
- Ruler
Steps:
- Start with black cardstock folded in half.
- Use a white chalk marker to write the grad’s name large across the front.
- Add “Class of [Year]” beneath in a smaller font.
- Draw small graduation caps, stars, or laurel branches around the text.
- Write your message inside with the gel pen.
Time: 20 minutes | Difficulty: Medium Best Use Case: Room decor or keepsake display Creative Variation: Add a pastel accent color for the year (lavender, mint, or gold).
5. Pop-Up Graduation Cap Card

Pop-up cards feel magical and impressive — but they’re easier to make than they look. A simple pop-up graduation cap in the center of the card makes for a dramatic reveal moment the graduate will love.
Materials:
- Black and yellow cardstock
- Scissors
- Craft knife
- Glue stick
- Ruler
Steps:
- Fold the base card in half from yellow or white cardstock.
- Cut a small rectangular tab inside the card fold and fold it forward to create a platform.
- Cut a graduation cap shape from black cardstock.
- Glue the cap to the folded tab so it pops up when the card opens.
- Write your message around the pop-up design.
Time: 25 minutes | Difficulty: Medium Best Use Case: Fun surprise gift for any graduate Creative Variation: Add a tiny tassel made from embroidery floss to the pop-up cap.
6. Graduation Cards Inspiration Using Dried Flowers
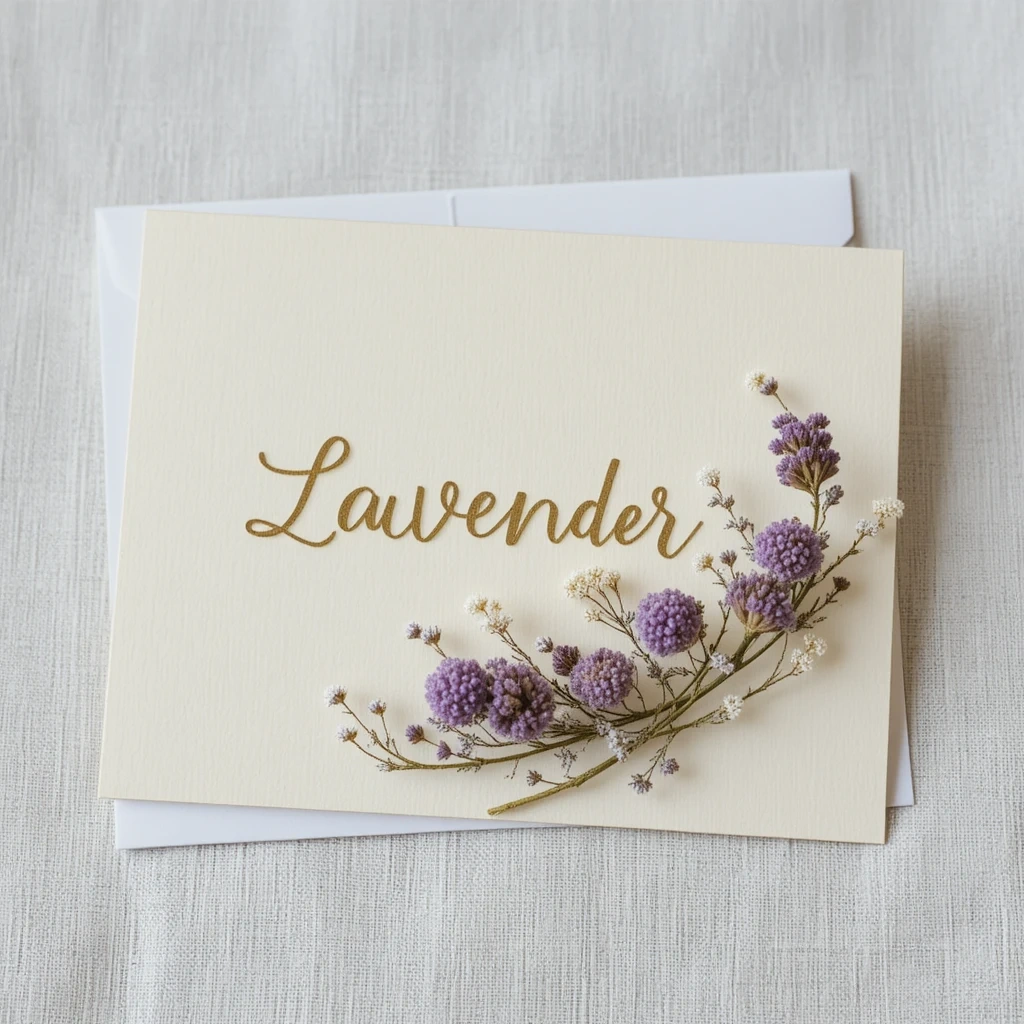
Pressed flower cards are trending for a reason — they’re stunning, unique, and genuinely one-of-a-kind. Combining botanical beauty with a heartfelt message creates something that feels luxurious and hand-crafted.
Materials:
- Pressed/dried flowers (from garden or craft store)
- Watercolor or plain white cardstock
- Mod Podge
- Fine-tip pen
- Small paintbrush
Steps:
- Arrange dried flowers on the front of the card.
- Use a thin brush with Mod Podge to carefully secure each flower.
- Let dry completely (about 15 minutes).
- Write a simple message like “Bloom Where You’re Planted” around the flowers.
- Add a short personal note inside.
Time: 20 minutes | Difficulty: Easy Best Use Case: Elegant gift for college or high school graduates Creative Variation: Seal the front with a matte laminate sheet to preserve flowers.
7. Graduation Milestone Timeline Card
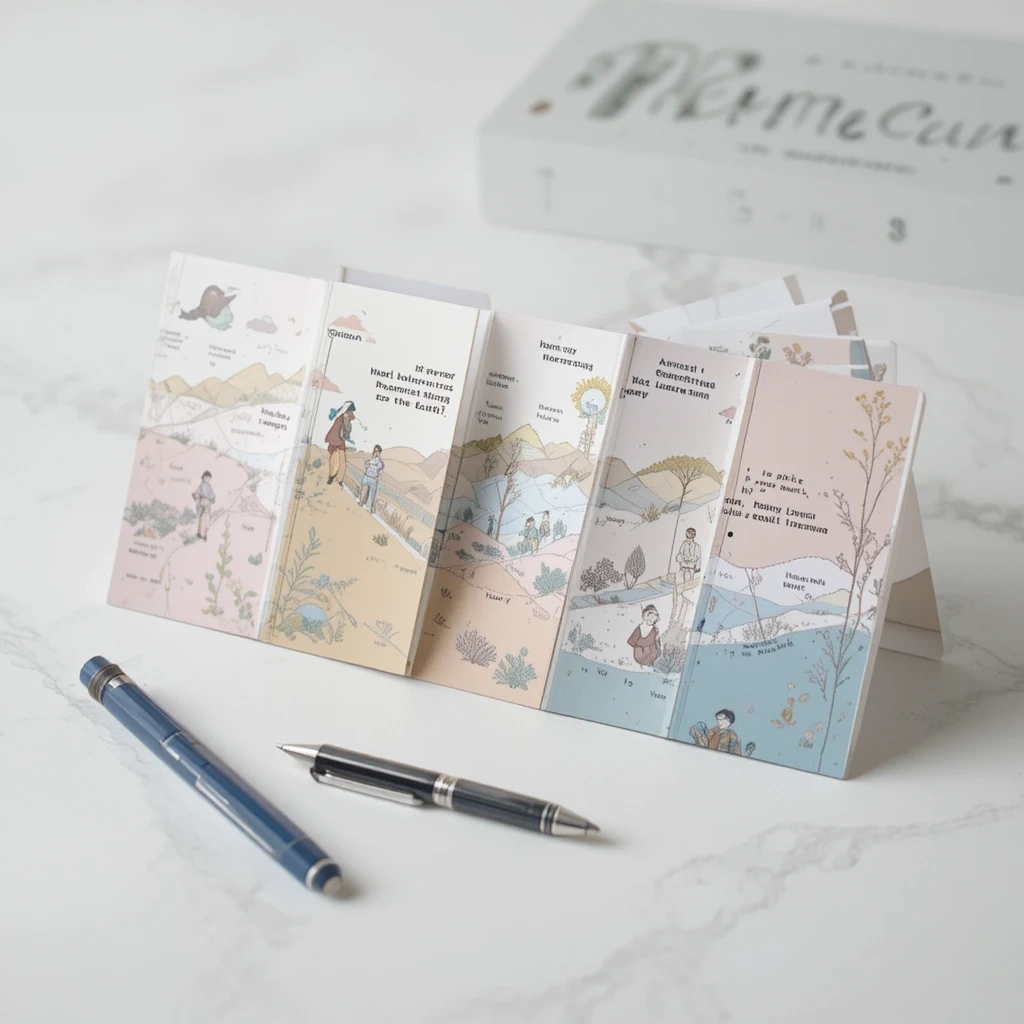
Instead of a single message, this card takes the reader on a journey — listing key milestones in the graduate’s life in a fun illustrated timeline format. It’s personal, nostalgic, and incredibly thoughtful.
Materials:
- Long cardstock (trifold or accordion fold)
- Colored pens
- Stickers or stamps
- Ruler
Steps:
- Fold cardstock into an accordion of three to four panels.
- On each panel, write a year and a key memory (first day of school, first award, etc.).
- Illustrate each milestone with a small doodle or sticker.
- End the last panel with “And the best is yet to come.”
- Decorate the front panel as the cover.
Time: 30 minutes | Difficulty: Medium Best Use Case: Sentimental gift from parents or long-time friends Creative Variation: Include tiny printed photos from each year for an even more personal touch.
8. Simple Embossed Congratulations Card
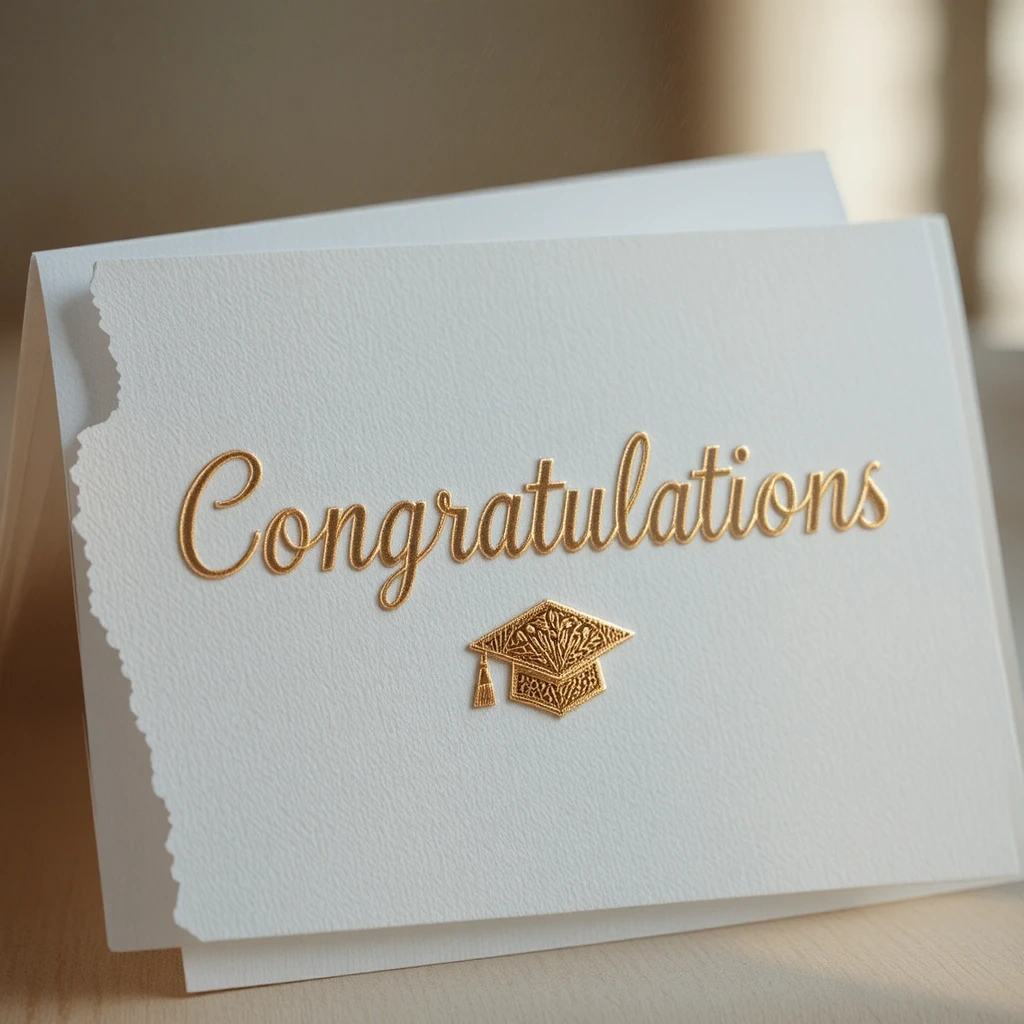
Embossing powder transforms any card into something that looks professionally printed. The raised shiny text gives an elegant, polished look without requiring artistic skill.
Materials:
- Cardstock
- Embossing powder (gold or silver)
- Embossing ink pad
- Heat gun
- Rubber stamp with “Congratulations” or graduation cap
Steps:
- Press rubber stamp into embossing ink and stamp onto card.
- Immediately pour embossing powder over wet ink. Tap off excess.
- Use heat gun to melt powder until it becomes raised and shiny.
- Let cool and write message inside.
Time: 10 minutes | Difficulty: Easy Best Use Case: Elegant general-purpose graduation card Creative Variation: Use multiple stamps to add stars or confetti dots around the main image.
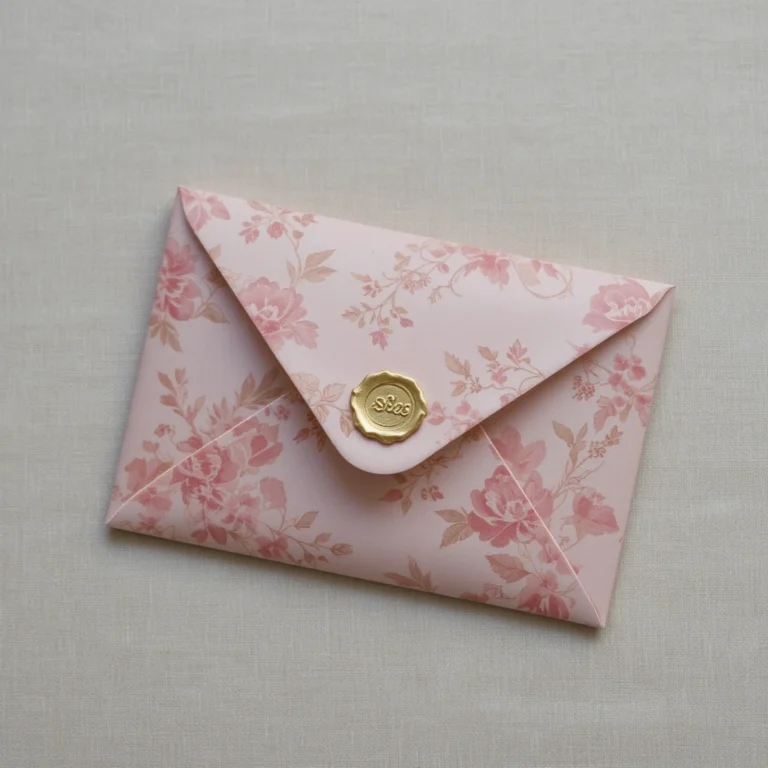
9. Graduation Cards Inspiration with Hidden Message Envelope
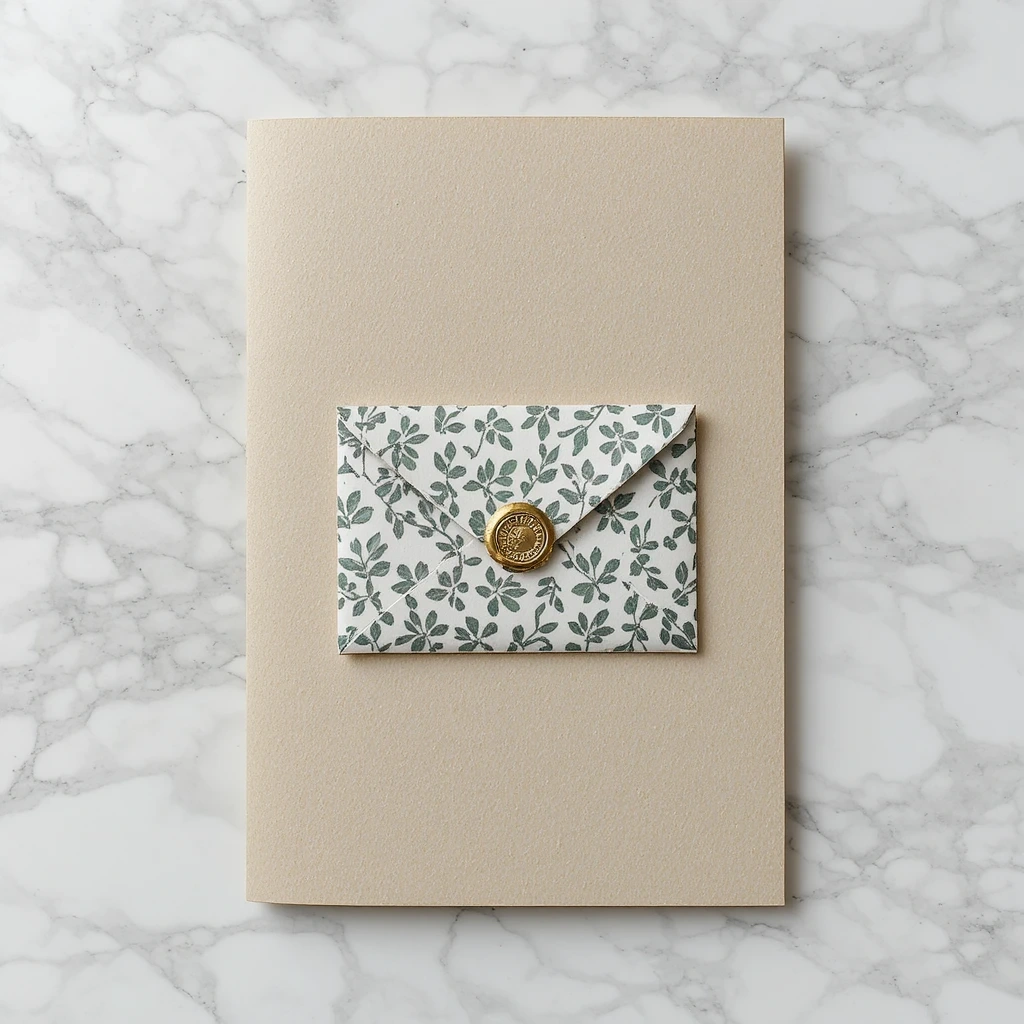
This creative concept hides a personal message inside a self-contained envelope on the front of the card. The recipient has to open the little flap to find the secret note — making it a memorable interactive experience.
Materials:
- Patterned and plain cardstock
- Mini envelope template
- Glue
- Fine-tip pen
- Sticker seal
Steps:
- Create or download a mini envelope template and cut from patterned paper.
- Fold and glue the envelope, leaving the top flap open.
- Write a short secret message on a small strip of paper and tuck it inside.
- Glue the mini envelope to the front of the card.
- Seal the envelope flap with a small sticker seal.
Time: 20 minutes | Difficulty: Medium Best Use Case: Fun gift for younger graduates or playful personalities Creative Variation: Use the mini envelope to hold a gift card instead of a paper note.
10. Kraft Paper Rustic Graduation Card
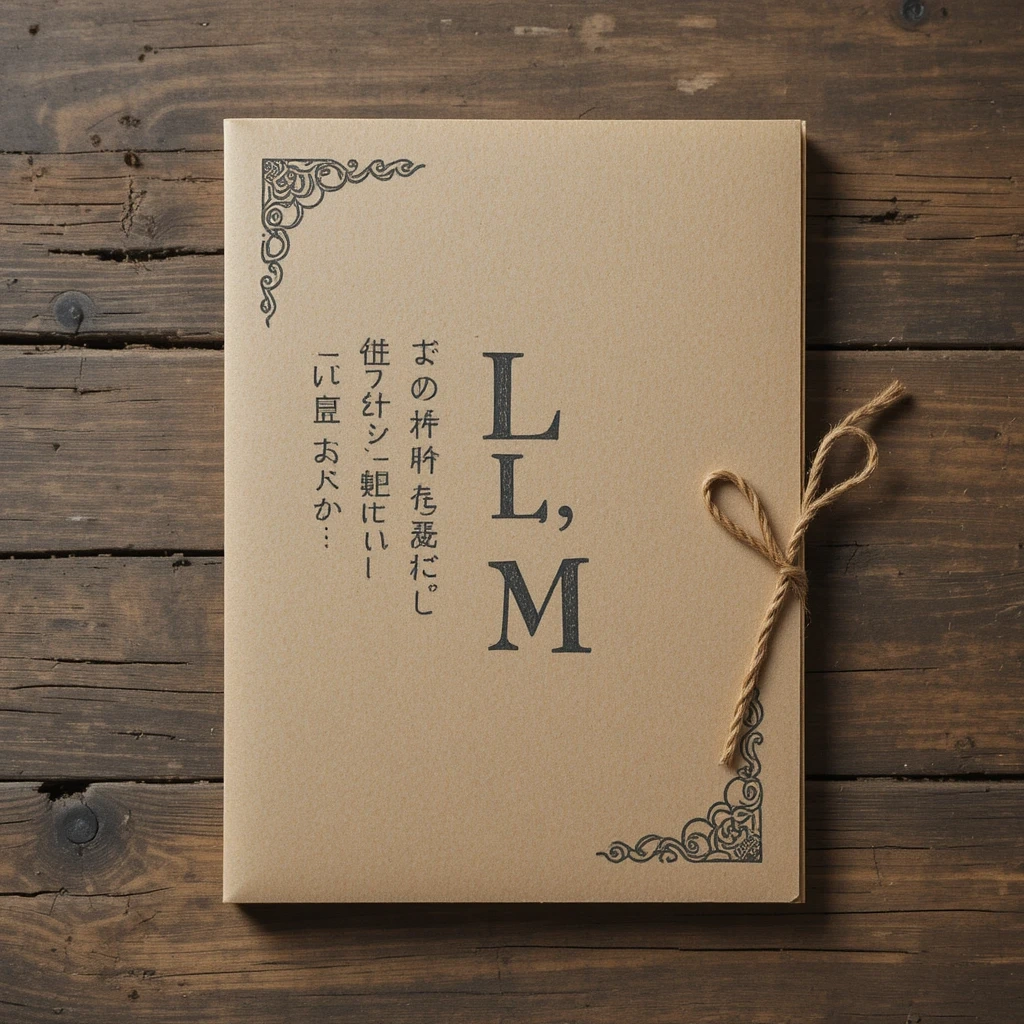
Kraft paper gives cards a warm, earthy, organic feel. It pairs beautifully with twine, stamps, and natural elements for a cozy, handmade aesthetic that stands out from the typical glossy card.
Materials:
- Kraft paper or cardstock
- Twine
- Black rubber stamps
- Ink pad
- Washi tape strips
Steps:
- Fold kraft cardstock in half.
- Stamp graduation cap and “Congrats” across the front.
- Tie a small bow of twine through a hole punched in the top left corner.
- Use washi tape to add color strips at the top or bottom.
- Write your message inside with a black pen.
Time: 15 minutes | Difficulty: Easy Best Use Case: Casual celebration or outdoor party card Creative Variation: Stamp the graduate’s name in large letters using alphabet stamps.
11. Glitter Balloon Card
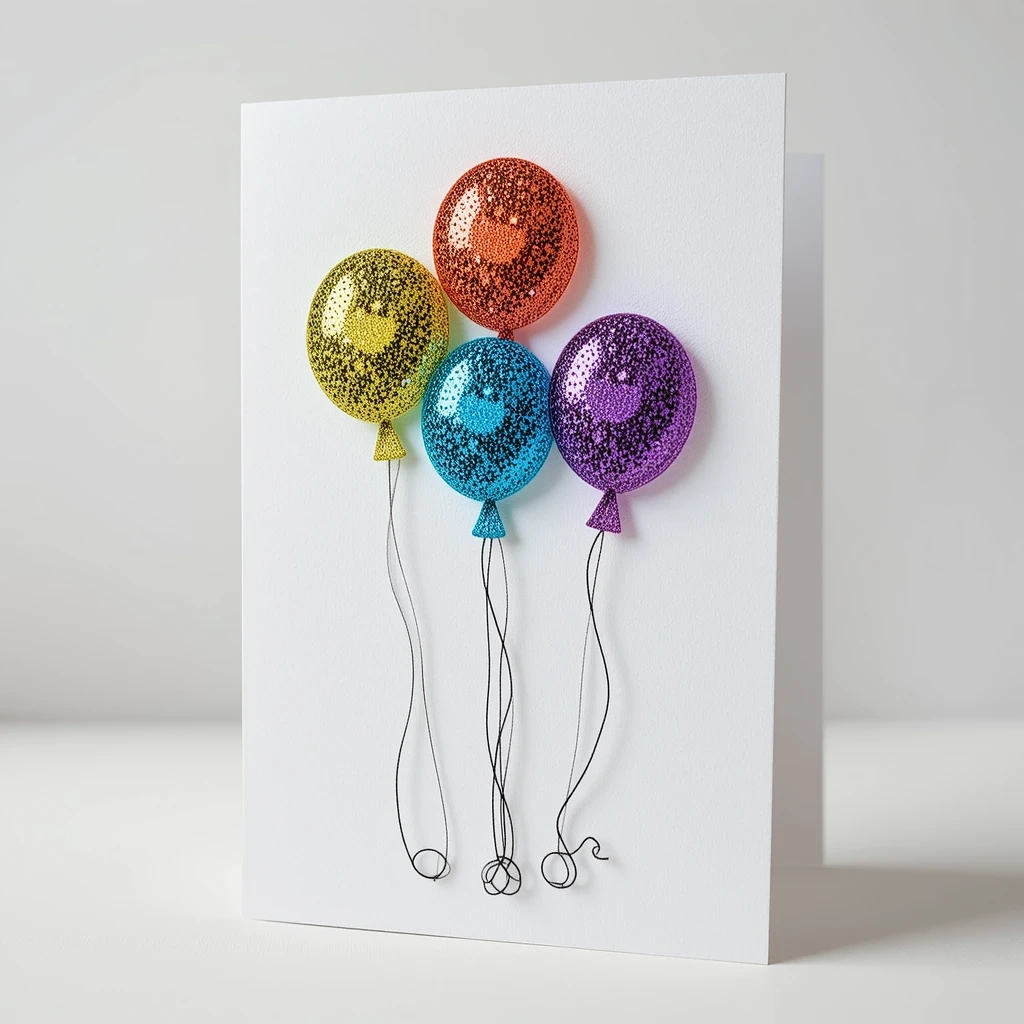
Balloons symbolize celebration — and combining them with glitter creates a festive, cheerful card that’s impossible to ignore. This is an especially great choice for younger graduates or playful personalities.
Materials:
- White cardstock
- Glitter (assorted colors)
- Glue pen or PVA glue
- String or twine
- Scissors
Steps:
- Draw three to five balloon outlines on the front of the card.
- Apply glue inside each balloon shape with a glue pen.
- Pour different glitter colors over each balloon. Tap off excess.
- Let dry, then draw thin lines downward from each balloon with a pen.
- Write “You did it!” between the balloons.
Time: 20 minutes | Difficulty: Easy Best Use Case: Celebratory card for any age group Creative Variation: Cut balloons from metallic paper instead of using glitter for a cleaner look.
12. Inspirational Quote Bookmark Card Combo

This dual-purpose idea combines a greeting card with a bookmark — so the graduate gets a keepsake they’ll actually use. Print or hand-letter a meaningful quote on a long strip of cardstock and pair it with a matching card.
Materials:
- White or cream cardstock
- Ruler and craft knife
- Calligraphy pen or fine-tip marker
- Hole punch
- Satin ribbon
Steps:
- Cut a strip of cardstock measuring 2 x 7 inches for the bookmark.
- Write an inspirational quote in calligraphy (e.g., “The future belongs to those who believe”).
- Punch a hole at the top and loop a satin ribbon through it.
- Create a matching card with the same quote design on the cover.
- Tuck the bookmark inside the card as a surprise insert.
Time: 20 minutes | Difficulty: Easy Best Use Case: Gift for book-lovers or students continuing education Creative Variation: Laminate the bookmark for extra durability.
13. Scratch-Off Congratulations Card
Scratch-off cards are thrilling to receive. Hide a surprise message or drawing underneath a scratch-off coating for a fun, game-like card experience the graduate won’t forget.
Materials:
- Cardstock
- Scratch-off sticker sheets or DIY scratch coating
- Dish soap and silver/gold acrylic paint
- Tape
- Fine-tip pen
Steps:
- Write your hidden message on the card where you want the scratch zone.
- Mix two parts silver/gold acrylic paint with one part dish soap.
- Paint two to three layers over the message, letting each layer dry.
- Once dry, the graduate can scratch off the coating with a coin.
- Decorate the rest of the card with congratulations messaging.
Time: 25 minutes | Difficulty: Medium Best Use Case: Party gift or interactive experience Creative Variation: Hide a gift card amount under the scratch-off coating.
14. Hand-Lettered Banner Card
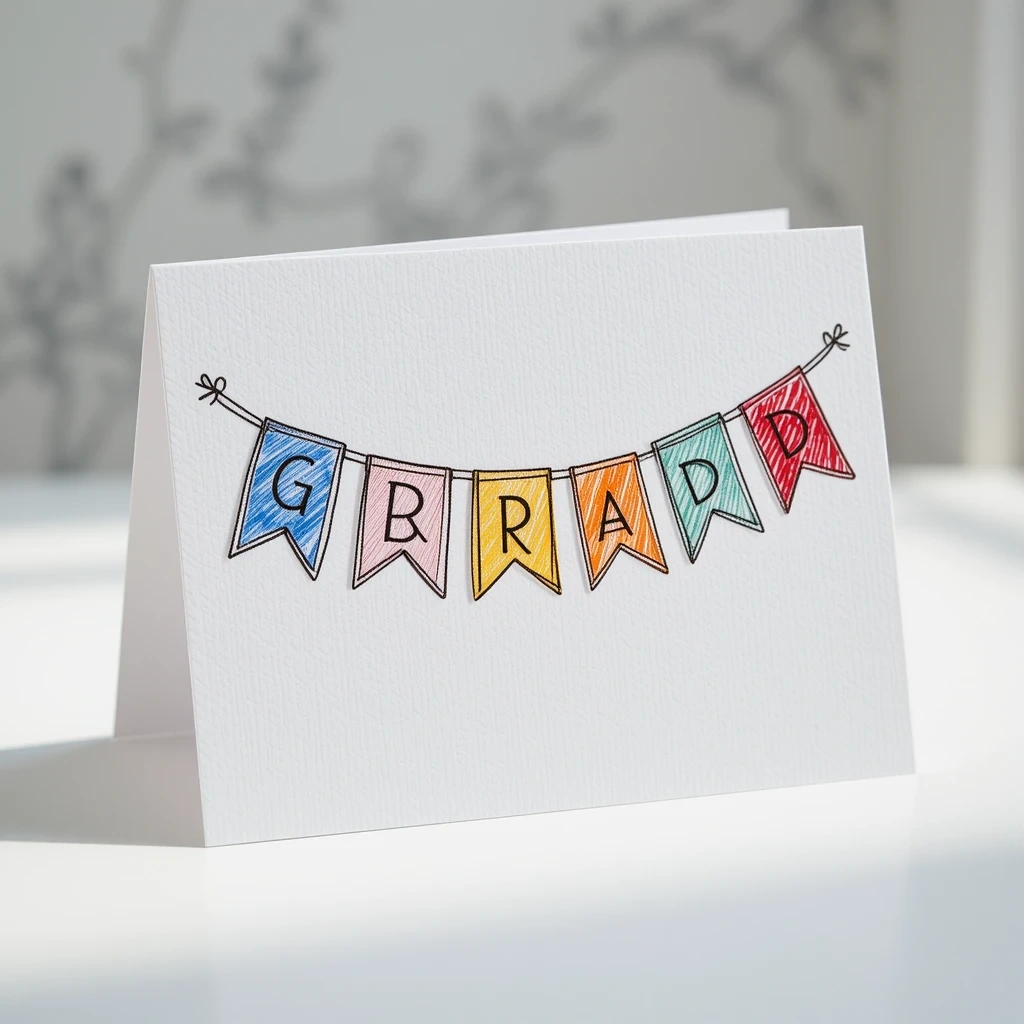
Bunting and banners are visual shorthand for celebration. A hand-lettered banner running across the front of a card adds a festive, graphic feel that looks both modern and artsy.
Materials:
- White or pastel cardstock
- Colored markers
- Pencil for sketching
- Ruler
- Thin washi tape (for banner string effect)
Steps:
- Lightly sketch a zigzag line across the card front with pencil.
- Draw small triangle flag shapes along the line.
- Color in alternating flags with markers in coordinating colors.
- Write one letter of “CONGRATS” or “GRAD” in each flag.
- Erase pencil lines and write your message inside.
Time: 20 minutes | Difficulty: Easy Best Use Case: Festive card for any graduation party Creative Variation: Add a second banner row below for the grad’s name or year.
15. Gift Card Holder Graduation Card
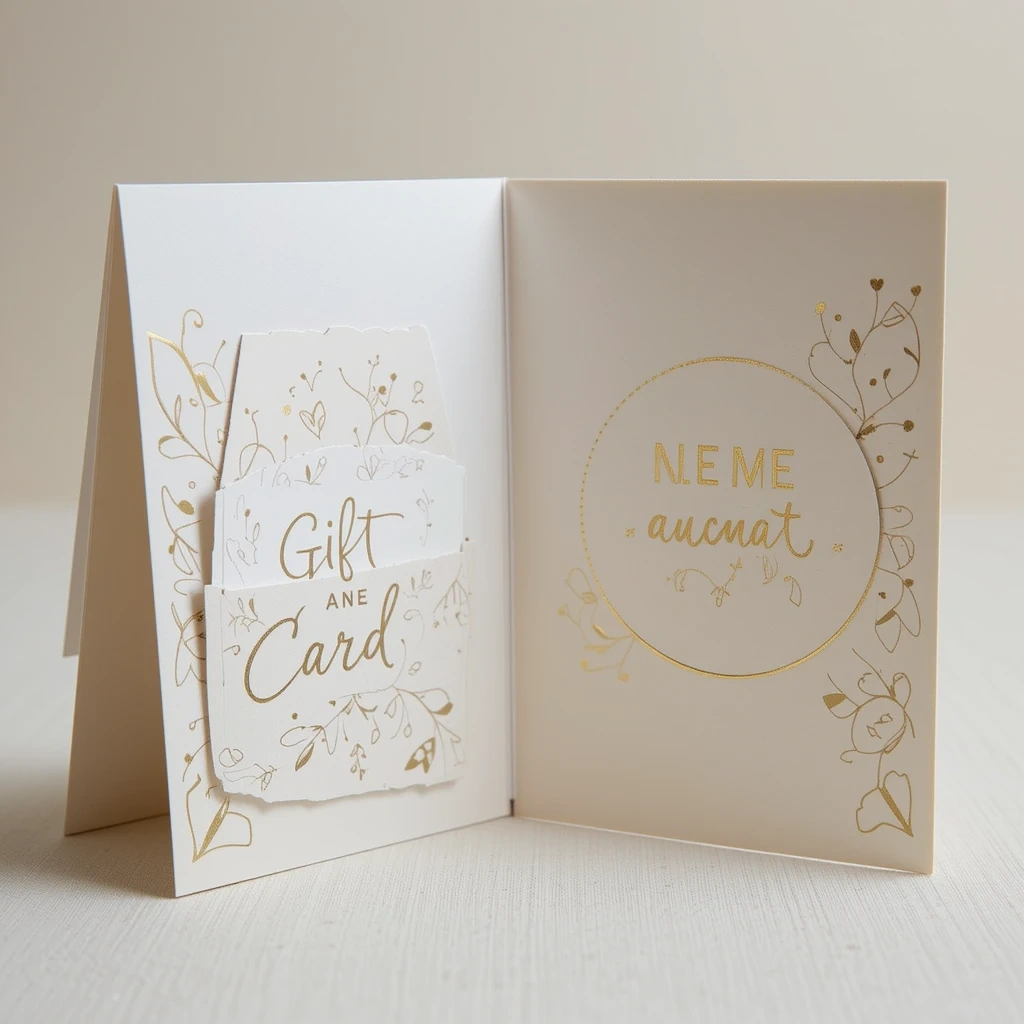
This practical design doubles as a card and a gift card holder — eliminating the need for a separate envelope. The graduate gets a beautiful handmade card and the perfect gift in one sleek package.
Materials:
- Thick cardstock
- Ruler and scoring tool
- Craft knife
- Decorative paper or stamps
- Double-sided tape
Steps:
- Score and fold cardstock to create a front panel with a pocket on the inside.
- Fold a smaller piece of cardstock to form a pocket — secure three sides with double-sided tape.
- Slip a gift card into the pocket.
- Decorate the front with stamps, stickers, or hand lettering.
- Write your message on the inner panel beside the pocket.
Time: 20 minutes | Difficulty: Medium Best Use Case: Practical gift for college-bound graduates Creative Variation: Make the pocket from patterned paper that coordinates with the cover design.
Extra Value: Materials You Already Have at Home
You don’t need a craft store haul to make stunning graduation cards. Look around your home first — you likely already have:
- Cardstock or thick paper from old folders, boxes, or art supplies
- Markers and pens from your kids’ art sets or your own desk
- Washi tape left over from past projects
- Old magazines for cut-and-paste collage elements
- Ribbon or twine from gift wrapping
- Stickers from planners or stationery sets
- Printed photos from your phone or home printer
Working with what you have adds a personal, resourceful quality to your creations — and honestly, those cards often feel the most special.
Common Mistakes to Avoid
1. Using too much glitter without sealing it. Glitter cards are gorgeous, but loose glitter gets everywhere. Always seal glitter with a thin layer of Mod Podge or a clear spray sealant once dry. This protects the card and prevents mess.
2. Writing your message before decorating. Many beginners write their personal note inside the card first, then accidentally smear or cover it while adding design elements. Always decorate the outside, let it dry completely, then write inside.
3. Rushing the drying time. Whether it’s watercolor, embossing powder, or glue — let each layer dry fully before moving to the next step. Rushing leads to smearing, bubbling, or peeling that ruins the final result.
Tips for Best Results
- Use a bone folder or back of a spoon when folding cardstock to get clean, crisp lines.
- Plan your layout in pencil first before committing to markers or glue.
- Work on a silicone mat or scrap paper to protect your surface and stay tidy.
- Layer different textures — mix matte and shiny elements for more visual interest.
- Less is more — a clean, simple card often looks more sophisticated than one covered in every element possible.
- Choose colors that match the graduate’s school for an extra personal touch.
FAQs
Q: How far in advance should I make a graduation card? A: Ideally, start one to three days before the event. This gives you time for drying and any last-minute adjustments. Avoid making it the morning of — you want everything fully dry and looking its best.
Q: What’s the best paper for handmade graduation cards? A: Cardstock (65–80 lb weight) is ideal. It’s sturdy enough to hold decorations, fold cleanly, and write on without bleeding. Watercolor paper works well if you’re painting.
Q: Can I make graduation cards with kids? A: Absolutely. Ideas 3 (Polaroid), 11 (Glitter Balloons), and 14 (Banner Card) are all kid-friendly and great as group activities. Just supervise glue and scissors use with younger children.
Q: How do I make a card look more professional? A: Use a ruler and scoring tool for straight folds, limit your color palette to two or three shades, and always let glue and paint dry fully before adding additional elements.
Q: Are these ideas suitable for all types of graduations? A: Yes! From kindergarten and high school to college and trade school graduations — these card ideas scale beautifully for any milestone. Just adjust the messaging and colors to fit the occasion.
Q: What if I don’t have artistic skills? A: Many of these ideas require zero drawing ability. Stamping, embossing, pressing flowers, and using washi tape are all technique-free ways to create something beautiful. Trust the process.
Conclusion
There’s something genuinely moving about a card made by hand. It tells the graduate that you thought about them, spent time, and put a little piece of yourself into something just for them. Whether you choose a five-minute glitter balloon card or a thirty-minute milestone timeline accordion fold, the result will always mean more than anything off a shelf.
Pick one idea, gather your materials, and create. You don’t need to be an artist — just someone who cares. That’s what makes it special.