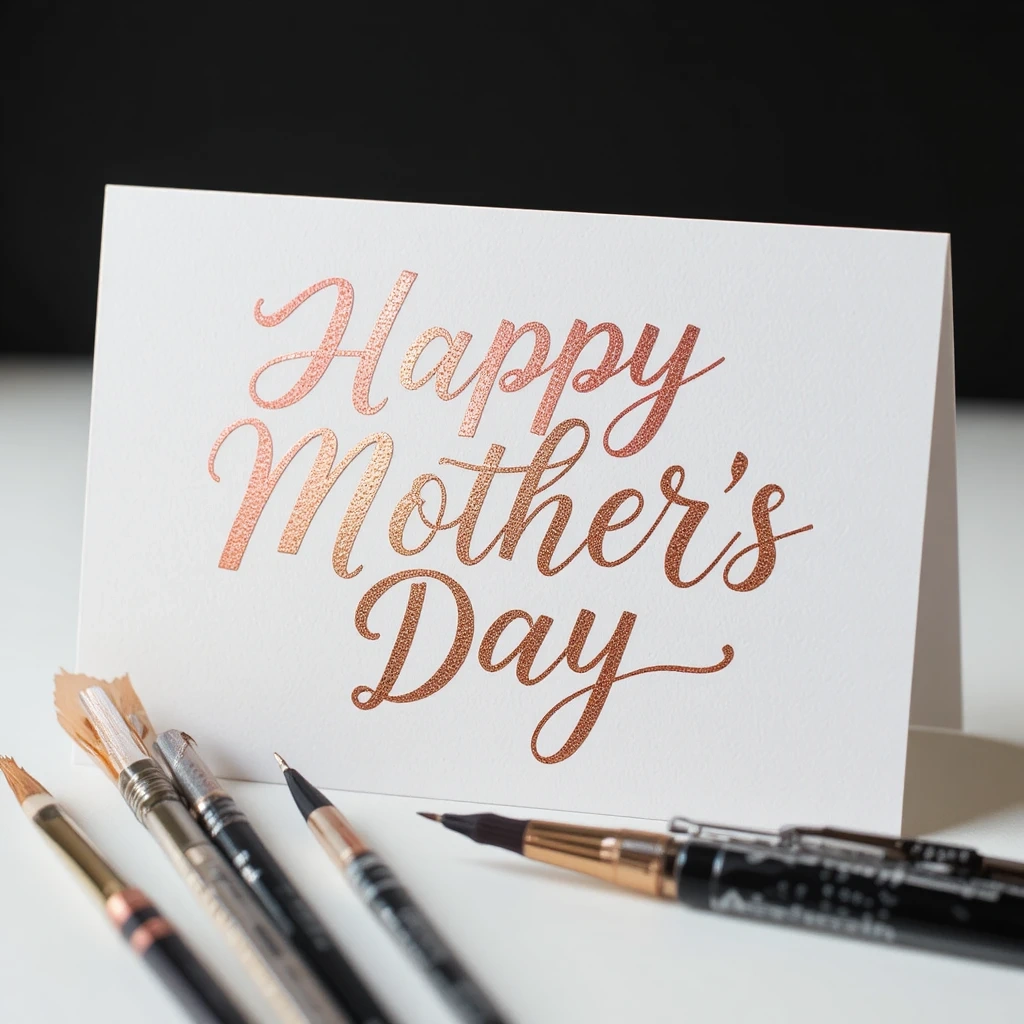
23 Unique Mothers Day Cards Ideas That Feel Extra Meaningful
Mother’s Day is one of those moments where the right words on a handmade card can mean more than any store-bought gift. A card that comes from the heart — crafted with your own hands and personal touches — tells your mom something no price tag ever could.
Whether you’re eight or eighty, making a card is one of the most meaningful things you can do to celebrate the woman who gave you everything. This article brings you 23 beautiful, creative, and beginner-friendly mothers day cards ideas that work for any skill level, budget, or style. From simple watercolor designs to pop-up masterpieces, there’s something here for everyone.
Every idea in this list was chosen to be both inspiring and genuinely doable — no art degree required. These mothers day cards ideas range from 10-minute quick crafts to weekend projects you’ll be proud to give.
23 Creative Mothers Day Cards Ideas for Personalized Messages
1. Watercolor Floral Wash Card
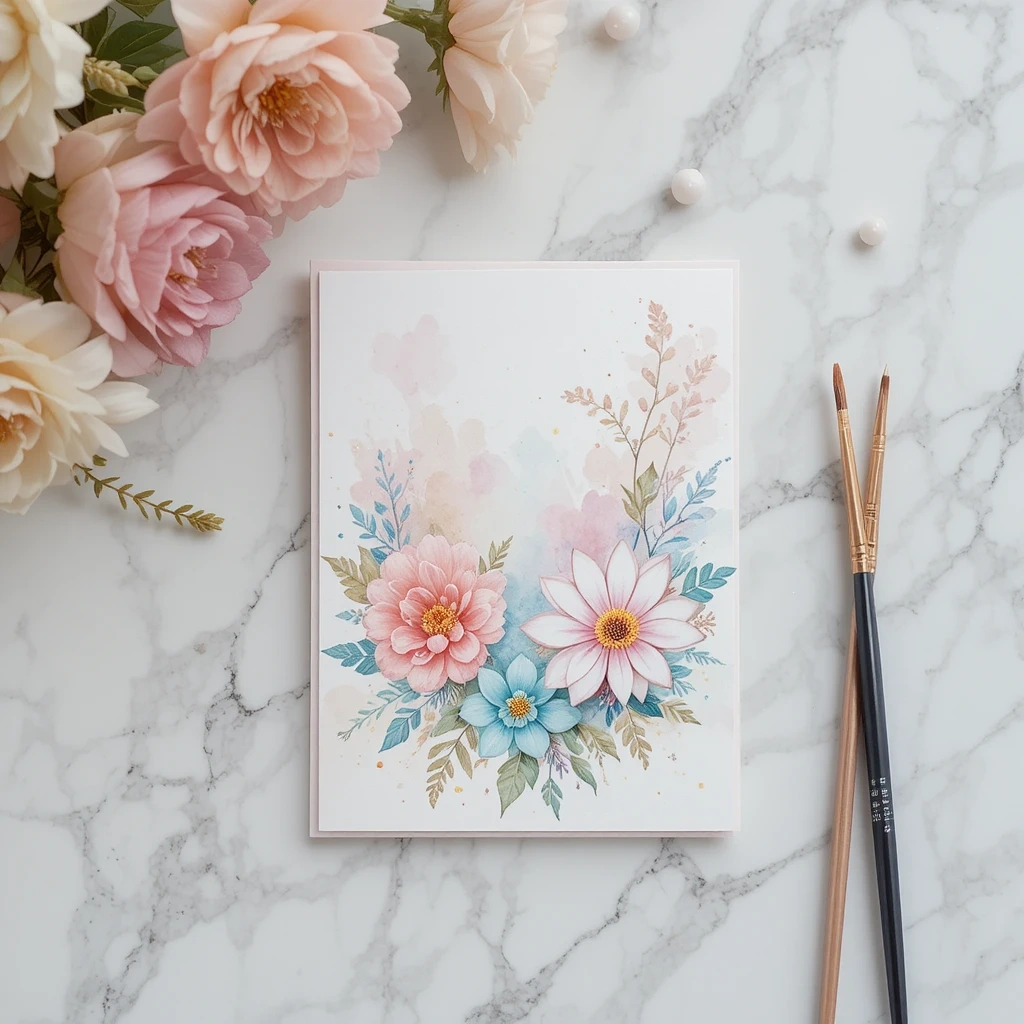
Soft and dreamy, this card uses simple watercolor washes to create a floral background that looks stunning even for complete beginners. The blended colors give it an elegant, gallery-worthy feel that moms absolutely love.
Materials:
- Watercolor paper or thick cardstock
- Watercolor paint set
- Fine-tip black marker
- Brush and water cup
Steps:
- Wet the paper lightly with a clean brush.
- Drop soft pink, lavender, and yellow watercolor onto the wet paper and let them bleed together.
- Let it dry completely.
- Use the black marker to draw simple flower outlines over the dried wash.
- Write your message inside.
Time: 20 min | Difficulty: Easy
Best Use Case: Gift card, keepsake
Creative Variation: Add gold gel pen accents over the dried flowers for a luxe feel.
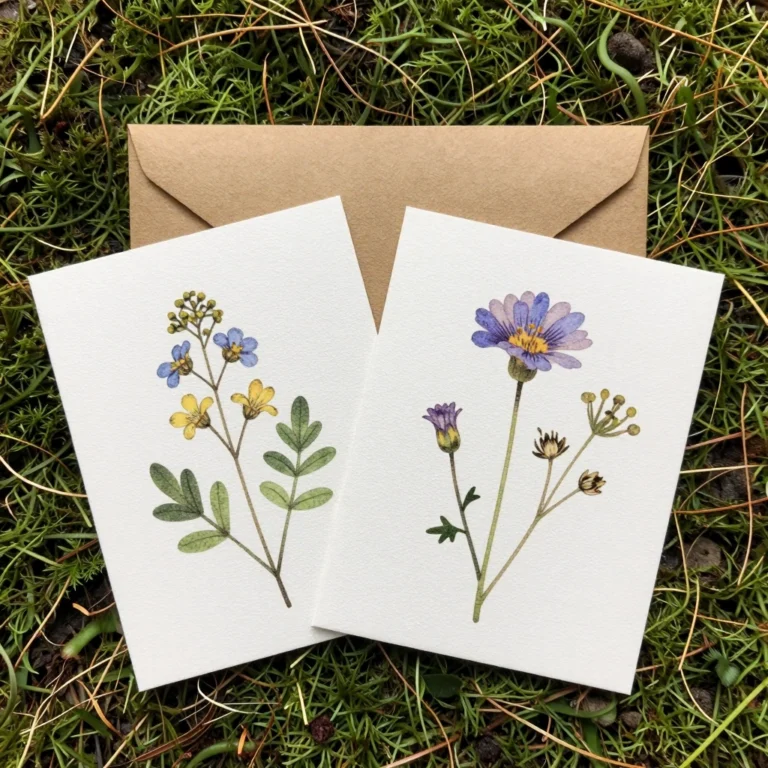
2. Pressed Flower Botanical Card
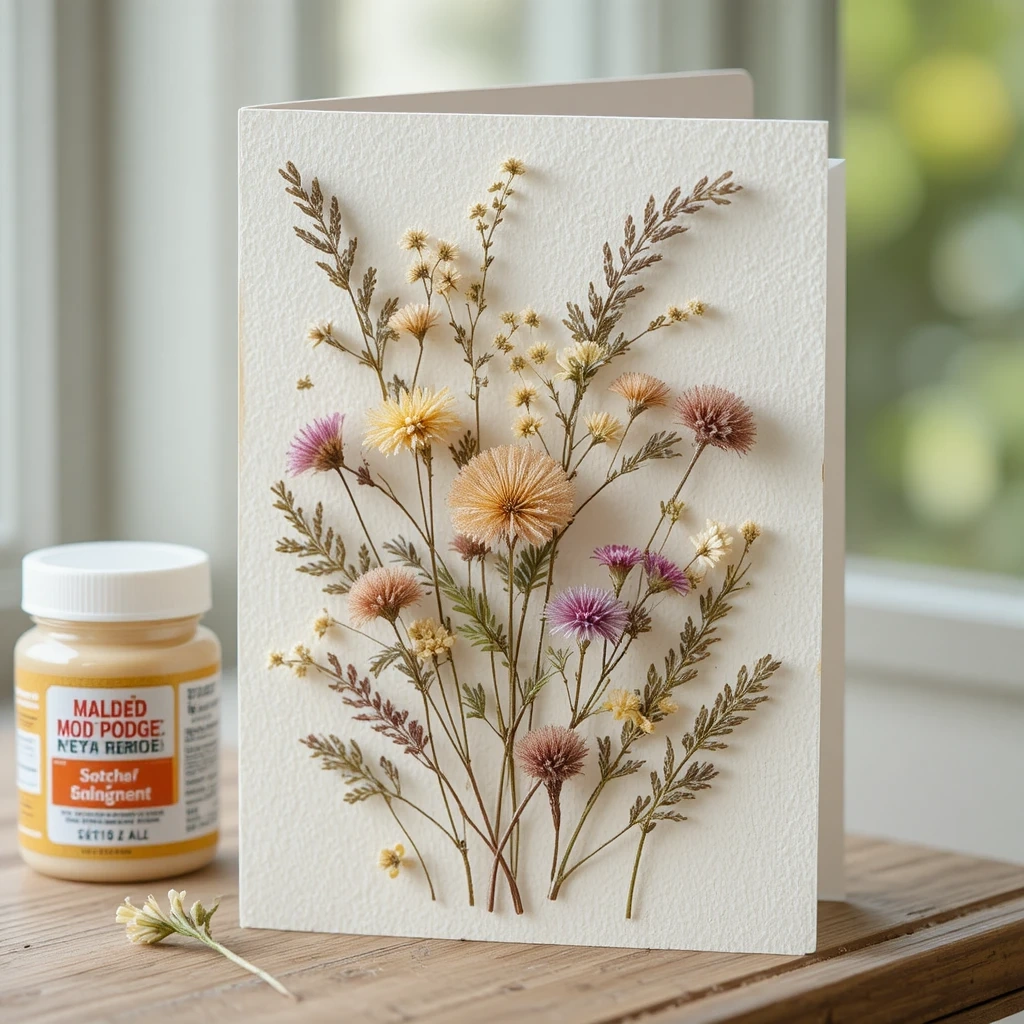
Real pressed flowers make this card feel like a tiny piece of nature, and the result is absolutely gorgeous. It’s personal, fragrant, and completely unique every single time.
Materials:
- Cardstock (white or cream)
- Pressed flowers and leaves (dried between book pages for 1–2 weeks)
- Mod Podge or clear-drying craft glue
- Small paintbrush
Steps:
- Arrange your pressed flowers on the cardstock until you love the layout.
- Brush a thin layer of Mod Podge over each flower to seal it in place.
- Let it dry flat.
- Write or stamp your message in a corner.
Time: 15 min (not including pressing time) | Difficulty: Easy
Best Use Case: Gift card, framing, keepsake
Creative Variation: Use a dark navy or forest green cardstock for a dramatic contrast.
3. Hand-Lettered Love Note Card
If you’ve ever wanted to try hand lettering, this is the perfect excuse. Even imperfect lettering looks charming and heartfelt when it’s made with love.
Materials:
- Smooth white cardstock
- Brush pens or calligraphy markers
- Pencil and eraser (for practice lines)
- Ruler
Steps:
- Lightly pencil in your message in block letters.
- Trace over with your brush pen, applying more pressure on downstrokes.
- Erase pencil marks once dry.
- Add small decorative flourishes or doodles around the text.
Time: 20–30 min | Difficulty: Medium
Best Use Case: Personal gift, display card
Creative Variation: Write the message in multiple colors for a rainbow lettering effect.
4. Fingerprint Flower Garden Card
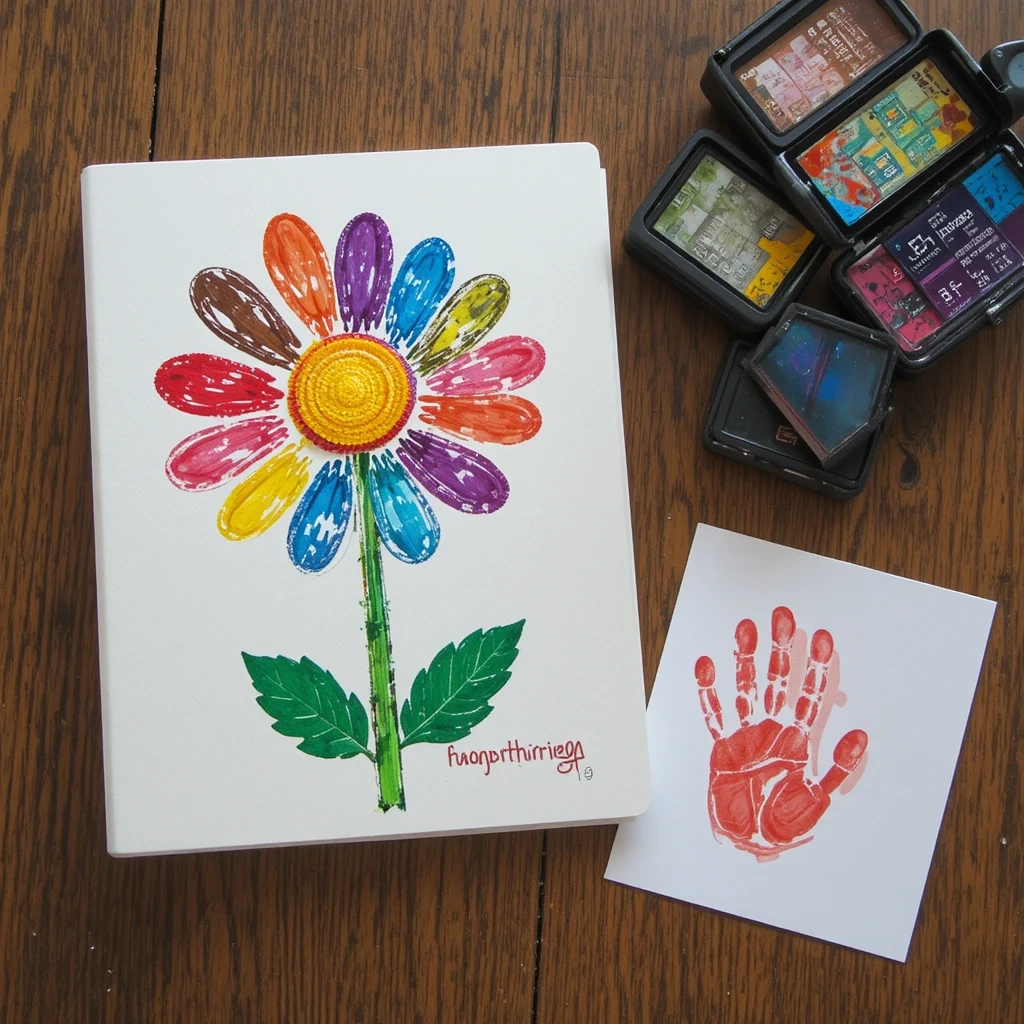
This idea is perfect for making with young children and results in an adorably personal card that moms treasure for years.
Materials:
- Cardstock
- Washable ink pads or paint
- Green marker or stamp
- Fine-tip black pen
Steps:
- Press fingers into paint/ink and stamp petal shapes in a circle to form flowers.
- Use the green marker to draw stems and leaves.
- Add faces or details with the fine-tip pen.
- Write names under each flower to represent family members.
Time: 15 min | Difficulty: Easy
Best Use Case: Kids’ craft, sentimental gift
Creative Variation: Use each family member’s fingerprint in a different color.
5. Pop-Up Heart Card
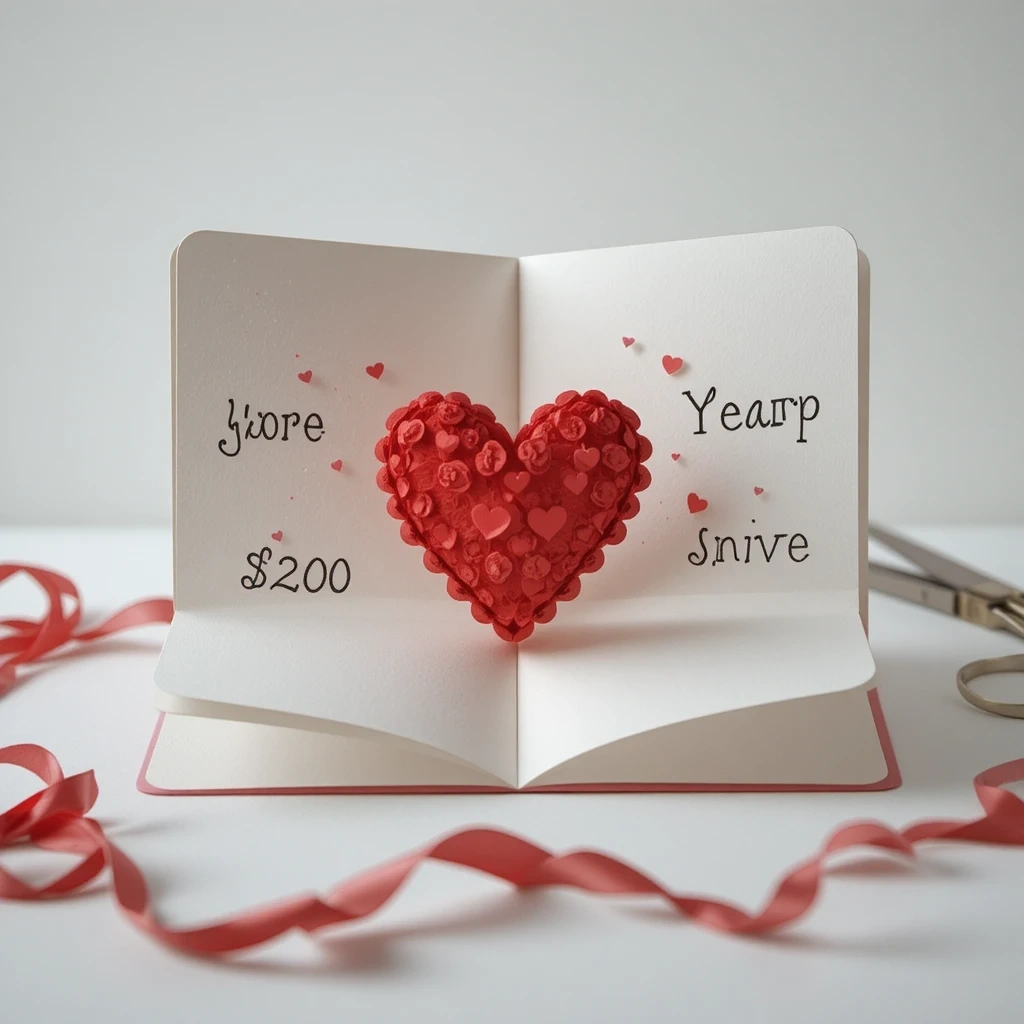
Few things are more impressive than a card that literally pops with love. This classic pop-up technique is simpler than it looks and always gets a delighted reaction.
Materials:
- Two pieces of cardstock (one for base, one for pop-up)
- Scissors
- Glue stick
- Markers or washi tape for decoration
Steps:
- Fold one cardstock in half for the base card.
- On a separate piece, cut out a heart and fold it in half.
- Glue the heart’s spine inside the card at the fold so it pops when opened.
- Decorate the inside and outside.
Time: 20 min | Difficulty: Medium
Best Use Case: Surprise gift card, keepsake
Creative Variation: Create multiple hearts of decreasing sizes for a layered 3D effect.
6. Photo Collage Memory Card
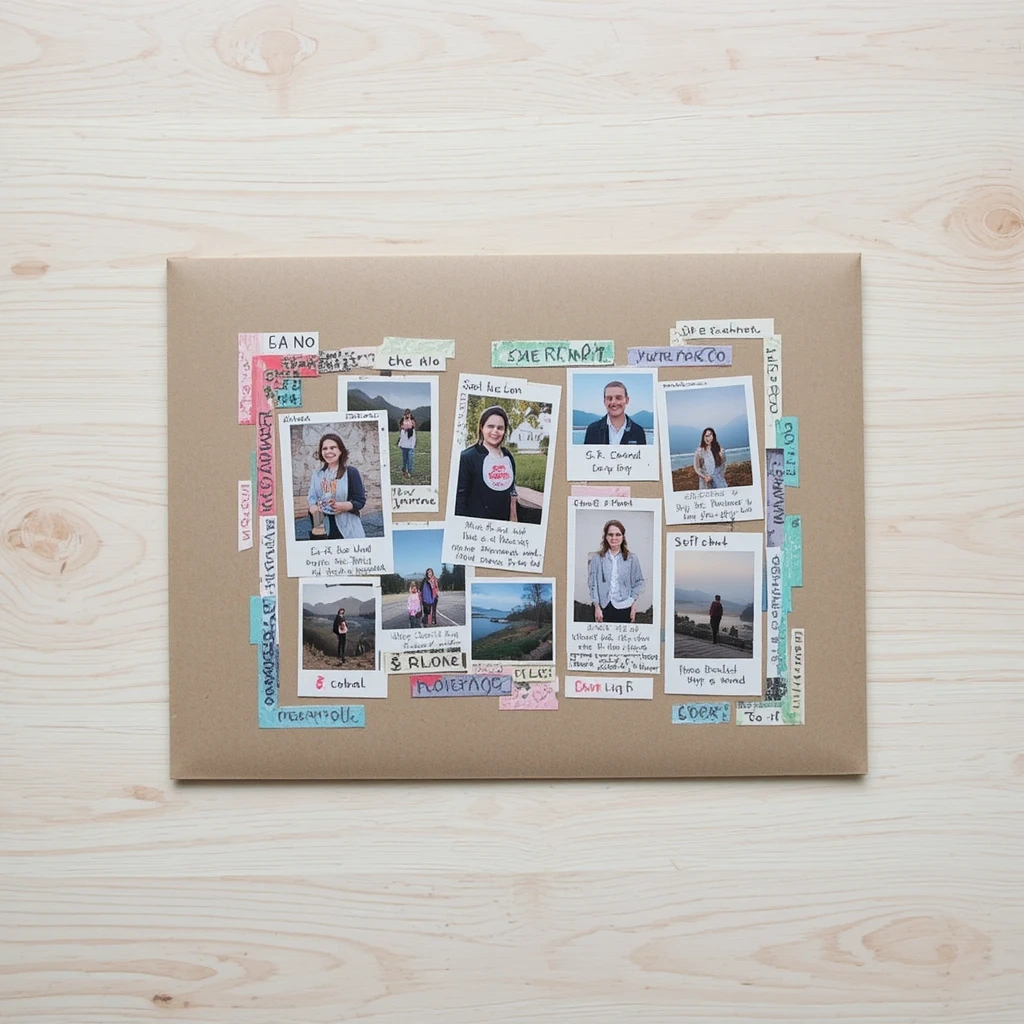
Turn a stack of printed photos into a beautiful, story-telling card that captures your favorite shared memories.
Materials:
- Printed photos (wallet size)
- Large folded cardstock
- Scissors, glue
- Washi tape and stickers
Steps:
- Select 4–6 favorite photos.
- Trim edges or cut into shapes.
- Arrange and glue onto the front and inside of the card.
- Add washi tape borders and handwritten captions.
Time: 25 min | Difficulty: Easy
Best Use Case: Milestone birthday, Mother’s Day keepsake
Creative Variation: Add a QR code linking to a video message or photo album.
7. Origami Flower Bouquet Card
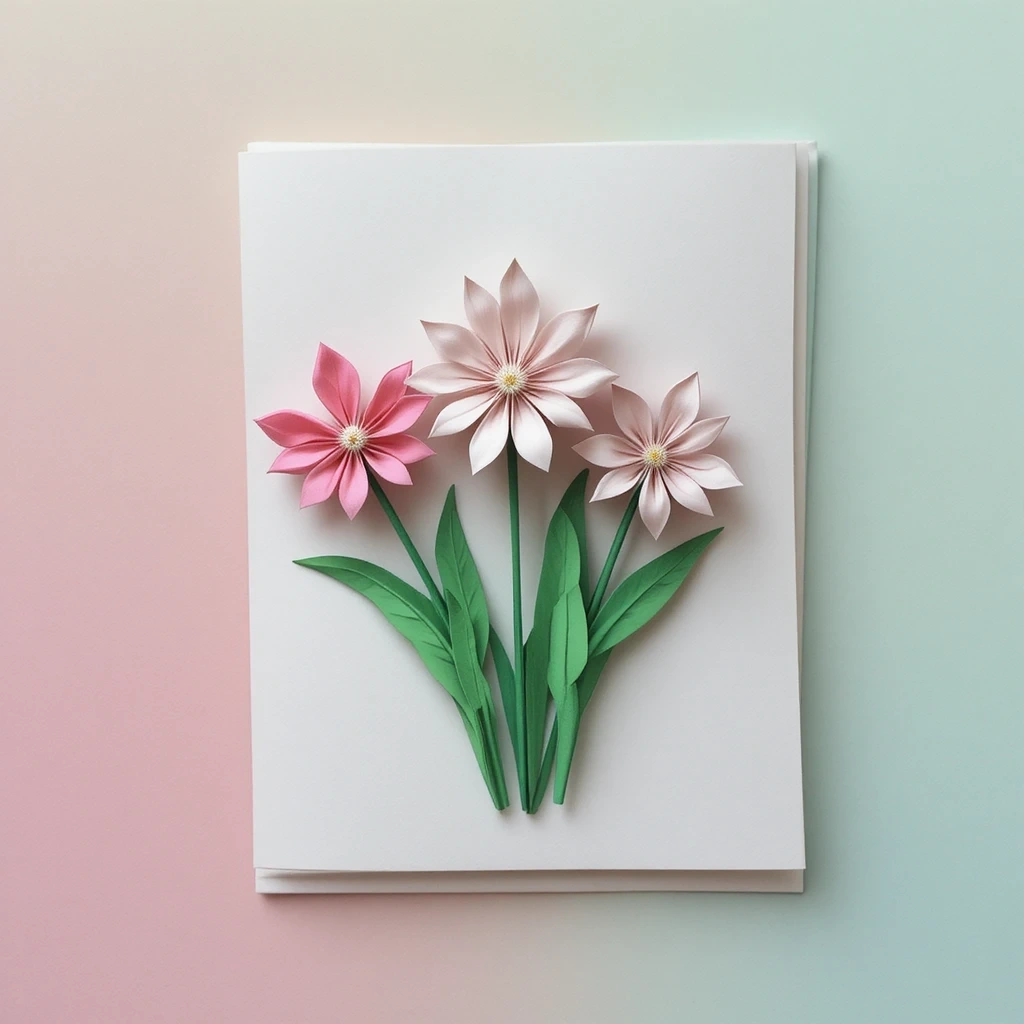
Attach tiny origami flowers to the front of a card for a 3D effect that looks incredibly impressive with minimal effort.
Materials:
- Colored origami paper or square cut paper
- Cardstock base
- Glue dots
- Green marker or ribbon for stems
Steps:
- Fold origami tulips or lotus flowers (many free tutorials available online).
- Arrange 3–5 flowers on the card front.
- Draw or glue green stems beneath them.
- Write your message inside.
Time: 30 min | Difficulty: Medium
Best Use Case: Gift card, display piece
Creative Variation: Use patterned scrapbook paper for more textured blooms.
8. Tea Bag Stain Art Card
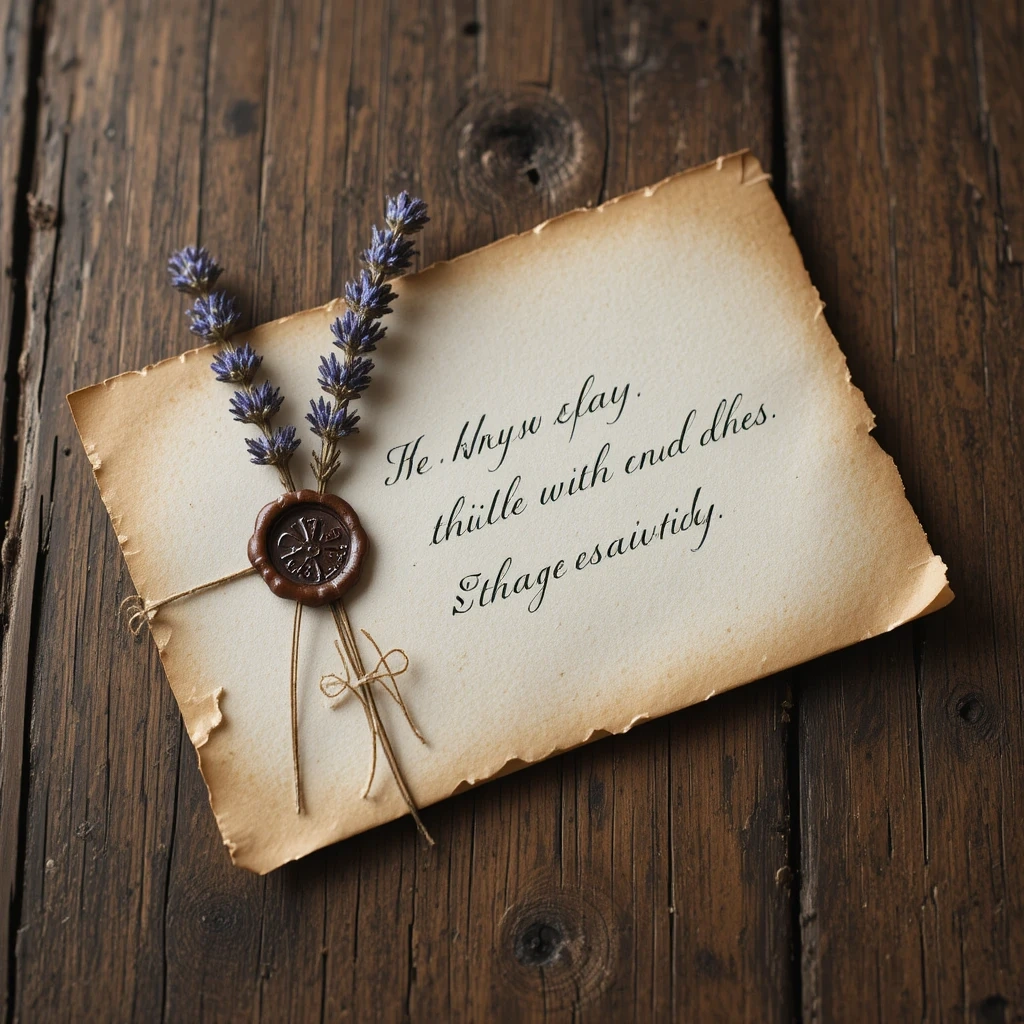
Brew tea bags and use the liquid to stain your card paper for a vintage, antique look that feels timeless and sophisticated.
Materials:
- White cardstock
- Used tea bags (black tea works best)
- Fine-tip pen or sepia marker
- Optional: dried herbs or stamps
Steps:
- Steep a tea bag and press it gently across the cardstock while wet.
- Let it dry completely — it will look aged and warm.
- Write your message or draw simple florals with the sepia pen.
- Finish with a wax seal or dried herb glued to a corner.
Time: 20 min (plus drying) | Difficulty: Easy
Best Use Case: Vintage aesthetic gift, bookish moms
Creative Variation: Add a quote from her favorite book in flowing cursive.
9. Envelope Liner Surprise Card

Transform the inside of the envelope into part of the gift — when mom opens it, she finds a burst of color and pattern she wasn’t expecting.
Materials:
- Envelope
- Patterned paper or wrapping paper
- Scissors and glue stick
- Plain card
Steps:
- Carefully open the envelope seams or trace the liner shape onto patterned paper.
- Cut and glue patterned paper inside the envelope.
- Create a simple elegant card to go inside.
Time: 15 min | Difficulty: Easy
Best Use Case: Elevating a simple card, extra detail
Creative Variation: Use floral wallpaper samples for an upscale feel.
10. Chalkboard-Style Card
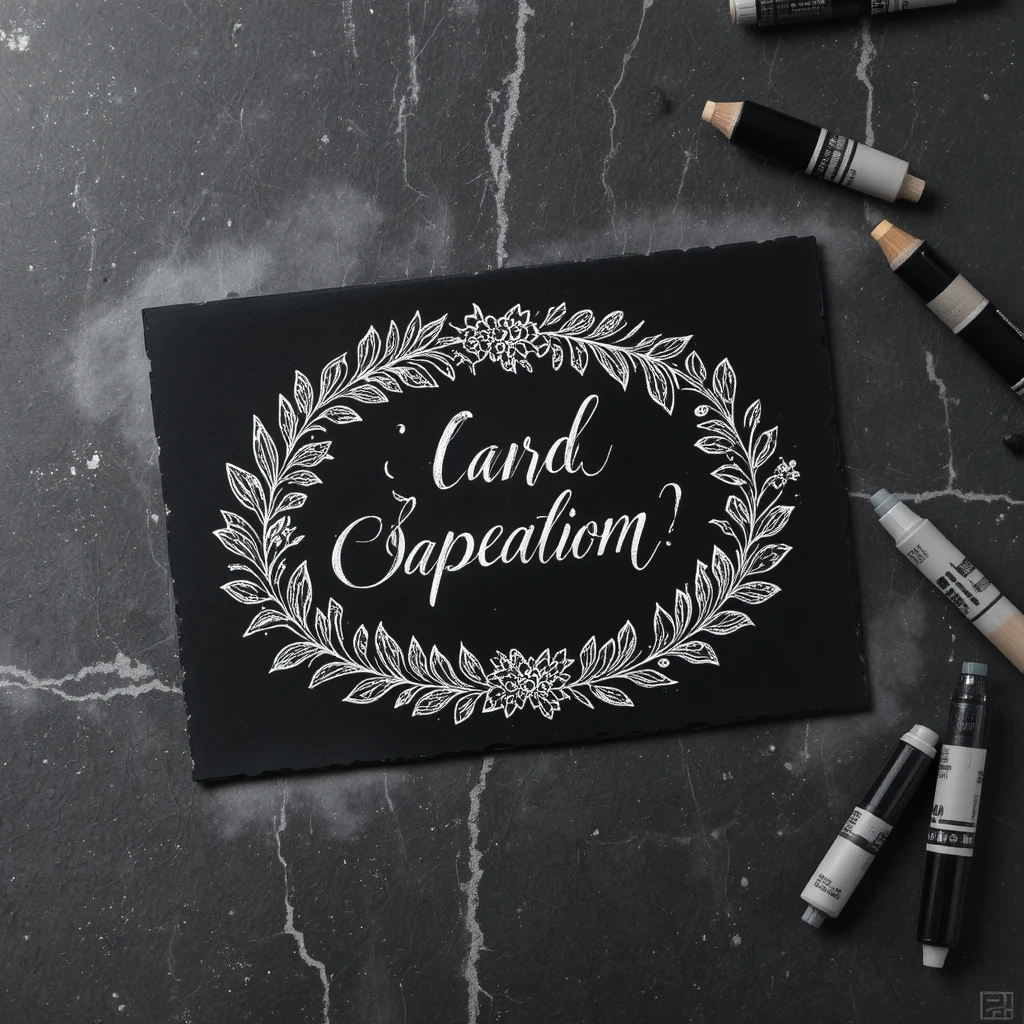
Use a black cardstock base and chalk pens to create a trendy chalkboard-style card that looks modern and bold.
Materials:
- Black cardstock
- White and colored chalk markers
- Ruler (optional)
Steps:
- Start with a message in the center using white chalk pen.
- Add floral doodles, borders, or swirls around it.
- Let dry completely before handling.
Time: 20 min | Difficulty: Easy
Best Use Case: Modern aesthetic, display card
Creative Variation: Add a faux chalk-drawn family portrait.
11. Washi Tape Geometric Card

Create a modern, abstract card using washi tape strips in patterns, chevrons, or geometric designs — no drawing skills required.
Materials:
- White or kraft cardstock
- Several rolls of washi tape in coordinating colors
- Scissors
Steps:
- Lay strips of washi tape across the card in diagonal or geometric patterns.
- Trim excess tape at the edges.
- Write your message in a clean space left untaped.
Time: 10 min | Difficulty: Easy
Best Use Case: Quick, modern gift card
Creative Variation: Create a heart outline using two diagonal tape lines meeting at a point.
12. Stamped Botanical Card
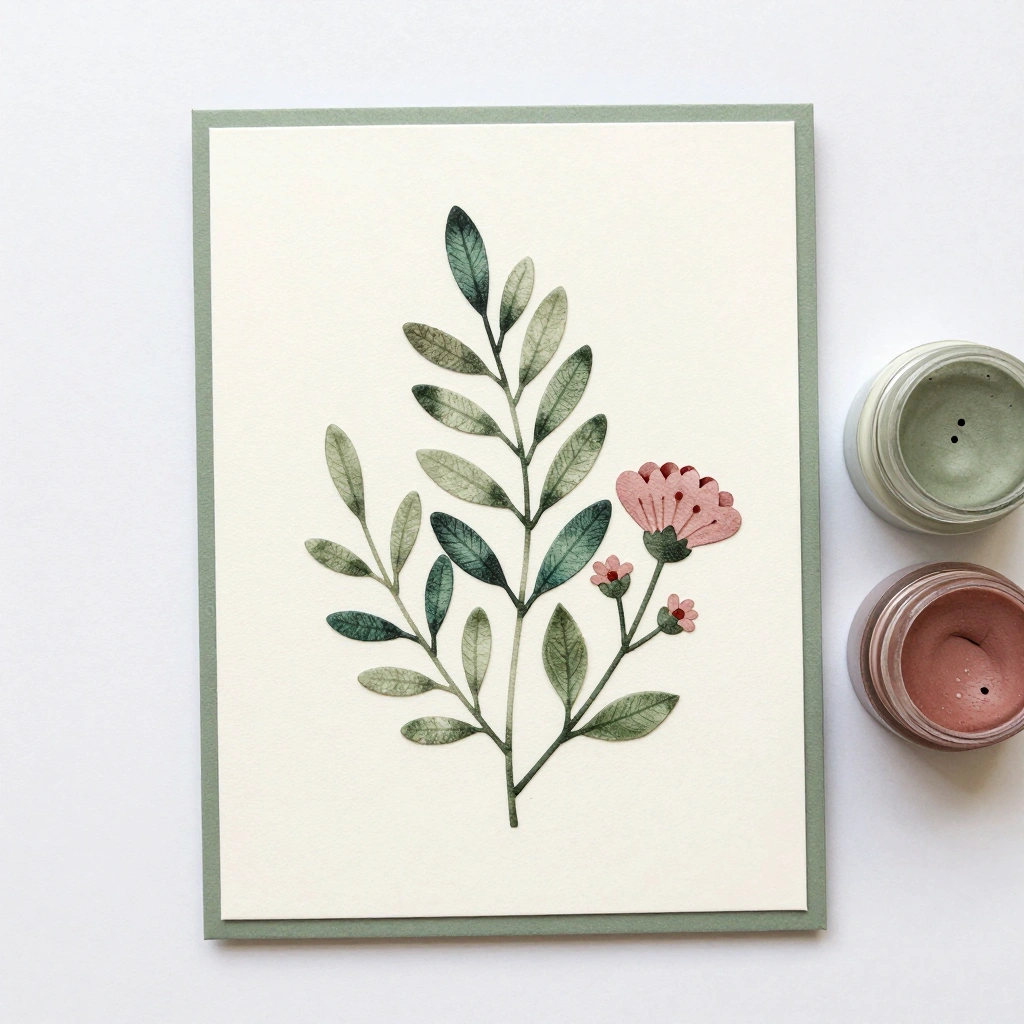
Use rubber stamps or foam stamps with ink to create a professional-looking botanical card in minutes.
Materials:
- Cardstock
- Botanical rubber/foam stamps
- Ink pads in multiple colors
- Fine-tip pen for writing
Steps:
- Stamp leaves and flowers across the card in a scattered arrangement.
- Overlap stamps slightly for a natural look.
- Let dry, then add your written message.
Time: 15 min | Difficulty: Easy
Best Use Case: Clean, elegant gift card
Creative Variation: Use a single-color ink for a tonal monochromatic look.
13. Ribbon Bow Embellished Card

Sometimes simple IS the statement. A beautifully tied ribbon bow transforms a plain card into something that feels like a wrapped gift.
Materials:
- Solid-color cardstock
- Satin or grosgrain ribbon
- Double-sided tape
- Optional: pearl or gem sticker
Steps:
- Cut two lengths of ribbon.
- Wrap one around the front panel of the card horizontally, securing at the back with tape.
- Tie a bow with the second piece on the front.
- Add a gem or pearl sticker at the bow center.
Time: 10 min | Difficulty: Easy
Best Use Case: Elegant, gift-wrapped look
Creative Variation: Use velvet ribbon for a luxe seasonal feel.
14. Scratch-Off Message Card
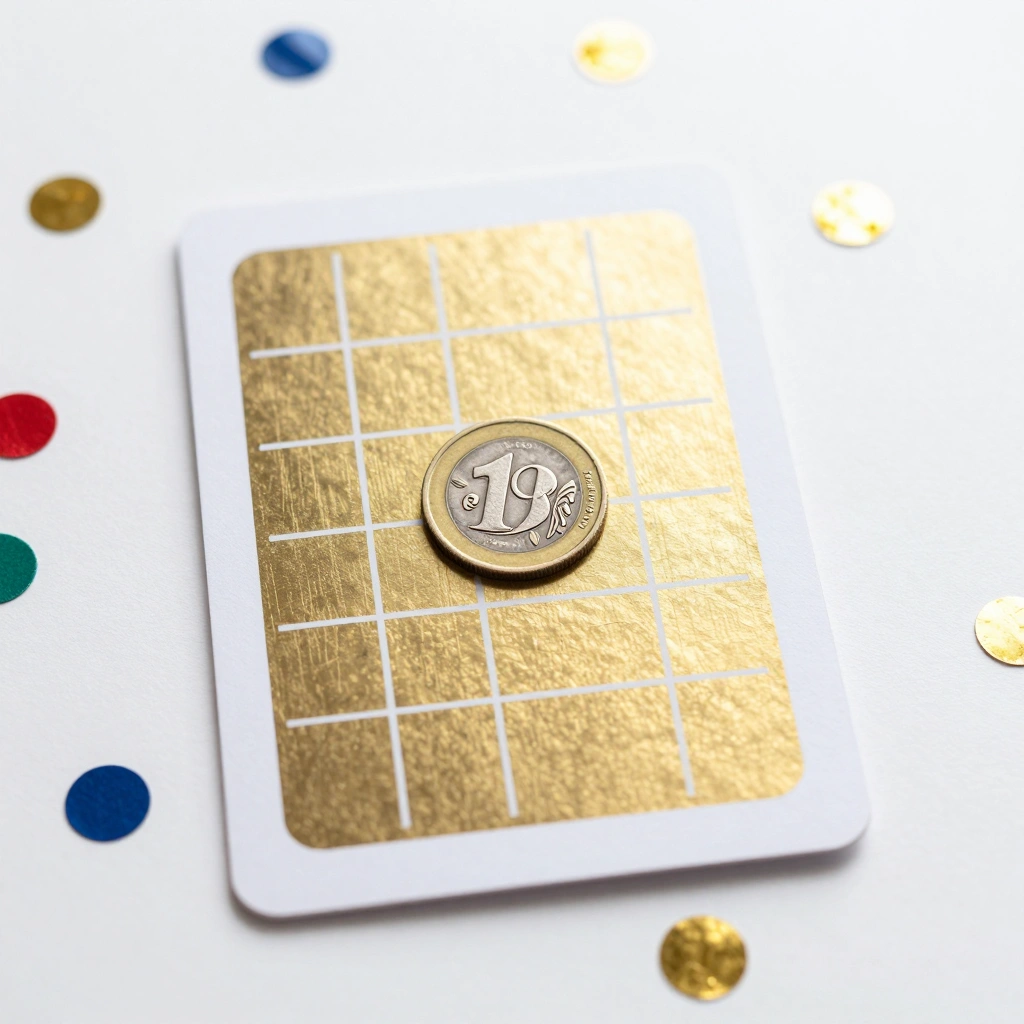
Create a fun interactive card with a scratch-off panel hiding a secret message — moms will love the surprise element.
Materials:
- Cardstock
- Dish soap and silver or gold acrylic paint
- Clear contact paper or tape
- Coin for scratching
Steps:
- Write a secret message on cardstock and cover it with clear tape.
- Mix a few drops of dish soap with acrylic paint and paint over the taped area.
- Let dry — the soap allows it to scratch off like a lottery ticket.
Time: 20 min (plus drying) | Difficulty: Medium
Best Use Case: Fun, playful gift
Creative Variation: Hide a coupon (breakfast in bed, movie night) under the scratch panel.
15. Embossed Foil Card
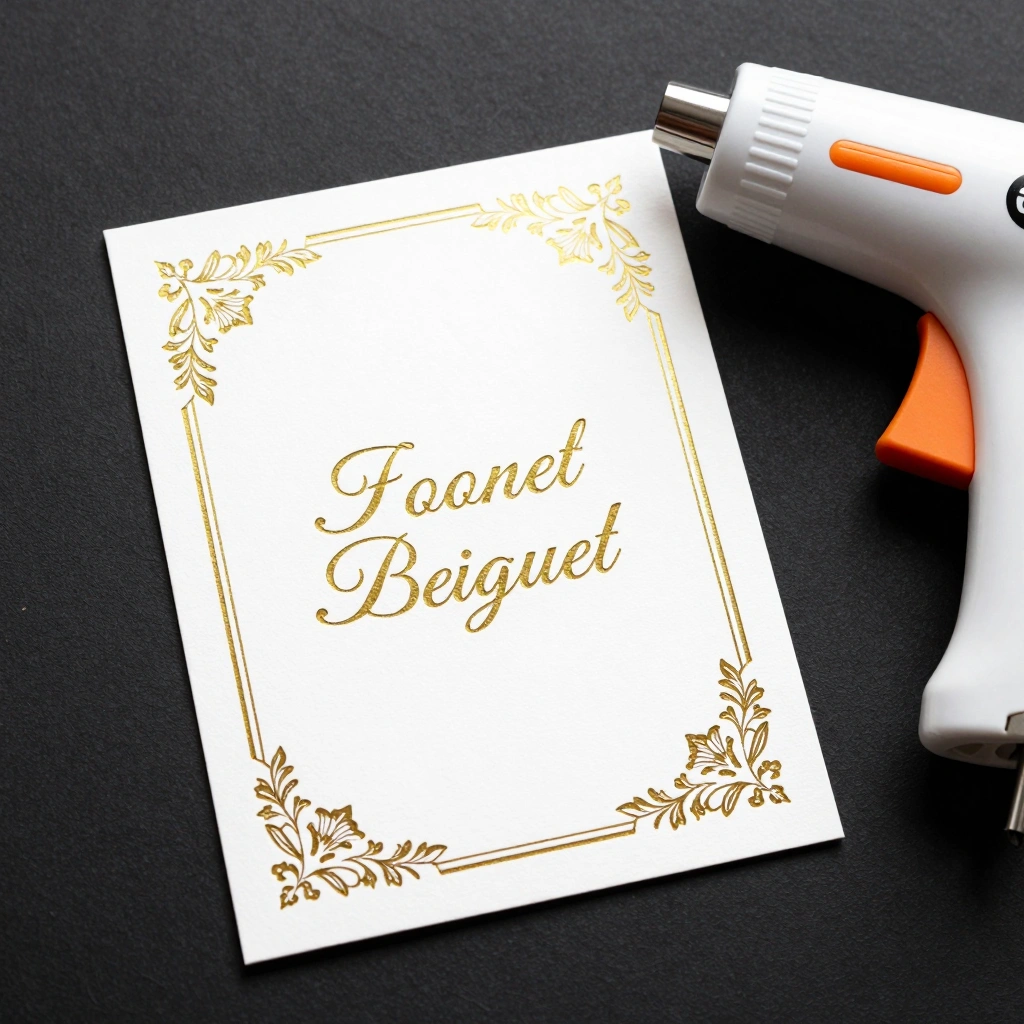
Heat embossing with gold or silver powder gives cards a stunning raised metallic effect that looks professionally printed.
Materials:
- Cardstock
- Embossing ink pen or stamp pad
- Embossing powder (gold or silver)
- Heat gun
Steps:
- Write or stamp your design with embossing ink.
- While still wet, sprinkle embossing powder over the ink.
- Tap off excess powder.
- Apply heat gun until powder melts and raises.
Time: 20 min | Difficulty: Medium
Best Use Case: Elegant keepsake, display-worthy card
Creative Variation: Use multi-color embossing powder for a holographic effect.
16. Dried Citrus Slice Card
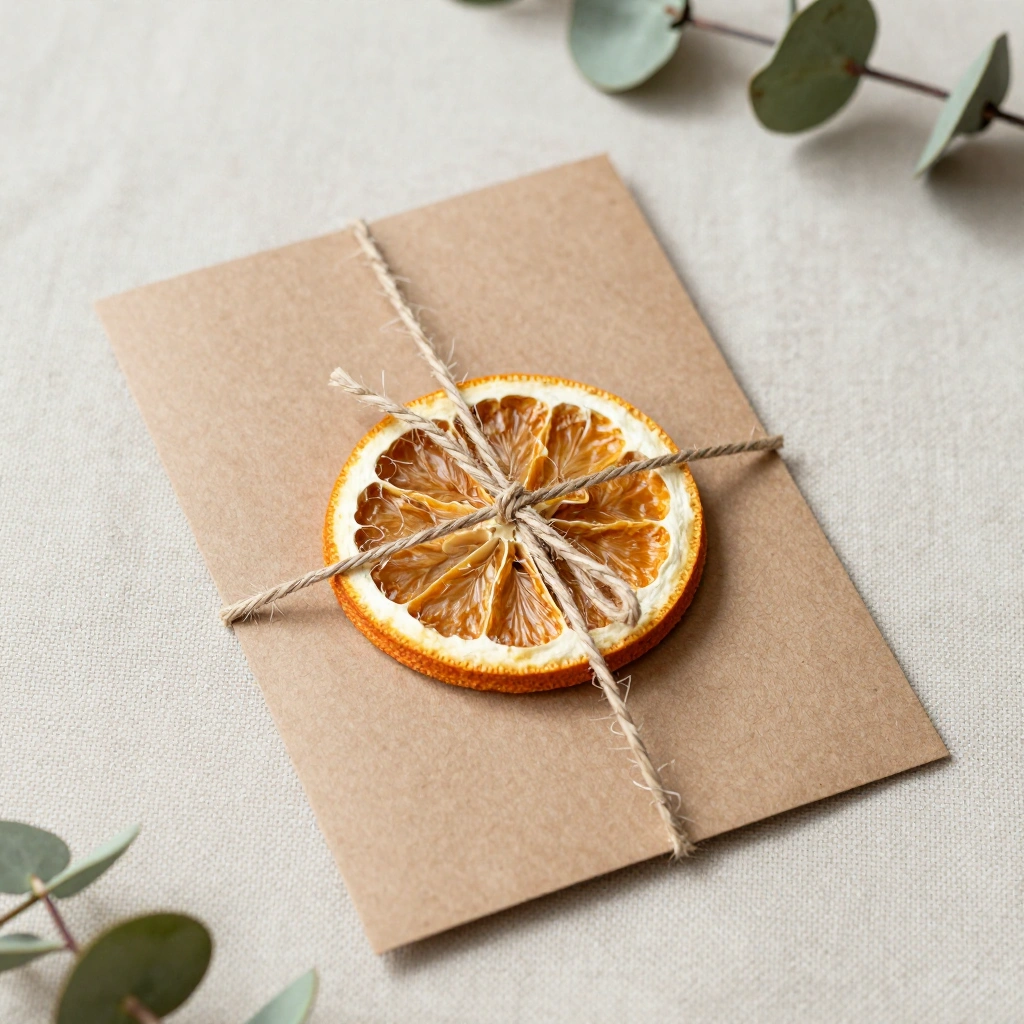
Glue a thin dried citrus slice to a card front for a fresh, colorful, and completely unexpected decoration.
Materials:
- Cardstock
- Thin dried orange or lemon slice (oven-dried at low temp)
- Glue gun
- Twine or ribbon accent
Steps:
- Dry a thin citrus slice at 200°F for 2–3 hours until firm.
- Hot glue it to the card front.
- Tie a length of twine around the card and knot over the citrus slice.
Time: 15 min (plus drying time) | Difficulty: Easy
Best Use Case: Unique, fragrant gift card
Creative Variation: Pair with a kraft envelope and add dried lavender sprigs.
17. Lace and Doily Overlay Card

Layer a paper doily over colored cardstock for a delicate, vintage-inspired look that’s effortlessly beautiful.
Materials:
- Colored cardstock (blush, mint, or ivory)
- Paper doily
- Glue stick
- Ribbon or string
Steps:
- Center the doily on the front of your folded cardstock.
- Glue it in place.
- Tie a thin ribbon through a punched hole at the top for a tag-like finish.
Time: 10 min | Difficulty: Easy
Best Use Case: Romantic, vintage-styled card
Creative Variation: Back the doily with a contrasting color for more visual impact.
18. Mini Accordion Photo Book Card
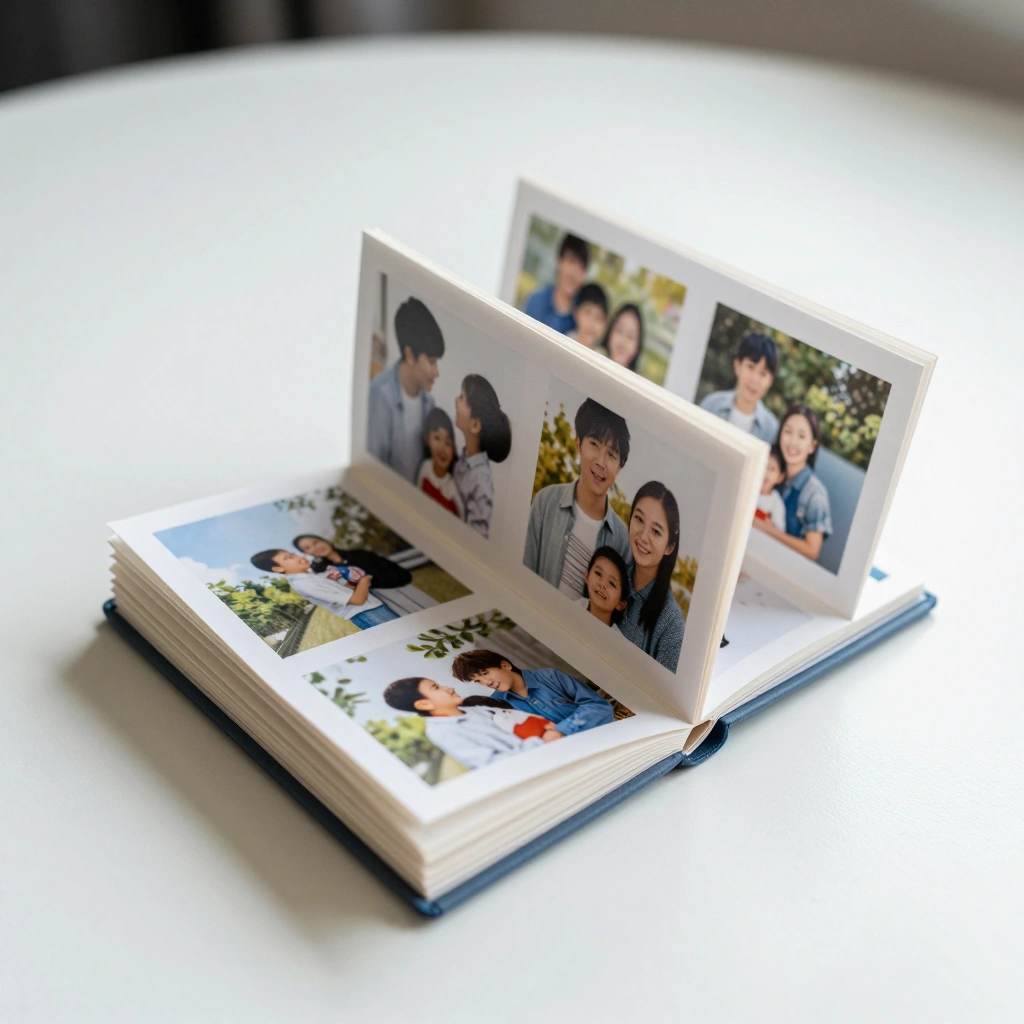
Fold cardstock accordion-style to create a tiny photo book that unfolds dramatically from inside the card envelope.
Materials:
- Long strip of cardstock
- Printed mini photos
- Glue stick
- Decorative tape
Steps:
- Fold the strip into equal accordion sections.
- Glue one photo per panel.
- Add captions with a fine-tip marker.
- Slide into an envelope — it fans out when pulled.
Time: 25 min | Difficulty: Easy
Best Use Case: Memory gift, milestone birthday, Mother’s Day
Creative Variation: Add pressed flowers or stickers between some panels.
19. Seed Paper Plantable Card
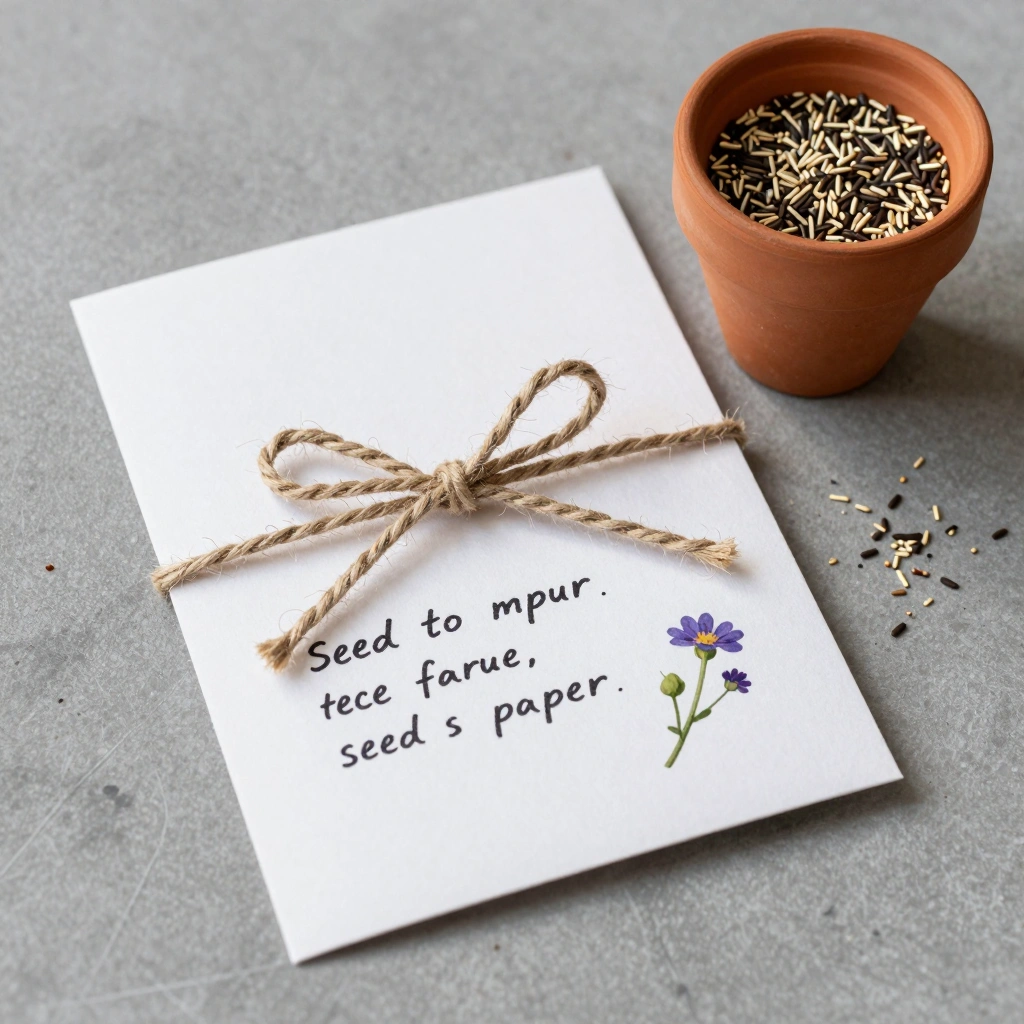
Write your message on seed-embedded paper — when she plants it, wildflowers grow. It’s the gift that literally keeps growing.
Materials:
- Seed paper (available at craft stores or DIY with blender pulp + seeds)
- Waterproof marker or stamp
- Twine
Steps:
- Purchase or make seed paper (blend recycled paper with wildflower seeds and dry flat).
- Write or stamp your message on it.
- Include planting instructions on the back.
Time: 15 min | Difficulty: Easy
Best Use Case: Eco-friendly gift, garden-loving moms
Creative Variation: Cut into flower shapes before writing.
20. Watercolor Galaxy Card
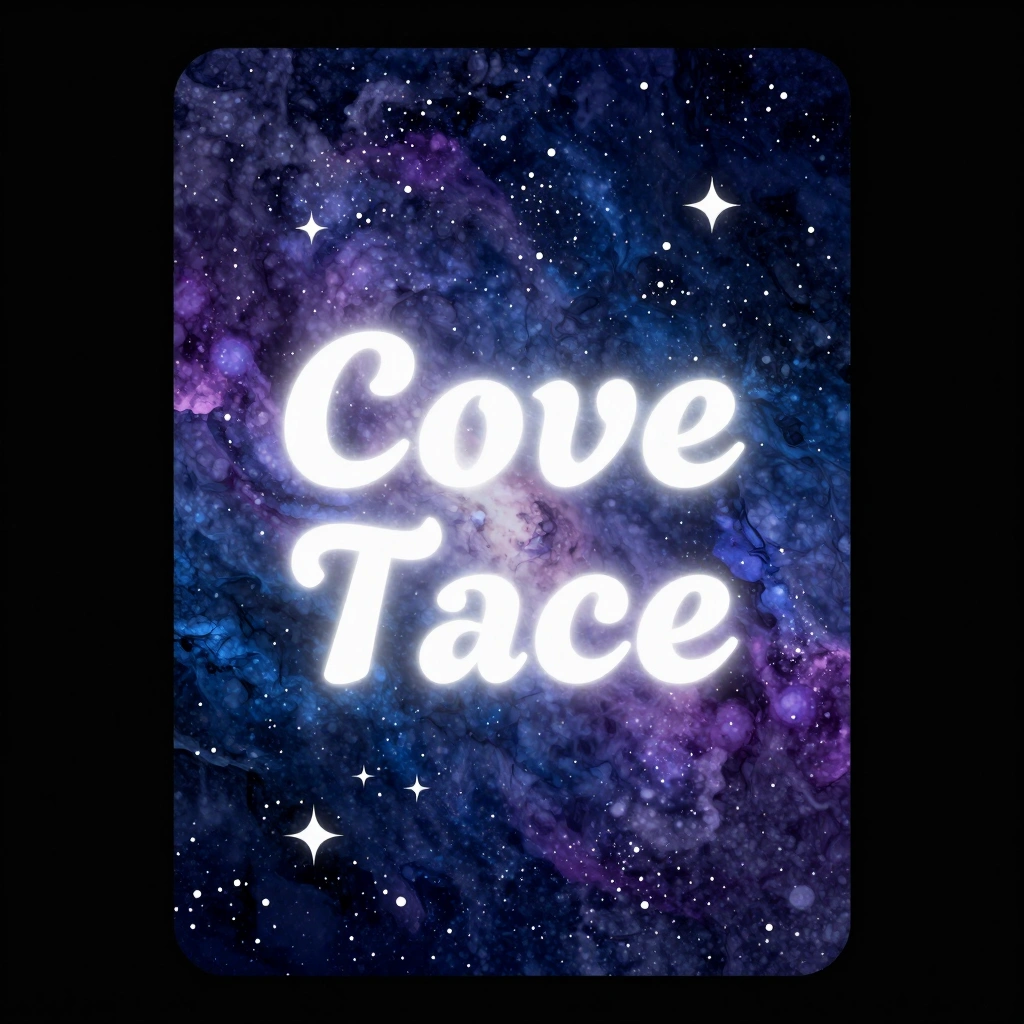
Use deep blues, purples, and silvers to create a stunning galaxy effect — then write a message like “You’re out of this world, Mom.”
Materials:
- Black or dark blue cardstock
- Watercolor paints
- White gel pen or white acrylic
- Fine brush
Steps:
- Apply wet watercolors in blues and purples across the card.
- Flick white acrylic with a toothbrush to create stars.
- Write message with white gel pen once dry.
Time: 20 min | Difficulty: Medium
Best Use Case: Unique, artistic gift card
Creative Variation: Add a silhouette of a figure looking up at the stars.
21. Coffee Filter Flower Card

Transform humble coffee filters into gorgeous ruffled flowers using food coloring and a little creativity.
Materials:
- White coffee filters
- Washable markers or diluted food coloring
- Spray bottle with water
- Cardstock base and glue
Steps:
- Color coffee filters with markers or food dye.
- Spray lightly with water to bleed the colors.
- Let dry, then scrunch and fold into flower shapes.
- Glue onto card front.
Time: 25 min | Difficulty: Easy
Best Use Case: Colorful, textured 3D card
Creative Variation: Add pearl-head pins through the center of each flower.
22. String Art Heart Card
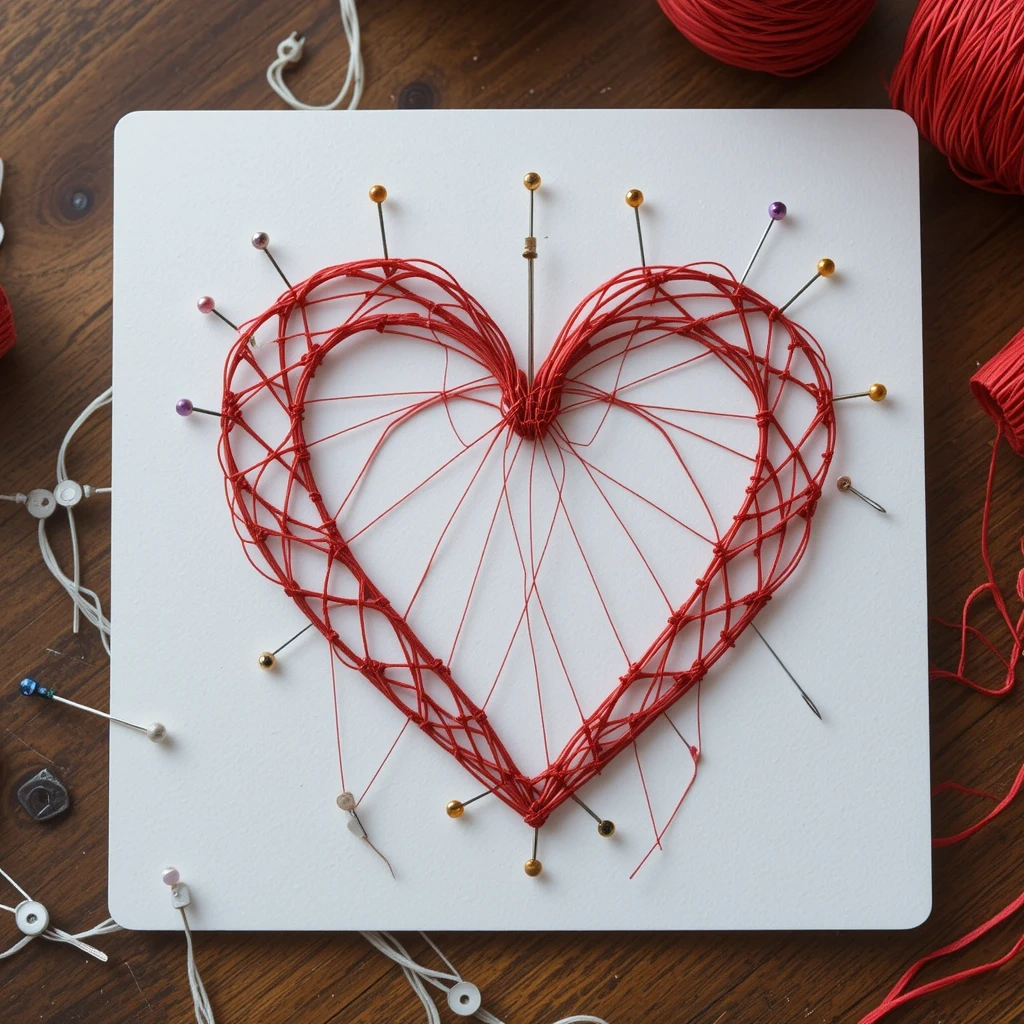
Use pins and embroidery thread to create a geometric string-art heart on a small canvas card — it’s artsy, modern, and stunning.
Materials:
- Small piece of foam board or thick cardboard
- Small nails or pins
- Embroidery thread in chosen color
- Paper to cover the base
Steps:
- Cover your base with paper.
- Pin a heart outline using small nails or pins.
- Wrap thread back and forth between pins to fill the heart shape.
- Tie off and trim ends neatly.
Time: 30 min | Difficulty: Medium
Best Use Case: Artistic display piece, keepsake
Creative Variation: Use metallic thread on black paper for a dramatic look.
23. Personalized Coupon Book Card
Skip the single-card format and turn your message into a full coupon book — each page is a promise, a favor, or a fun activity to share.
Materials:
- Small cardstock sheets (cut to size)
- Markers or printed design
- Stapler or ribbon to bind
- Optional: decorative cover sheet
Steps:
- Design a cover that says “Mom’s Coupon Book.”
- Write 5–10 coupons (breakfast in bed, movie night, no-argument day).
- Stack pages and staple or tie with ribbon.
- Slip inside an envelope as your “card.”
Time: 20–30 min | Difficulty: Easy
Best Use Case: Fun, personal, experience-based gift
Creative Variation: Theme the coupons around her specific hobbies (spa day, garden helper, cooking night).
Budget-Friendly Materials You Already Have at Home
You don’t need to run to the craft store to make a beautiful mothers day cards idea come to life. Here’s what you likely already own:
- Printer paper or cardstock — folds into a base card instantly
- Markers and pens — any color works for lettering and doodles
- Old magazines — cut and collage for a layered look
- Coffee or tea — brew it strong and use as watercolor stain
- Ribbon, twine, or yarn — elevates any simple card design
- Stamps — even a potato stamp works for floral patterns
- Tape and glue — double-sided tape is a game-changer
The best card isn’t the most expensive one — it’s the most intentional one.
Common Mistakes to Avoid
1. Starting the card without a plan. Jumping straight into decorating without sketching a rough layout leads to cards that feel cluttered and rushed. Spend two minutes planning where your message, images, and decorations will go.
2. Using too many colors at once. More color doesn’t mean more beautiful. Stick to 2–3 colors per card for a cohesive, polished look. Choose one main color and let the others support it.
3. Writing the message last without leaving enough space. The message is the whole point of the card. Always pencil in your text area first so you don’t end up squeezing words into a corner.
Tips for Best Results
- Use cardstock, not printer paper — it folds cleanly and holds decorations better.
- Let layers dry before adding more — wet paint or glue smears everything on contact.
- Write in pencil first, then ink — prevents spelling mistakes from ruining a finished card.
- Press firmly with stamps — rocking the stamp side to side causes smudges.
- Keep the envelope in mind — some 3D card embellishments won’t fit inside a standard envelope, so plan accordingly.
- Sign with your full name or a nickname she uses — it makes it personal and unmistakably from you.
FAQs
How early should I start making a Mother’s Day card? Give yourself at least 2–3 days for simpler cards. For projects that require drying time (pressed flowers, seed paper, embossing), start 1–2 weeks ahead.
What if I have no art skills? Many of the ideas here — washi tape geometric cards, photo collages, coupon books, and ribbon bow cards — require zero drawing or painting skills. Choose one of those and you’ll still create something beautiful.
Can kids help make these cards? Absolutely! Ideas like fingerprint flowers, coffee filter flowers, photo collage cards, and coupon books are all perfect for kids aged 4 and up with minimal adult supervision.
What size should a homemade card be? A standard A2 card (4.25″ x 5.5″) fits easily into a regular envelope. Fold a piece of standard cardstock in half for a perfect starting point.
Can I use these ideas for a birthday or other occasions? Yes! Most of these designs are versatile. Simply change the written message and color palette to fit any celebration — birthday, anniversary, thank-you, or “just because.”
Where can I find materials? Dollar stores, craft stores, and even grocery stores carry most of what you need. Many materials (paper, markers, tape, glue) you likely already have at home.
Conclusion
Making a card from scratch is one of the most personal gifts you can give. It says: I took time. I thought about you. You matter. These 23 mothers day cards ideas prove that creativity doesn’t require expensive supplies or professional skills — just a little heart and a willing pair of hands.
Pick the idea that excites you most, gather your materials, and make something she’ll want to keep forever. Because the best card you can give is one made by you.