10 Cute Baby Shower Cards for Sweet Celebration Messages
Planning a baby shower and searching for the perfect way to say congratulations? A heartfelt, beautifully crafted card can be just as meaningful as any gift on the table. Whether you’re a seasoned crafter or picking up scissors for the first time, baby shower cards don’t have to be expensive or complicated to feel truly special.
In this article, you’ll find 10 creative, beginner-friendly ideas — each one packed with step-by-step instructions, materials lists, and unique variations to make it your own.
These baby shower cards are perfect for any budget and any skill level. Whether you DIY or personalize a store-bought design, the right baby shower cards make a lasting impression.
1. Watercolor Floral Baby Shower Card
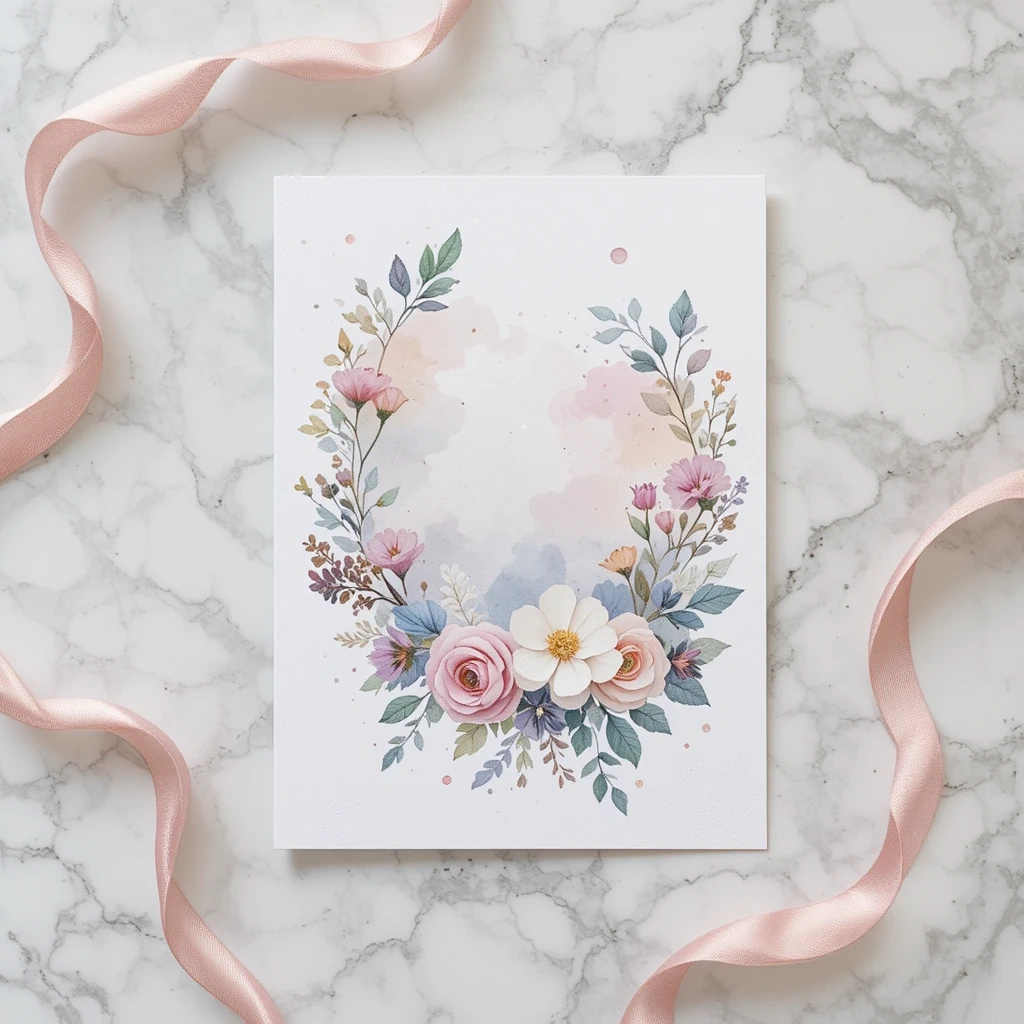
Soft watercolor washes give this card a dreamy, artistic feel that’s surprisingly easy to achieve. You don’t need to be an artist — loose, blended colors and simple floral shapes are all it takes. This style works beautifully for boho, garden, or neutral-themed showers.
Materials:
- Thick cardstock (140 lb watercolor paper recommended)
- Watercolor paints (pink, lavender, mint, gold)
- Fine paintbrush and water cup
- Pen or fine-tip marker for lettering
- Ribbon or twine for decoration
Steps:
- Fold cardstock in half to form the card base.
- Lightly pencil in a floral arrangement across the front panel.
- Wet the brush and apply loose watercolor strokes — keep it light and blended.
- Let dry completely, then outline flowers with a fine-tip marker.
- Write your message inside and tie a ribbon around the fold.
Time: 20–25 min | Difficulty: Easy
Best Use Case: Gift card to accompany a baby shower present
Creative Variation: Add gold leaf accents over dried paint for an elevated look.
2. Elephant Stamped Card
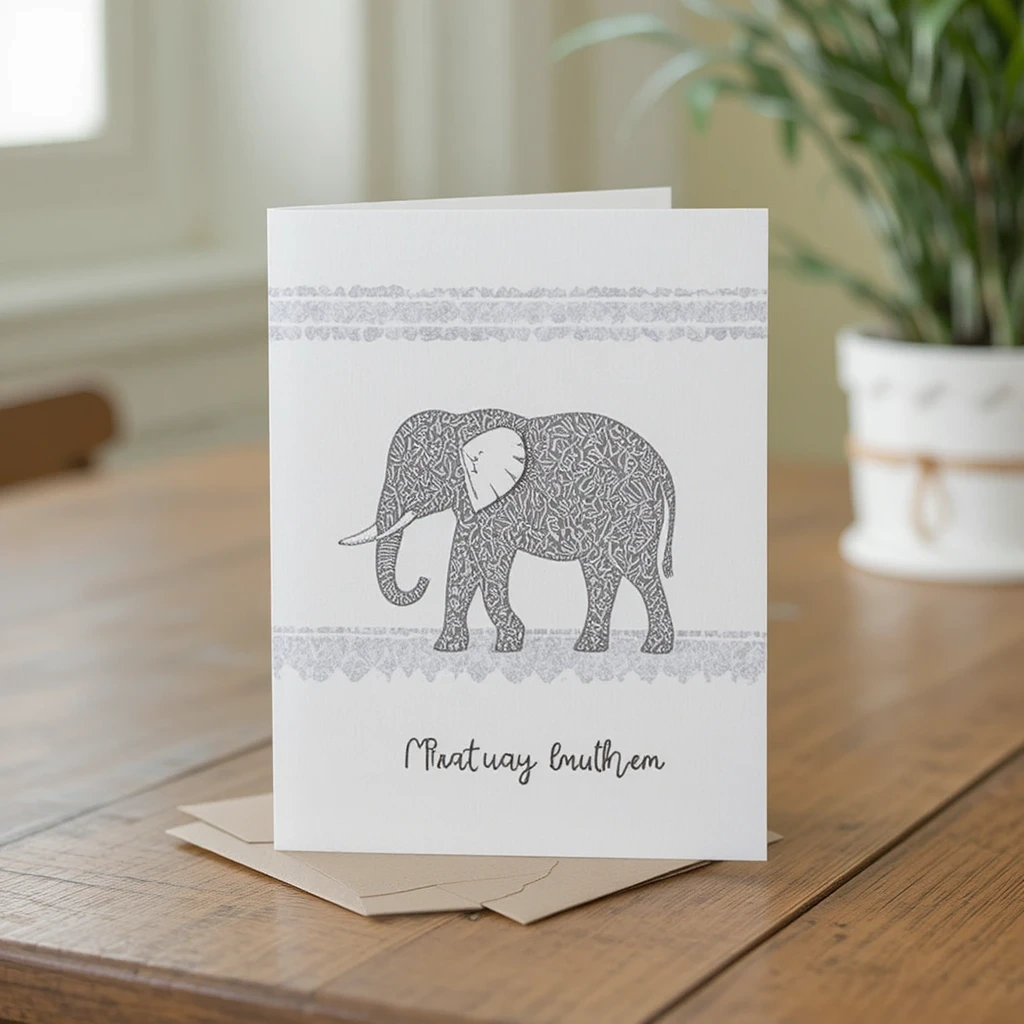
Elephants are a classic baby shower symbol representing good luck and love. This stamped card is playful, gender-neutral, and takes just minutes to make. It’s a great option for last-minute gifting or batch-making for a whole guest list.
Materials:
- Foam elephant stamp (or DIY from foam sheet)
- Gray, pink, or blue ink pad
- White or kraft cardstock
- Colored pens or washi tape for borders
Steps:
- Fold cardstock to card size.
- Press the foam stamp firmly onto the ink pad.
- Stamp the elephant centered on the front panel.
- Add a washi tape border around the edges.
- Write a sweet message inside.
Time: 10 min | Difficulty: Easy
Best Use Case: Party favor card or place card at the shower
Creative Variation: Stamp a pattern of tiny elephants across the entire front panel for a bold, graphic effect.
3. Paper-Cut Baby Onesie Card
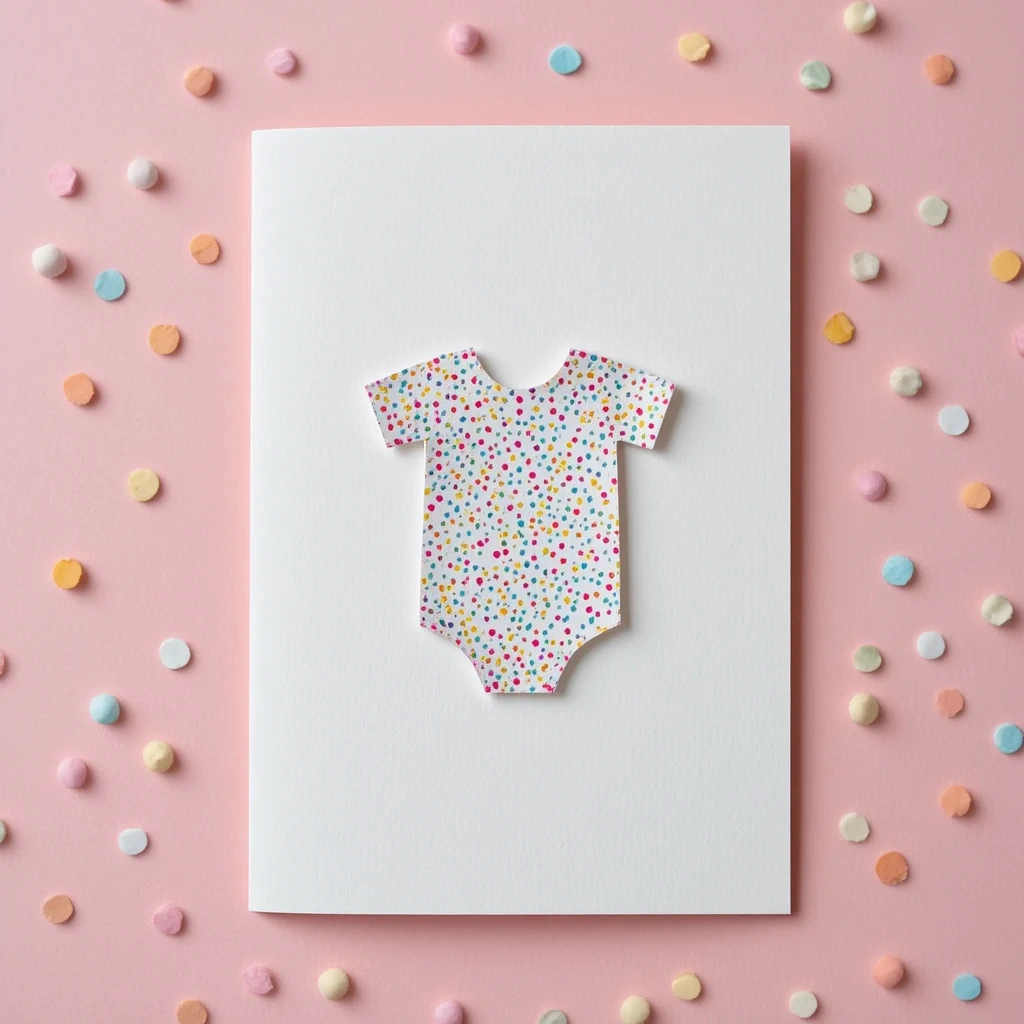
A tiny paper onesie folded right into the card — this one doubles as a keepsake. It’s creative, three-dimensional, and completely unique. Guests absolutely love receiving something that feels handmade and thoughtful.
Materials:
- Patterned or solid paper for the onesie cutout
- Plain cardstock for the card base
- Scissors and craft knife
- Glue stick
- Thin markers for details
Steps:
- Draw or print a small onesie template and cut it out from patterned paper.
- Fold the card base and glue the onesie to the front.
- Add small decorative details (buttons, bows, polka dots) with markers.
- Write your message inside — something sweet like “Welcome to the world, little one!”
- Optional: add a ribbon through punched holes to tie the onesie on.
Time: 15–20 min | Difficulty: Easy
Best Use Case: Personal baby shower gift card
Creative Variation: Cut the onesie from fabric instead of paper for a tactile, textured effect.
4. Chalkboard-Style Countdown Card
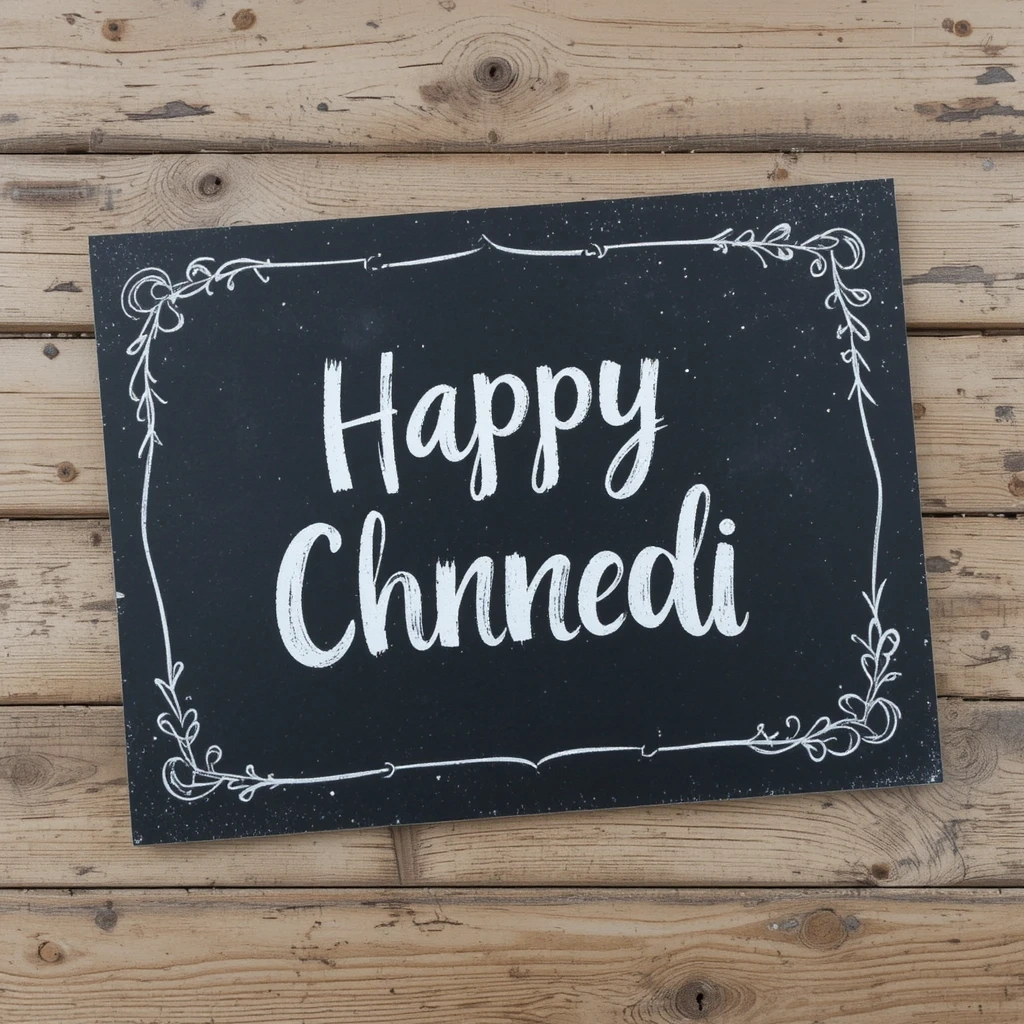
Chalkboard design never goes out of style, and for baby showers it adds a cozy, vintage feel. This card can double as a keepsake the parents-to-be will want to frame. It’s especially popular for rustic or farmhouse-themed events.
Materials:
- Black cardstock or chalk paint on cardstock
- White chalk markers or gel pens
- Ruler for layout guidelines
- Envelope
Steps:
- Start with black cardstock or paint a cardstock piece with chalk paint and let dry.
- Use the chalk marker to write a countdown layout: “Only X more weeks!” or “Baby arriving soon…”
- Add decorative borders, stars, or simple doodles around the text.
- Let dry fully before sliding into the envelope.
Time: 15 min | Difficulty: Easy
Best Use Case: Keepsake card to hang in the nursery
Creative Variation: Add the baby’s expected due date and leave room for parents to fill in the actual birth date later.
5. Origami-Envelope Baby Shower Card
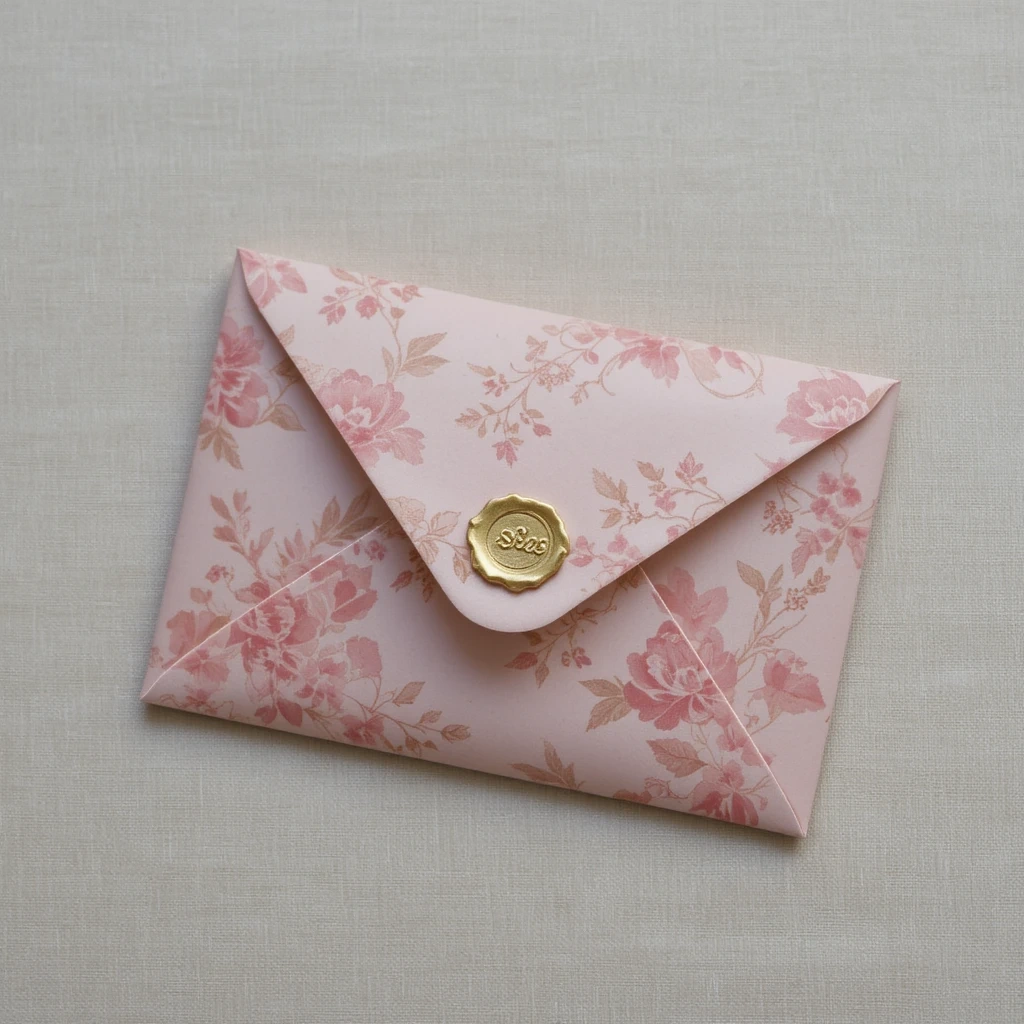
This card IS the envelope — folded into a cute shape and sealed with a sticker. It feels like a little gift all on its own and requires zero gluing. Guests at the shower will be impressed by the clever presentation.
Materials:
- Square sheet of decorative paper (at least 20×20 cm)
- Bone folder (optional but helpful)
- Sticker seal or wax seal
- Small note card for the message
Steps:
- Fold the square paper diagonally to find the center.
- Fold three corners inward to overlap slightly at the center.
- Tuck the fourth corner into the flap of the third to create an envelope.
- Slide the note card inside.
- Seal with a sticker or wax seal stamped with a cute baby motif.
Time: 10 min | Difficulty: Easy
Best Use Case: Pairing with a small gift or cash contribution
Creative Variation: Use Japanese washi paper with floral or star patterns for an upscale feel.
6. Personalized Photo Collage Card
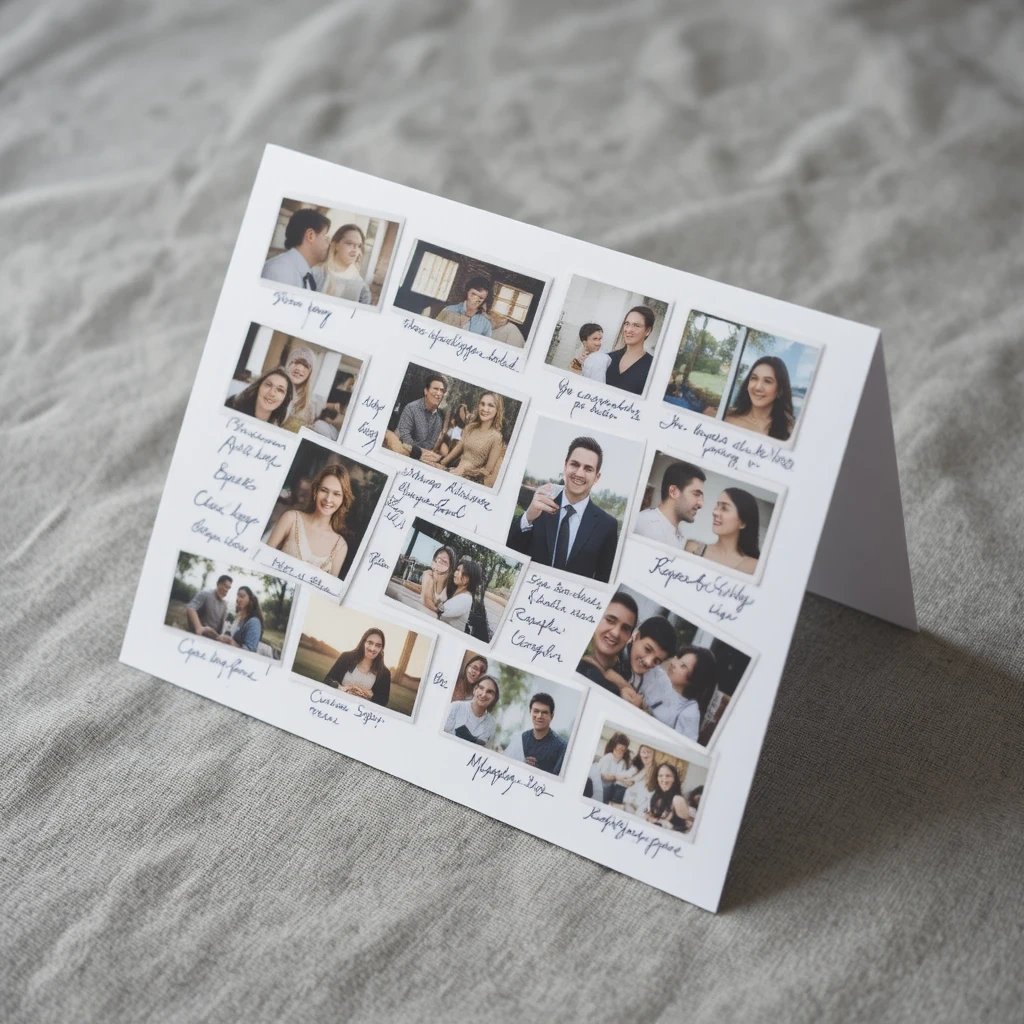
Photos make everything more emotional — and this card brings that personal touch directly into the hands of the new parents. Use printed photos of the couple, ultrasound images, or fun predictions from friends and family.
Materials:
- Printed photos (small, 2×2 or 3×3 inch)
- Large cardstock or folded poster board
- Glue stick or double-sided tape
- Markers for captions
Steps:
- Fold cardstock to a large card size (A5 or A4 folded works great).
- Arrange 4–6 photos on the front in a collage layout before gluing.
- Add short captions under each photo (“Future chef?”, “Grandma’s eyes!”).
- Write a heartfelt message on the inside.
- Decorate with doodles or stickers around the border.
Time: 20–30 min | Difficulty: Easy
Best Use Case: Group gift card signed by all shower guests
Creative Variation: Print the photos in black and white for a timeless, elegant look.
7. Pop-Up Stroller Card

A mini paper stroller pops up from inside the card when opened — pure magic. It’s one of the most impressive cards you can make, and the structure is simpler than it looks. This one earns genuine gasps of delight.
Materials:
- White or colored cardstock (two sheets)
- Scissors and craft knife
- Ruler and scoring tool
- Colored pencils or markers
- Glue stick
Steps:
- Cut and score the inner sheet to create the pop-up mechanism (a simple box fold).
- Draw and color the stroller on the pop-up tab.
- Glue the inner sheet to the card base, aligning the fold lines.
- Decorate the outer card front with florals or polka dots.
- Write your message around the pop-up on the inside.
Time: 25–30 min | Difficulty: Medium
Best Use Case: Standout centerpiece card at a baby shower table
Creative Variation: Make a pop-up crib or baby cradle instead for a gender-neutral option.
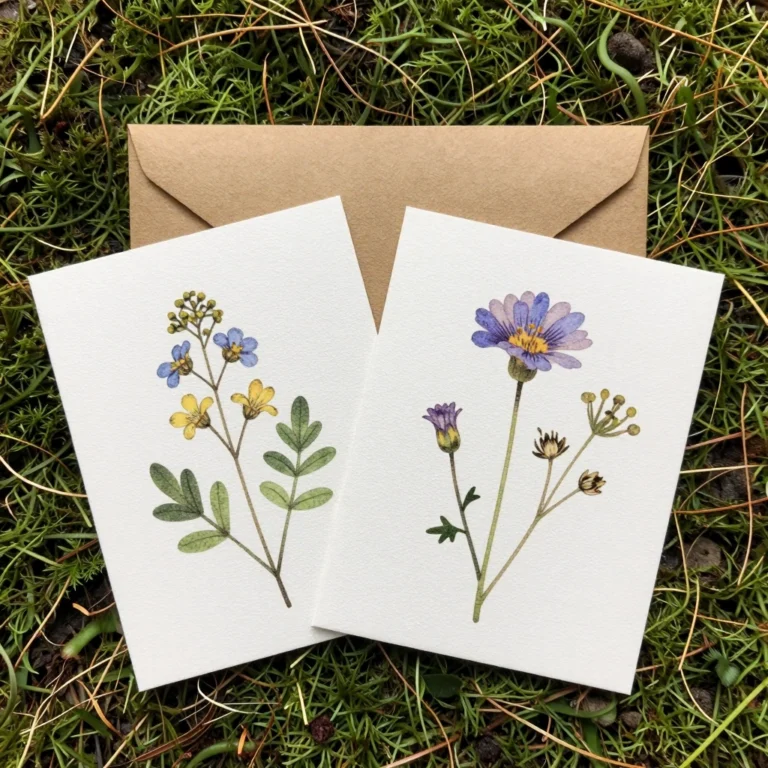
8. Baby Shower Cards with Seed Paper
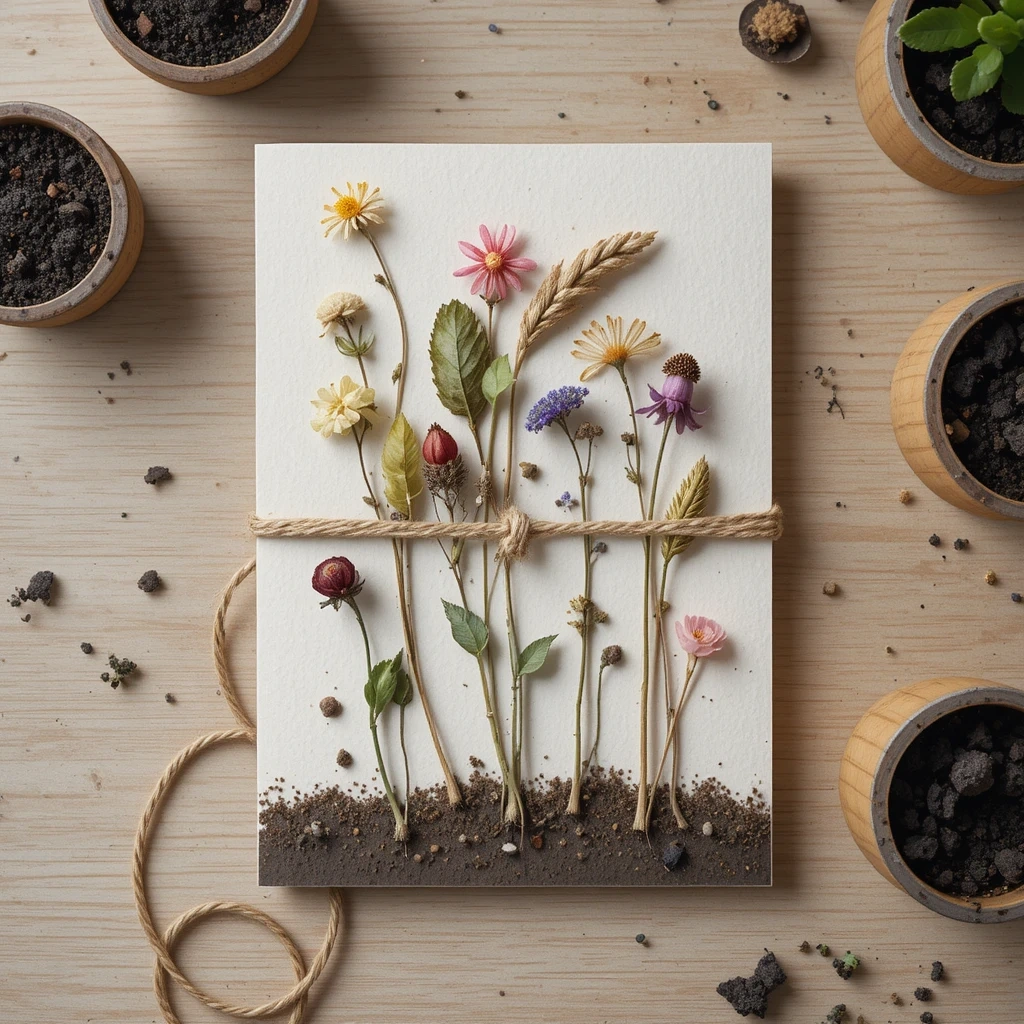
Give a card that grows! Seed paper embedded with wildflower or herb seeds is a beautiful eco-friendly alternative. The parents can plant the card after the shower — a living memory of the day.
Materials:
- Seed paper (available online or make at home with paper pulp)
- Dried flowers for decoration
- Twine or ribbon
- Waterproof marker or printed label for the message
Steps:
- Cut seed paper to card size or use a pre-made seed paper sheet.
- Press a few dried flowers onto the surface using a clear-drying glue.
- Write your message using a waterproof pen or attach a printed label.
- Add a small note on the back: “Plant this card and watch something grow — just like your family!”
- Tie with twine and a small tag.
Time: 15 min | Difficulty: Easy
Best Use Case: Eco-conscious gift to parents who love gardening or nature
Creative Variation: Choose herb seeds like basil or lavender for a practical, fragrant touch.
9. Baby Milestone Prediction Card
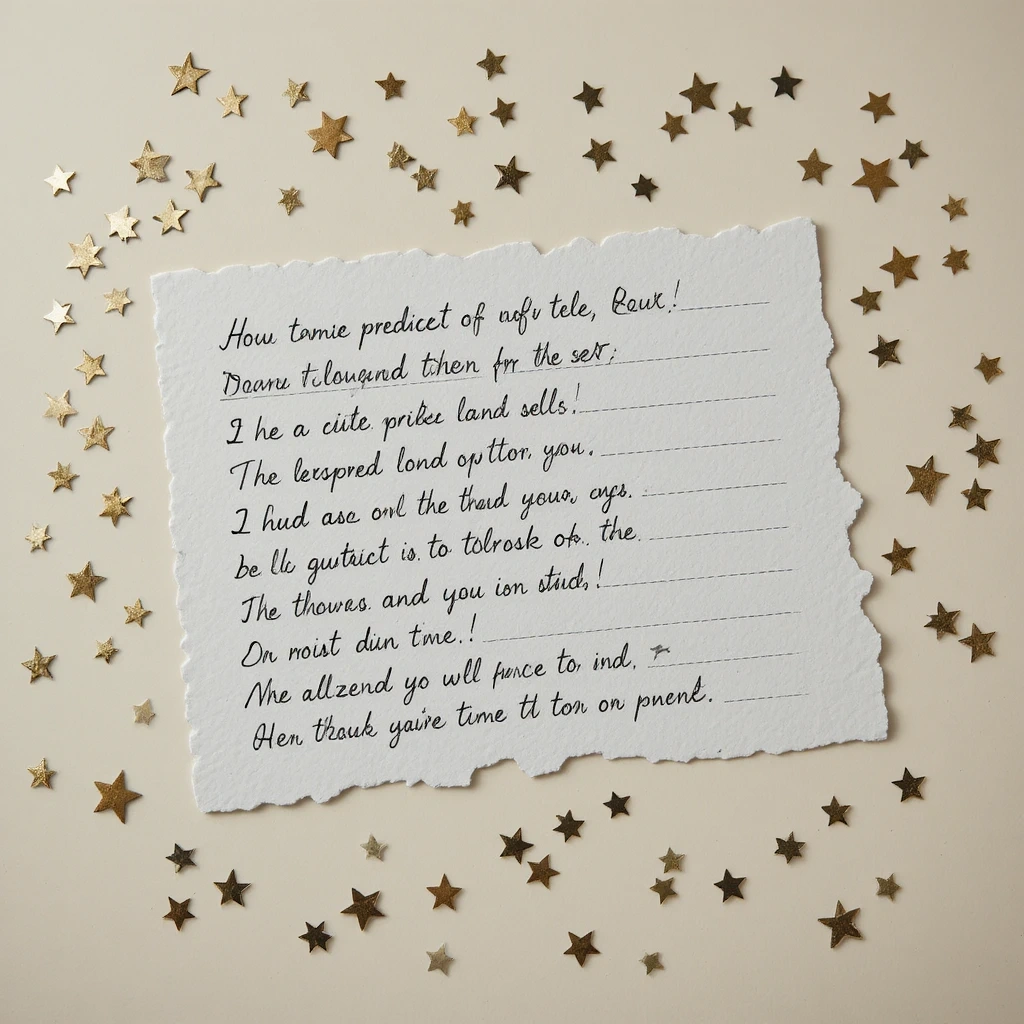
This interactive card doubles as a keepsake activity. Guests write down predictions for the baby’s firsts — first word, first steps, first laugh. It’s sentimental, personal, and gives the parents something to look back on and cherish for years.
Materials:
- Pre-printed or handmade template card
- Pens for guests to fill in
- Decorative envelope
- Stickers or washi tape for decoration
Steps:
- Design the card with prompts: “First word will be…”, “Will walk at… months”, “Will love…”
- Print or hand-letter the prompts on cardstock.
- Leave lined spaces for each prediction.
- Decorate borders with stars, baby motifs, or florals.
- Set out pens at the shower table so guests can fill in their card.
Time: 15 min to design | Difficulty: Easy
Best Use Case: Baby shower activity card — collect all cards in a keepsake box
Creative Variation: Make it a “Time Capsule” version the parents open on the baby’s first birthday.
10. Ribbon-Wrapped Luxury Baby Shower Card

Sometimes the presentation IS the statement. This card uses layered cardstock, velvet ribbon, and a wax seal to create something that feels like an invitation to the most exclusive party. Simple materials, seriously elevated results.
Materials:
- Thick cream or ivory cardstock
- Velvet or satin ribbon (blush, gold, or white)
- Wax seal kit with baby motif stamp
- Fine calligraphy pen
- Envelope lined with tissue paper
Steps:
- Cut and fold the cardstock into a tall, elegant card format.
- Write the message inside using a calligraphy pen (or print in a script font).
- Wrap the ribbon horizontally around the closed card and tie in a bow.
- Melt wax and stamp the seal over the ribbon bow.
- Slide into a tissue-lined envelope for a boutique finish.
Time: 20 min | Difficulty: Easy–Medium
Best Use Case: Luxury gift card for close family or a formal baby shower
Creative Variation: Add a small sprig of dried eucalyptus under the ribbon for a botanical touch.
Budget-Friendly Ideas Guide
You don’t need to spend much to make a beautiful card. Here are some smart ways to keep costs low without sacrificing quality:
- Use what you have: Cardstock, leftover wrapping paper, ribbon scraps, and old magazines are perfect crafting materials.
- Print, don’t buy: Download free baby shower printable templates and print at home on cardstock.
- Batch-make: Creating 5–10 cards at once means buying materials in bulk and saving per card.
- Stamps are reusable: A set of foam stamps costs very little and can be used across dozens of cards.
- Washi tape is your best friend: One roll covers borders, frames, dividers, and accents — endlessly versatile.
Common Mistakes to Avoid
1. Using thin paper that buckles with glue or paint Always use at least 80 lb cardstock for any card you’re decorating with wet materials like glue, paint, or watercolors. Thin copy paper will warp and look unfinished.
2. Writing the message before decorating Finish all your painting, stamping, and decorating BEFORE writing your message. Wet materials can smear ink, and markers bleed into still-damp paint.
3. Rushing the drying time Patience is key. Let each layer dry completely before adding the next. A hair dryer on low heat can speed this up without damaging delicate materials.
Tips for Best Results
- Always score your fold lines with a bone folder or dull butter knife — it makes a clean, professional crease.
- Test your stamps on scrap paper first to check ink coverage and alignment.
- Store finished cards flat under a heavy book overnight to prevent curling.
- Choose an envelope that fits your card BEFORE you design — it’s easy to create a card that doesn’t fit any standard envelope.
- For watercolor projects, always use 100% cotton watercolor paper — regular cardstock will pill and look rough.
- When using wax seals, work quickly — wax hardens in seconds. Have your stamp ready before you pour.
FAQs
Q: Can I make baby shower cards without any special tools? Absolutely. Most of the cards in this list require only scissors, paper, and a pen. Tools like bone folders and wax seal kits are helpful but never required.
Q: How far in advance should I make handmade cards? Aim to finish your cards 2–3 days before the shower. This gives you time for drying, any touch-ups, and writing your messages without rushing.
Q: What’s the best paper weight for handmade cards? For most cards, 80–110 lb cardstock is ideal. For watercolor techniques, use 140 lb watercolor paper to prevent buckling.
Q: Can I personalize these cards for a specific theme? Yes! Every card in this guide can be adapted to match any theme — woodland, celestial, tropical, rainbow, or minimalist — by adjusting the colors, stamps, and embellishments you choose.
Q: What’s the easiest card for a complete beginner? The Elephant Stamped Card (#2) or the Ribbon-Wrapped Luxury Card (#10) are both beginner-friendly and take less than 20 minutes. No artistic skill required.
Q: Are these card ideas suitable for boy, girl, or gender-neutral showers? All 10 ideas can be made gender-neutral by choosing soft greens, yellows, whites, or grays. Simply swap out pink/blue accents for neutral tones to suit any shower.
Conclusion
There’s something deeply meaningful about a card made with care. Whether you go all out with a pop-up stroller or keep it beautifully simple with a ribbon-wrapped note, the effort you put in will be felt long after the wrapping paper is gone.
These 10 ideas prove that creativity doesn’t require talent — just a little time, love, and the right inspiration. Now grab your scissors, pick your favorite design, and let’s make something wonderful.