10 Flower Cards Ideas
There’s something timeless about receiving a handmade card — especially one that blooms with beauty and thoughtfulness. Whether you’re celebrating a birthday, a wedding, or simply want to brighten someone’s day,
flower cards offer a creative and personal touch that store-bought cards just can’t match. In this article, you’ll discover 10 inspiring, easy-to-make flower card ideas that are perfect for all skill levels, all budgets, and all occasions.
Flower cards are a wonderful way to express your feelings with color, texture, and nature’s most beloved motif. Each of these flower card designs can be customized to suit any recipient, season, or sentiment. Making your own flower cards ideas at home is easier than you think — and the results are truly stunning.
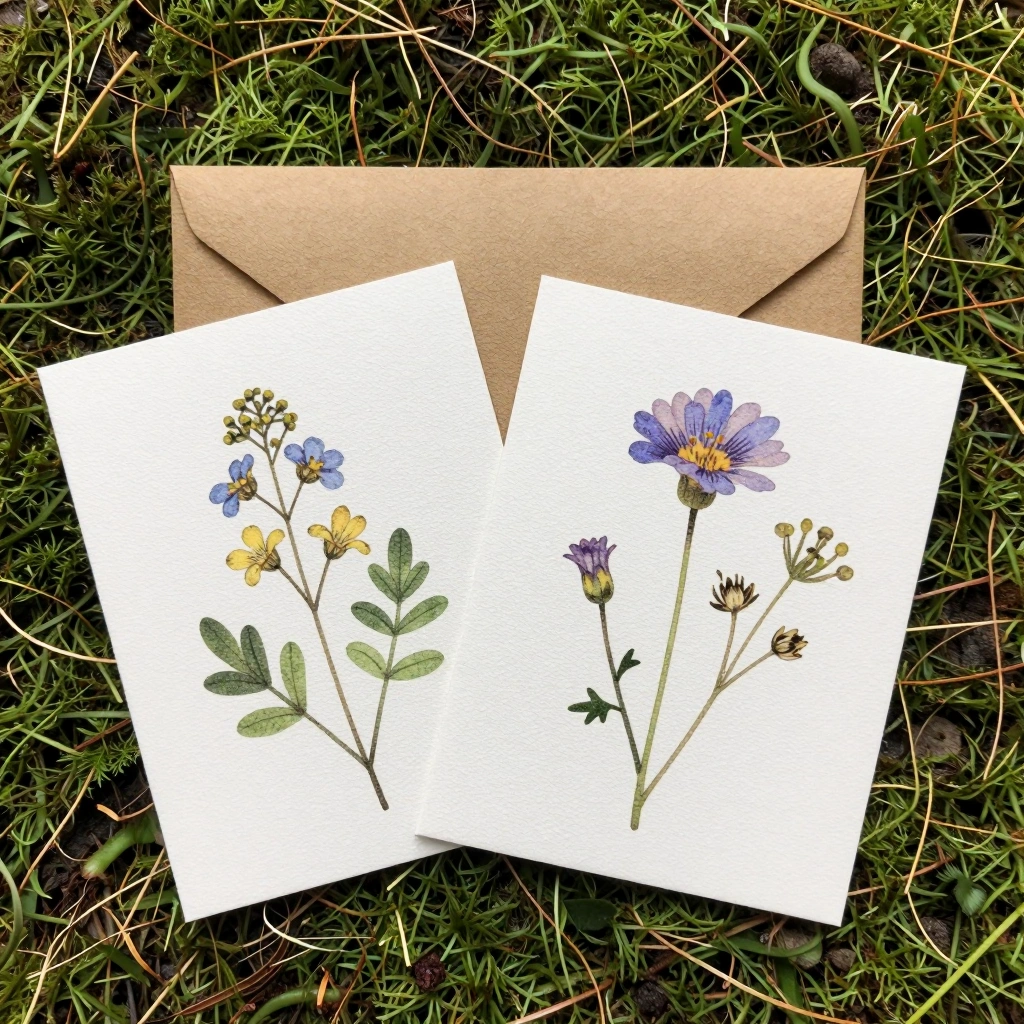
1. Pressed Flower Cards — Nature’s Own Artwork
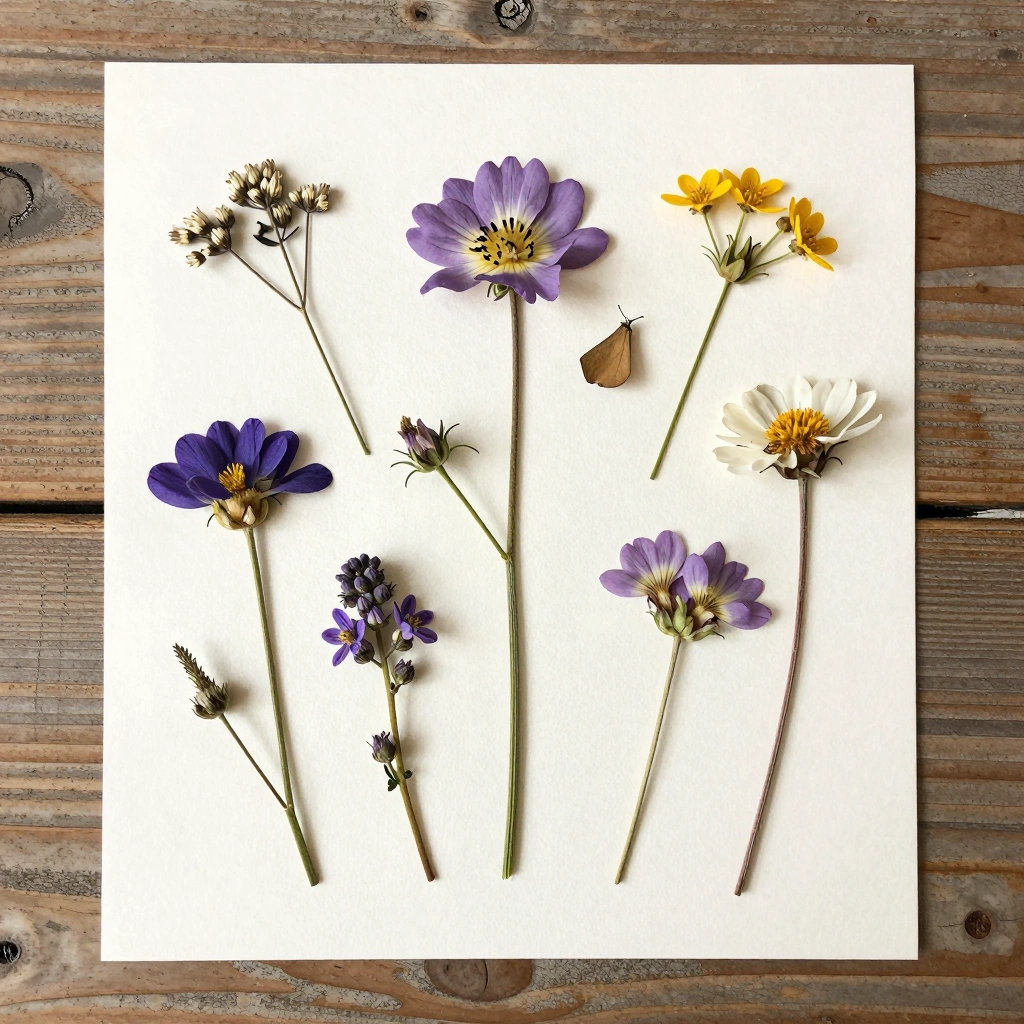
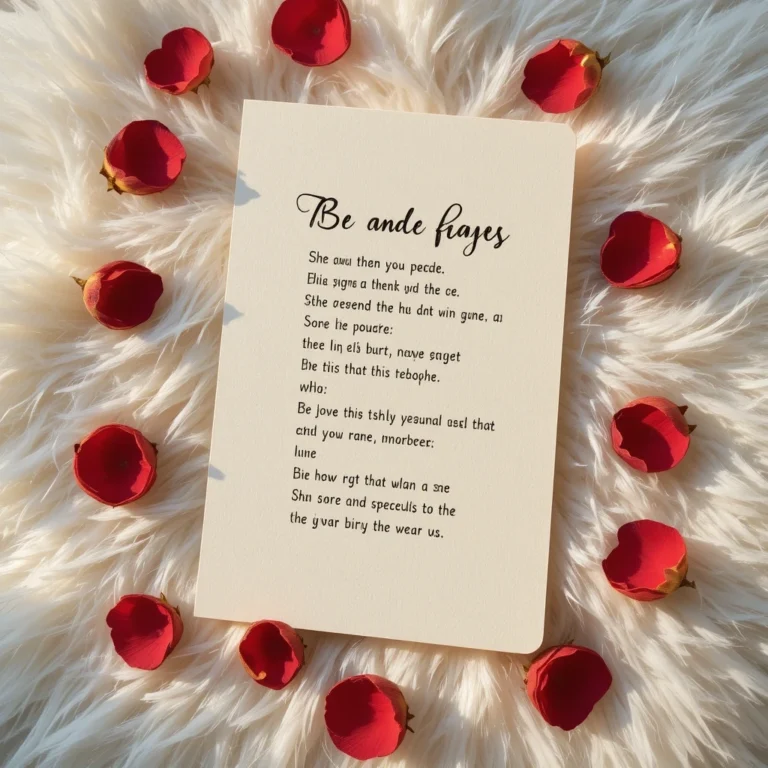
Pressed flower cards are one of the most magical and timeless options out there. Real dried flowers are pressed flat and arranged directly onto card stock, creating a delicate, botanical look that feels like something from a vintage journal. Each card is completely one-of-a-kind because nature never repeats itself.
Materials:
- Blank card stock or folded cards
- Fresh flowers and leaves (pansies, daisies, ferns work great)
- Heavy book or flower press
- Clear-drying craft glue or Mod Podge
- Optional: tweezers for precise placement
Steps:
- Press flowers between book pages for 1–2 weeks until fully dry.
- Arrange dried flowers on the card surface before gluing.
- Apply a thin layer of glue under each flower and press down gently.
- Let dry completely, then seal with a light coat of Mod Podge.
- Write your message inside and let it shine.
Time: 20 minutes (plus pressing time) | Difficulty: Easy
Best Use Case: Romantic gifts, thank-you notes, wedding stationery
Creative Variation: Frame the pressed flowers inside a small drawn border or watercolor wash background for an extra artistic effect.
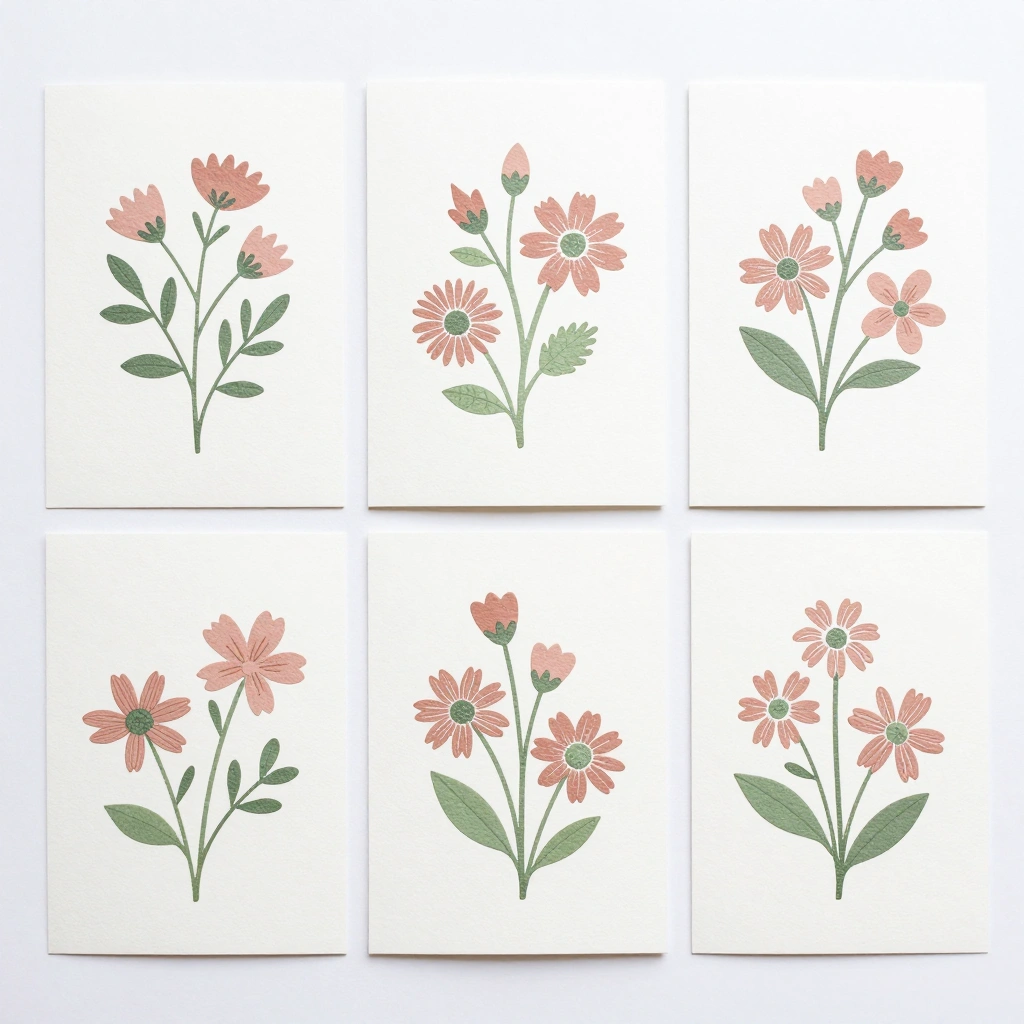
2. Watercolor Bloom Cards — Soft and Dreamy
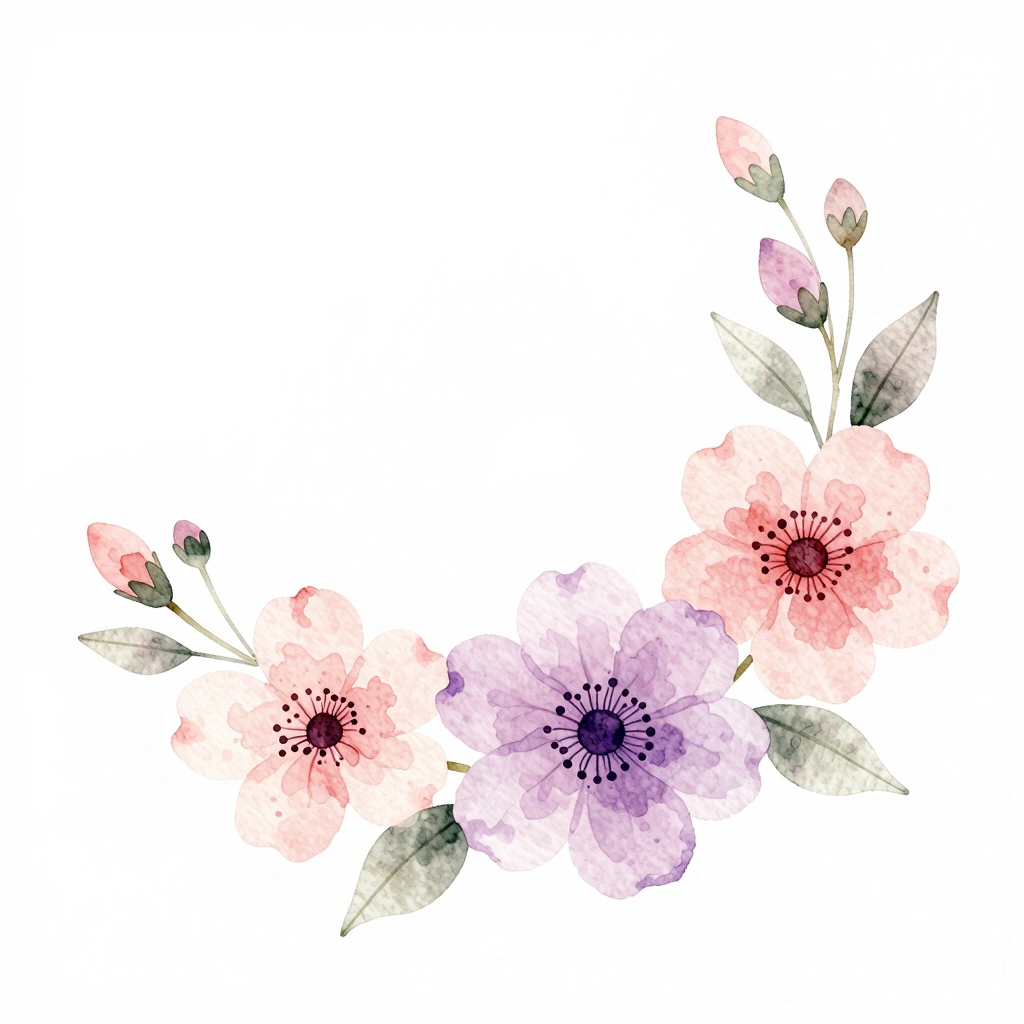
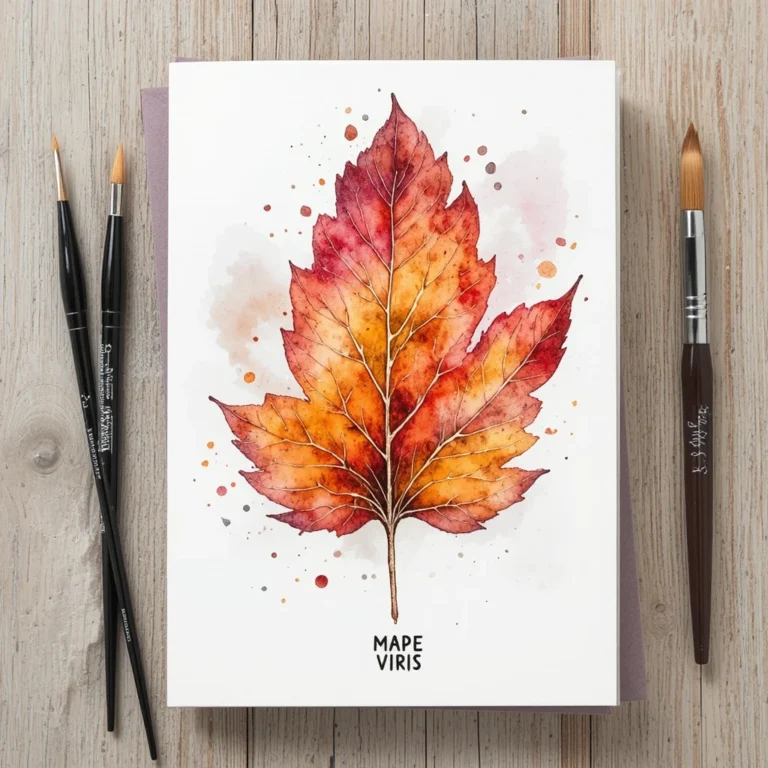
Watercolor flower cards have an effortlessly beautiful, impressionistic quality. Even if you’ve never painted before, loose watercolor blooms are incredibly forgiving and look gorgeous. The soft blending of pinks, purples, and yellows creates an almost ethereal effect.
Materials:
- Watercolor paper or thick card stock
- Watercolor paints (set or pan)
- Round paintbrushes (sizes 2 and 6)
- Water cup and palette
- Black fine-liner pen (optional)
Steps:
- Lightly sketch a few simple flower shapes in pencil.
- Wet the brush and pick up your first color.
- Paint each petal with light, loose strokes — don’t overthink it.
- Let colors bleed and blend naturally for a dreamy effect.
- Once dry, outline petals with a fine-liner for definition (optional).
- Fold paper into a card or glue to a pre-folded base.
Time: 15–25 minutes | Difficulty: Easy
Best Use Case: Birthday cards, Mother’s Day, “thinking of you” messages
Creative Variation: Paint a small bouquet tied with a simple watercolor ribbon at the bottom of the card.
3. Paper Quilling Flower Cards — Intricate and Impressive
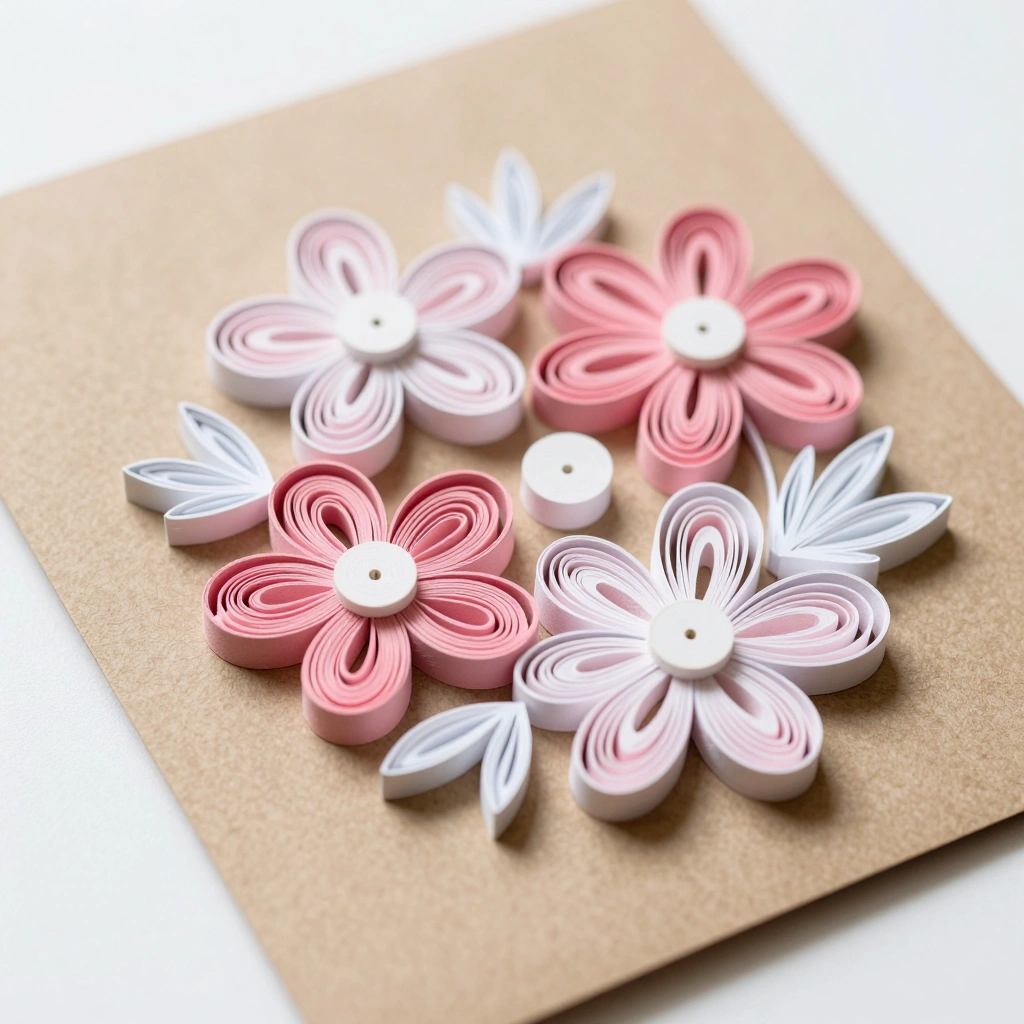
Paper quilling is the art of rolling thin strips of paper into coils and shaping them into flowers. The dimensional result looks incredibly intricate — but the technique itself is beginner-friendly with just a bit of patience.
Materials:
- Quilling paper strips (5mm wide)
- Quilling tool or toothpick
- Card stock base
- Craft glue
- Tweezers
Steps:
- Roll a strip of paper tightly around the quilling tool.
- Let it loosen slightly into a circle, then glue the end.
- Pinch the circle into a teardrop or petal shape.
- Make 5–6 petals and glue them together in a flower formation.
- Add a rolled yellow center dot for the middle.
- Glue the finished flower onto the card front.
Time: 25–30 minutes | Difficulty: Medium
Best Use Case: Special occasions, handmade gifts, keepsake cards
Creative Variation: Create a small bouquet of three different-sized quilled flowers with curled green paper leaves.
4. Stamped Floral Cards — Quick and Consistent
Rubber or foam stamping is perfect when you want to make multiple beautiful cards in a short time. Floral stamps come in hundreds of designs and pair beautifully with ink pads in every color imaginable.
Materials:
- Floral rubber or foam stamps
- Ink pads (multiple colors)
- Blank card stock
- Embossing powder (optional)
- Heat tool (for embossing)
Steps:
- Press the stamp firmly onto the ink pad.
- Stamp onto the card with even pressure — don’t rock the stamp.
- Lift cleanly and repeat for layered designs.
- For embossed designs, sprinkle embossing powder while ink is wet, then heat.
- Add a handwritten message inside.
Time: 10–15 minutes | Difficulty: Easy
Best Use Case: Quick gift cards, thank-you sets, event stationery
Creative Variation: Stamp in light ink first, then stamp a second slightly offset impression in a darker shade for a shadow effect.
5. Origami Flower Cards — 3D Magic in Paper
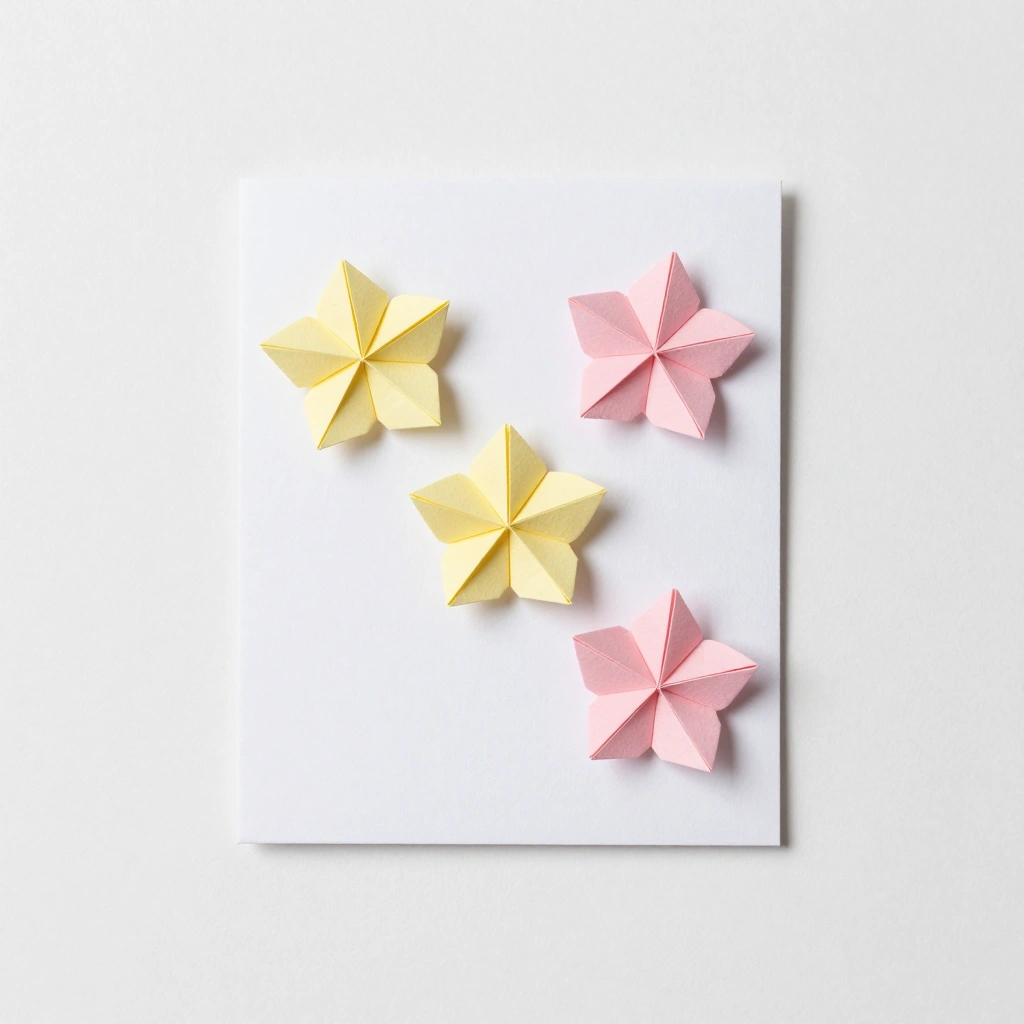
Attach a small origami flower to a flat card and watch the recipient’s face light up. Origami flowers add texture, dimension, and an element of surprise that feels genuinely special.
Materials:
- Origami paper (patterned or solid)
- Blank card base
- Glue dots or craft glue
- Optional: small envelope to match
Steps:
- Follow a simple origami tulip or lotus tutorial (many available on YouTube).
- Fold your flower from a square of origami paper.
- Shape and open petals gently with your fingertip.
- Attach the flower to the front of the card using glue dots.
- Write your message inside.
Time: 20 minutes | Difficulty: Medium
Best Use Case: Party invites, spring celebrations, decorative gifts
Creative Variation: Make three small origami flowers in graduating sizes and arrange them diagonally across the card like a bouquet.
6. Botanical Line Art Cards — Elegant Simplicity
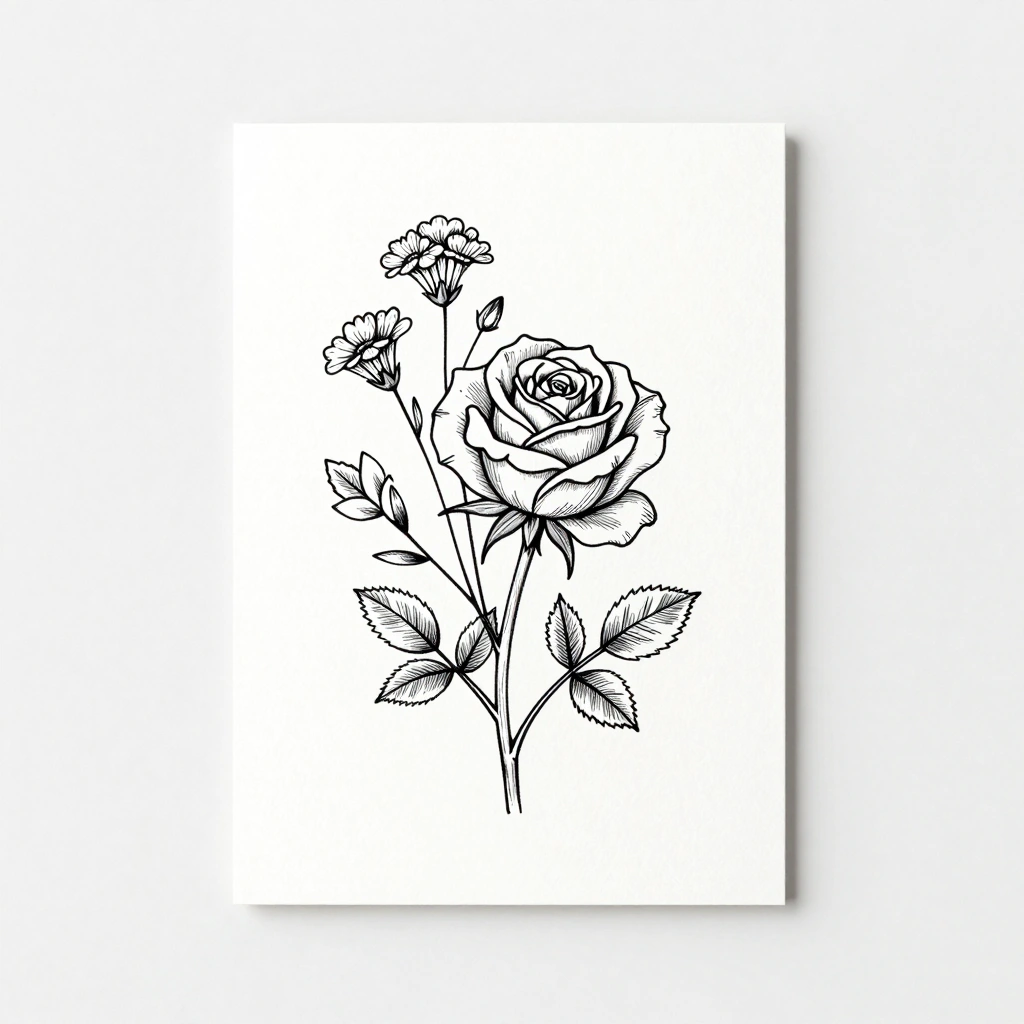
Thin, delicate line drawings of flowers have a sophisticated, editorial quality. You don’t need to be a professional artist — even simple line sketches look stunning when done with intention.
Materials:
- Thick card stock
- Fine-liner black pen (0.3–0.5mm)
- Pencil for sketching
- Eraser
- Optional: watercolor for subtle color wash
Steps:
- Lightly sketch your flower in pencil — roses, wildflowers, and lavender work beautifully.
- Trace over the sketch with your fine-liner pen.
- Add detail lines inside petals and leaves.
- Erase pencil marks once the ink is fully dry.
- Add a light watercolor wash if desired.
- Fold and write your message.
Time: 20–30 minutes | Difficulty: Easy–Medium
Best Use Case: Elegant personal notes, wedding thank-you cards, professional gifting
Creative Variation: Add small handwritten botanical labels in Latin beside each flower for a scientific journal aesthetic.
7. Fabric Flower Cards — Textured and Tactile
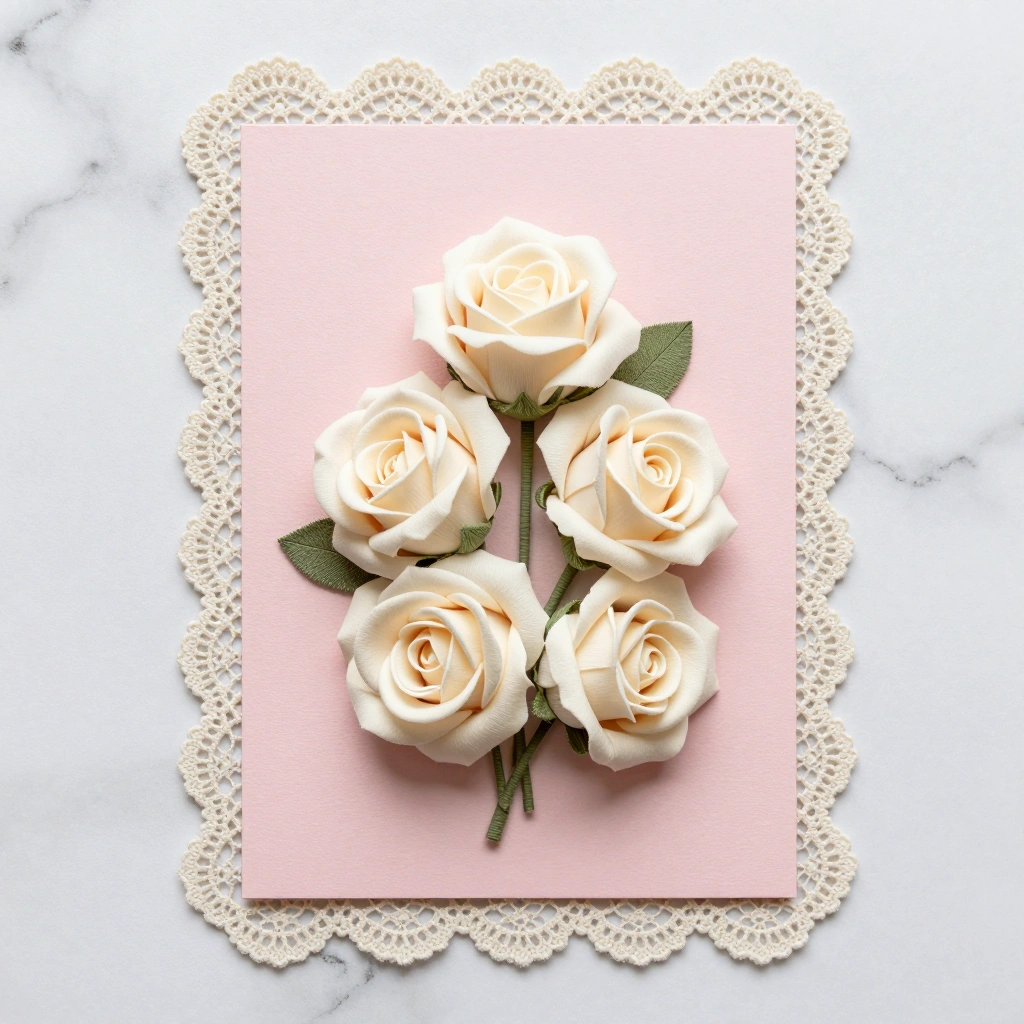
Using small fabric flowers — either handmade or purchased — creates a card with gorgeous texture that feels truly luxurious. Fabric elements make the card feel more like a keepsake than a typical greeting.
Materials:
- Blank card base
- Small fabric flowers (from craft stores or handmade from ribbon)
- Craft glue or hot glue gun
- Optional: lace trim, twine, or fabric leaves
Steps:
- Arrange fabric flowers on the card front without gluing to plan placement.
- Apply glue to each flower’s base.
- Press firmly and hold for 10 seconds each.
- Add ribbon, lace, or a small tag for extra detail.
- Let dry flat for 10 minutes before handling.
Time: 15–20 minutes | Difficulty: Easy
Best Use Case: Baby showers, bridal events, Mother’s Day
Creative Variation: Add a small pearl bead center to each fabric flower for an elegant, bridal-inspired touch.
8. Seed Paper Flower Cards — Eco-Friendly and Meaningful
Seed paper cards are made from recycled paper embedded with real wildflower seeds. Recipients can plant the card after reading it — and flowers will bloom. It’s a gift within a gift.
Materials:
- Wildflower seed paper (buy online or make DIY)
- Scissors or die-cut machine
- Ink-safe printer or stamps for text
- Compostable packaging
Steps:
- Purchase or make seed paper (blend recycled paper pulp with seeds and dry flat).
- Cut into card shapes.
- Print or stamp your message directly onto the surface.
- Package with planting instructions.
Time: 15 minutes | Difficulty: Easy
Best Use Case: Eco-conscious gifting, events, garden parties, fundraisers
Creative Variation: Cut seed paper into petal or flower shapes and tie together with twine for an extra creative presentation.
9. Flower Cards Ideas Using Foam Stickers — Perfect for Kids
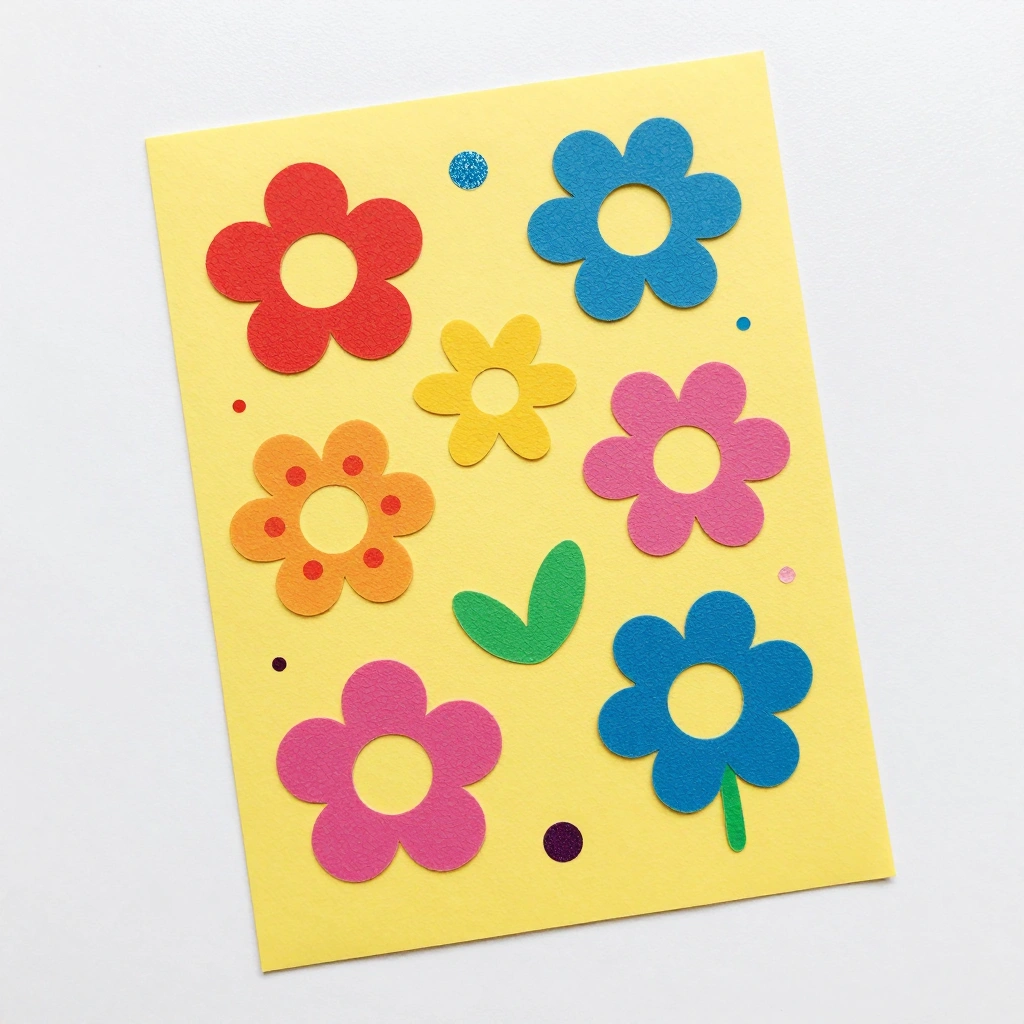
Foam flower stickers are fun, vibrant, and absolutely perfect for getting kids involved in card-making. The results are cheerful, colorful, and full of personality.
Materials:
- Foam flower stickers (various sizes)
- Blank card stock or colored card bases
- Markers or crayons
- Glitter glue (optional)
Steps:
- Choose a card color that complements your foam flowers.
- Let kids arrange stickers freely on the card front.
- Add marker-drawn stems, leaves, or a “pot” at the bottom.
- Write a message or let kids dictate one for you to write.
- Add glitter glue accents and let dry.
Time: 10–15 minutes | Difficulty: Easy
Best Use Case: Kids’ crafts, classroom activities, family events, grandparent gifts
Creative Variation: Create a whole garden scene by adding a drawn fence, sun, and grass beneath the flower stickers.
10. Dried Eucalyptus and Flower Cards — Rustic Boho Charm
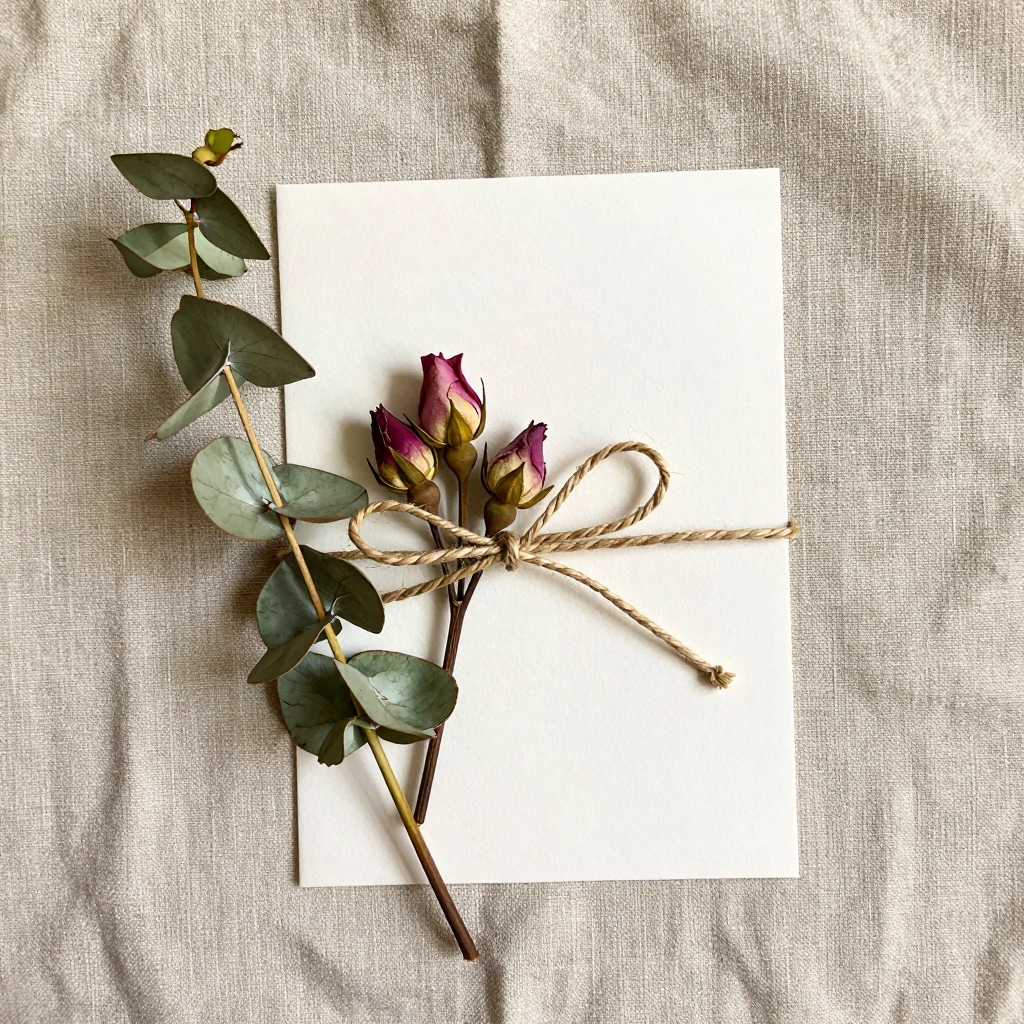
Dried eucalyptus sprigs combined with small dried flowers create an incredibly trendy, boho-inspired card design. The muted greens and soft pinks feel effortlessly stylish and work beautifully for a wide range of occasions.
Materials:
- Dried eucalyptus sprigs (craft store or self-dried)
- Small dried rosebuds or lavender
- Twine or thin ribbon
- Craft glue or mini clothespin
- Kraft or ivory card stock
Steps:
- Cut a small eucalyptus sprig to fit the card width.
- Bundle with a dried rosebud and tie together with twine.
- Glue the bundle horizontally across the lower front of the card.
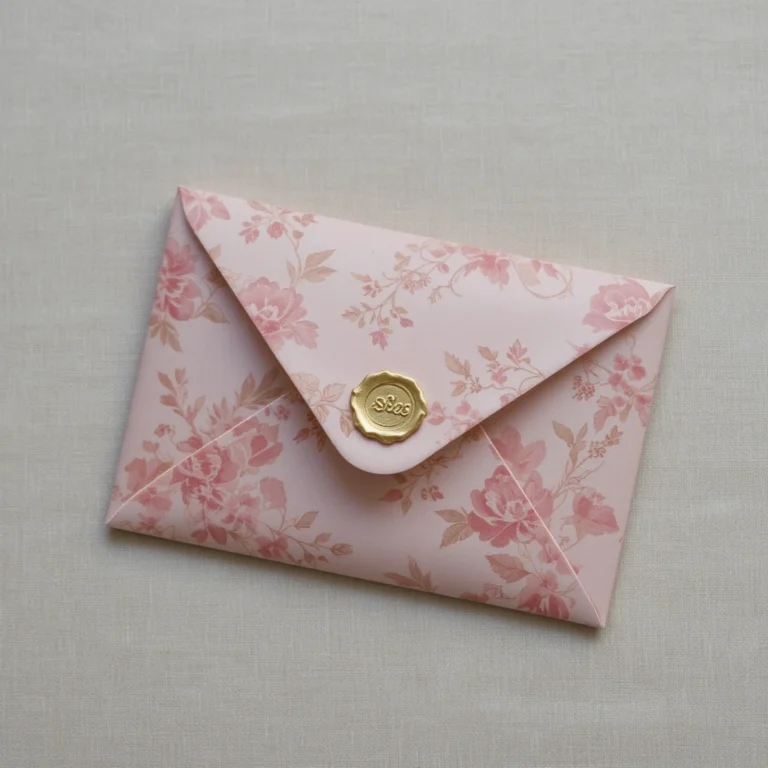
- Add a small handwritten tag or wax seal for extra detail.
- Let dry flat before packaging.
Time: 15 minutes | Difficulty: Easy
Best Use Case: Weddings, rustic events, autumn gifting, home decor cards
Creative Variation: Add a drip of hot glue shaped like a wax seal, then press a coin or button into it while warm for a DIY wax seal effect.
Best Occasions to Use These Flower Card Ideas
Flower cards are wonderfully versatile. Here are the best moments to break them out:
- Birthdays — Watercolor or stamped cards feel festive and personal
- Mother’s Day — Pressed flower or fabric flower cards feel extra sentimental
- Weddings & Bridal Showers — Dried botanical or origami cards set a beautiful tone
- Thank-You Notes — Line art or quilling cards leave a lasting impression
- Holidays — Stamped sets are perfect for creating multiple cards quickly
- “Just Because” — Any of these ideas work perfectly as a spontaneous, heartfelt gesture
Common Mistakes to Avoid
1. Using paper that’s too thin Card stock under 160gsm tends to warp when you apply glue, paint, or wet materials. Always use thick card stock for the best results.
2. Rushing the drying process Whether it’s glue, watercolor, or pressed flowers — patience matters. Moving or packaging a card before it’s fully dry leads to smearing, sticking, and ruined designs.
3. Over-decorating the front It can be tempting to add everything at once, but restraint creates elegance. Choose one focal element (like a pressed flower or origami bloom) and let it breathe with white space around it.
Tips for Best Results
- Test on scrap paper first before working on your final card.
- Use a bone folder to get crisp, clean folds in your card base.
- Layer colors subtly — one or two tones look more intentional than a rainbow.
- Let glue dry fully before adding another element on top.
- Pair cards with matching envelopes — even a simple colored envelope elevates the whole presentation.
- Add a personal handwritten note — no matter how beautiful the outside, it’s the words inside that matter most.
FAQs
Q: Do I need artistic skills to make flower cards at home? Not at all! Many of these ideas — like stamping, foam stickers, and seed paper cards — require zero drawing ability. Even the watercolor and line art options are forgiving for beginners.
Q: What’s the easiest flower card idea for a complete beginner? Stamped floral cards and foam sticker cards are the easiest starting points. Both can be completed in under 15 minutes with very little material.
Q: Where can I buy materials for making flower cards? Craft stores like Hobby Lobby, Michaels, or online shops like Amazon and Etsy carry everything you need. Pressed flowers, seed paper, and quilling strips are all widely available.
Q: How do I preserve pressed flowers so they don’t fade? Keep your finished pressed flower cards away from direct sunlight and humidity. Sealing with Mod Podge or a UV-protective spray also helps extend their color and lifespan.
Q: Can flower cards be used for professional or business gifting? Yes! Botanical line art cards, seed paper cards, and dried eucalyptus cards all have an elegant, refined look that works well in professional contexts.
Q: How long does it take to make a batch of 10 cards? For simpler designs like stamped or sticker cards, you can make 10 in under an hour. More detailed options like quilling or pressed flowers may take a full afternoon.
Conclusion
There’s real joy in making something by hand — and flower cards are one of the most beautiful, accessible ways to express that creativity. Whether you’re a seasoned crafter or picking up scissors for the very first time, there’s an idea in this list that’s perfect for you.
Don’t wait for a special occasion to get started. Pick your favorite idea, gather your materials, and let your creativity bloom. The person who receives your handmade flower card will treasure it far longer than anything store-bought could ever offer.